

 by
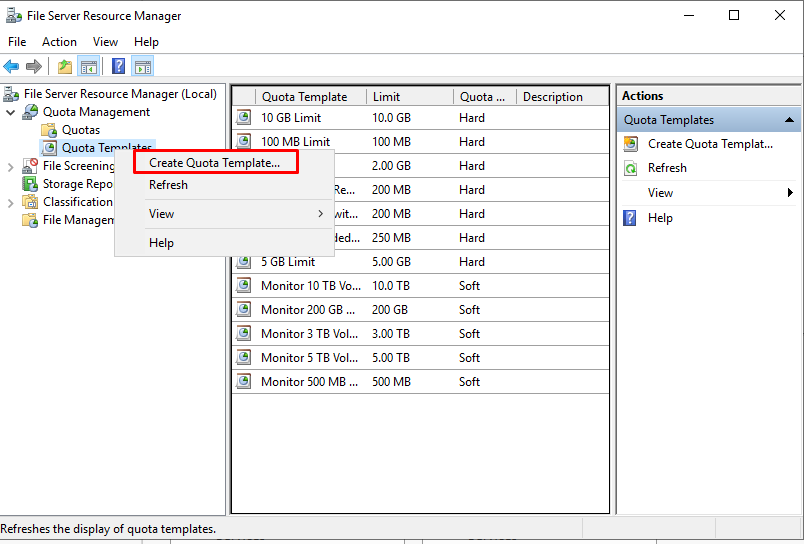
by In our previous article, we talked about the general configuration of Windows Server 2016 File Server. Let’s define an example template in this article. For this process, let’s right-click on “Ouota Templates” and click “Create Quote Template…“.
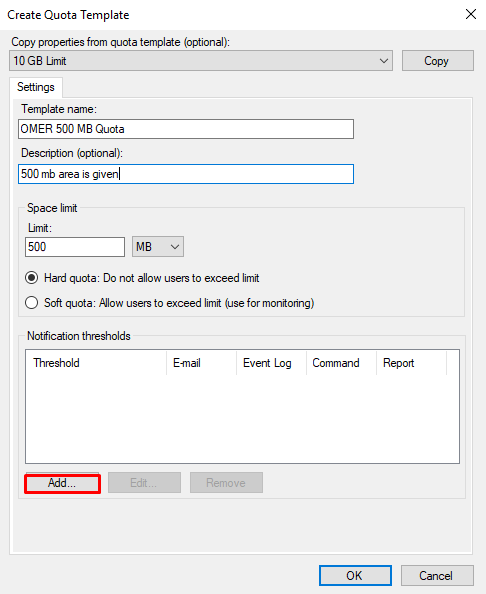
We have the ability to copy and replace an existing template, but we’ll create a new one. After the name and description information, let’s determine the capacity of our quota template. Since we will create a template that is 500 MB, we make the settings as 500MB. In case of an action on this template, we click the “Add” button in the Notifications thresholds section to have notifications on the Event Viewer to write or e-mail.
First of all, we need to make a setting in the E-Mail Message tab as the quota fill rate is%. Since we have determined the address that will send and receive mail in the main console setting, the necessary information came here and we can change the content of the mail information here. Since we want the mail to arrive when the occupancy rate is 85%, we do not intervene here and leave it at the default settings.

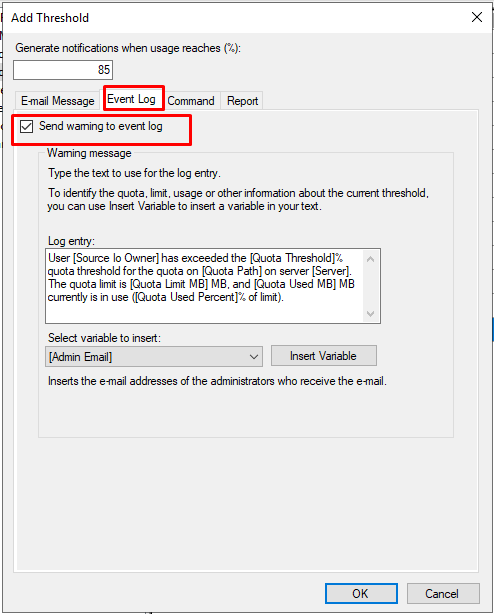
In the Event Log tab, in case of quota exceeding, we can determine whether a log occurs on the event viewer. By default, the log is on. We have the opportunity to edit the created log draft here. We leave the settings as default.
After completing these settings, we can complete the template creation process by clicking the OK button.
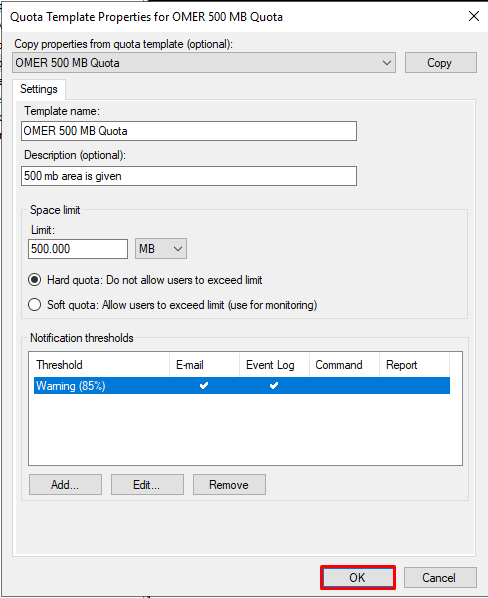
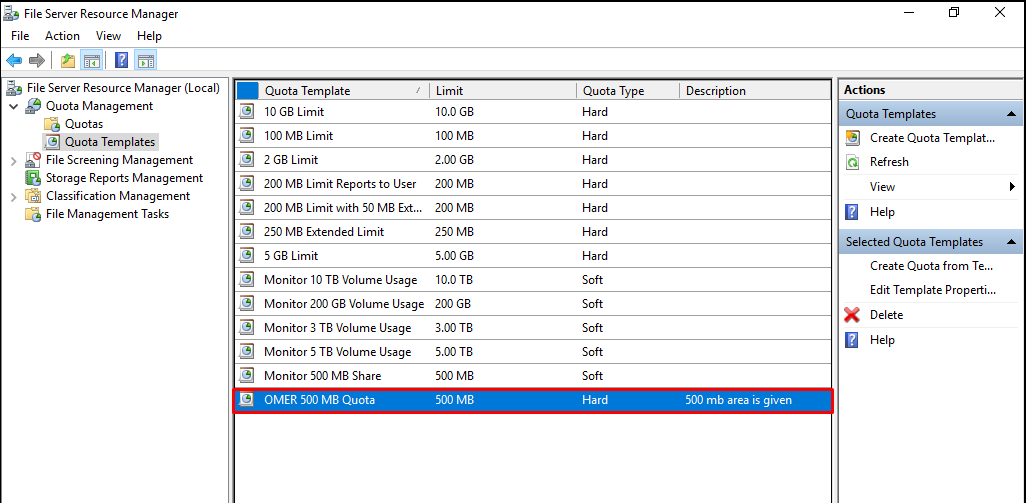
Our template created as 500 MB looks like the following.
Quotas
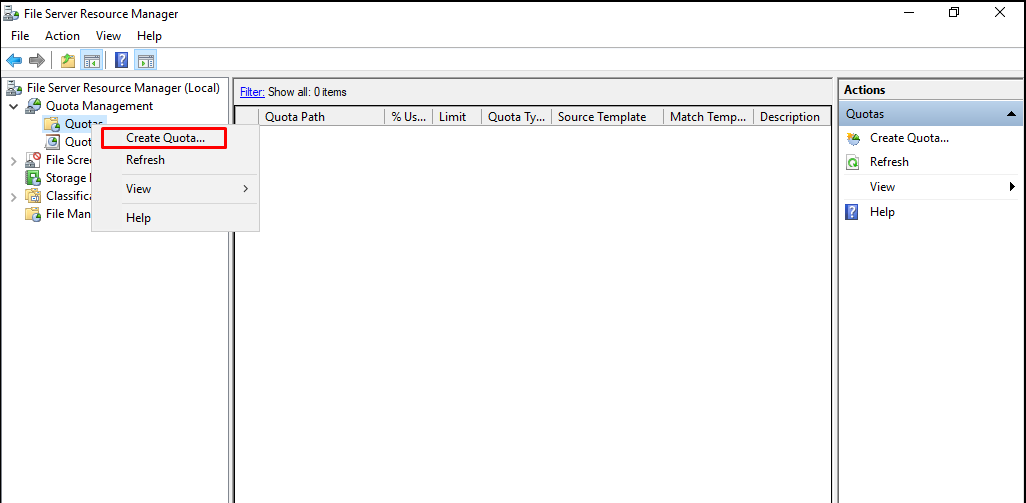
Let’s apply a quota to a folder. For this process, let’s right-click on Quotas and click “Create Quota…“.
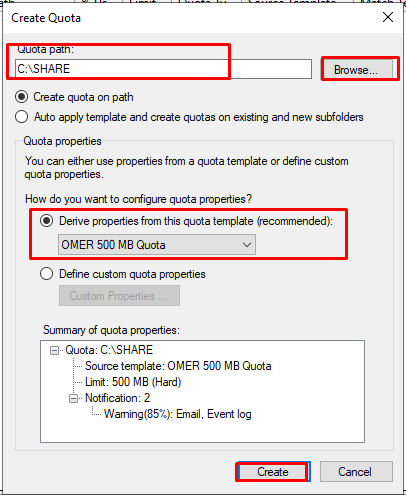
In the “Browse” section, let’s select the folder that will be applied to the quota. We have created a folder named SHARE on “C:” and let’s select this folder. As the quota, we chose the 500 MB template we just created. If we wish, we can make a setting without choosing a template here. We can assign a quota to our folder with “Create“.
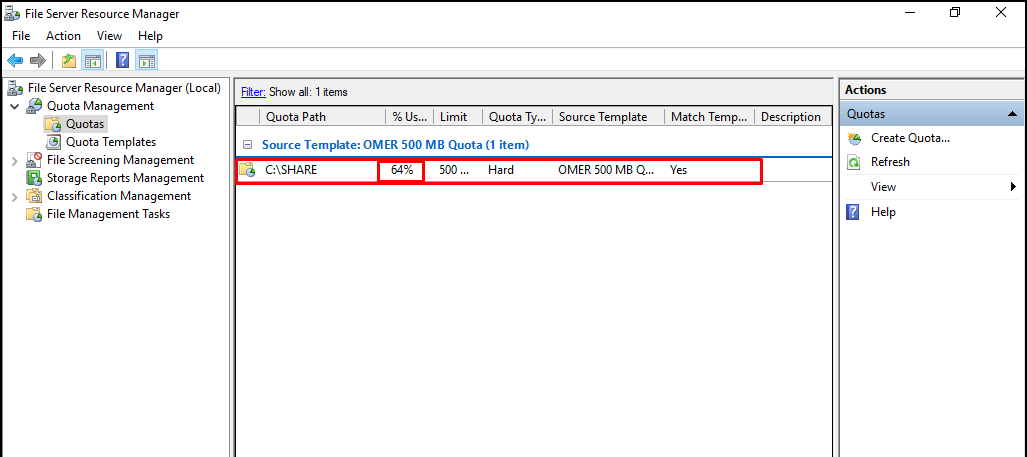
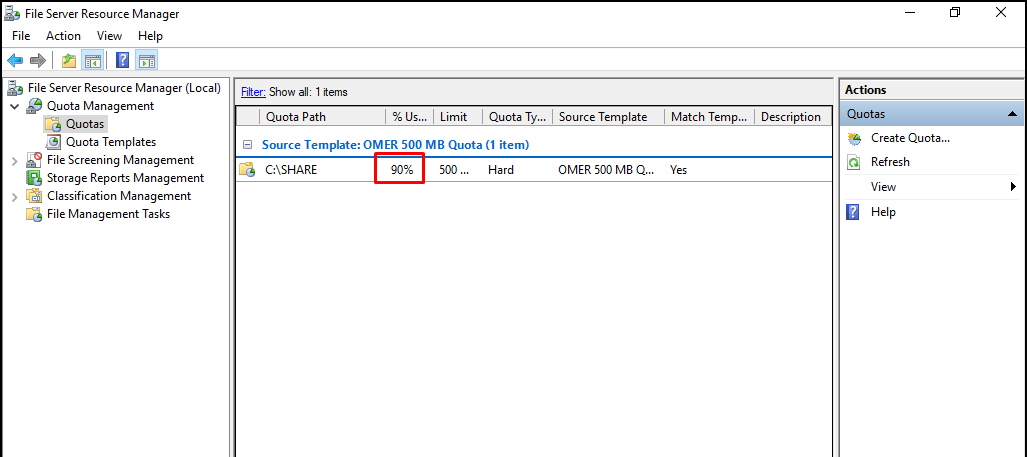
As can be seen, the quota information we have given to our folder has been added in the “Quotas” section.

We copied some data to our folder and the quota status was 64%.
After copying some more data, it reached 90% occupancy rate.
Event Viewer
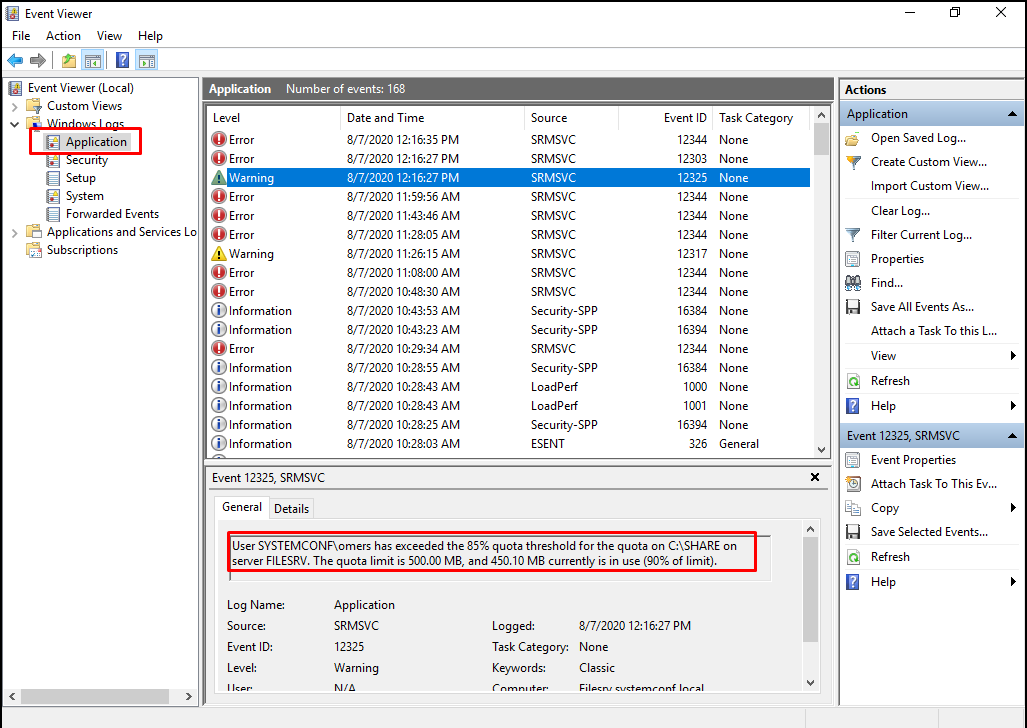
The required log has occurred because we chose to send 90% mail and log on the event viewer. These logs are located under Application under Windows subtitle. He has gone to the specified address in the mail indicating the situation.
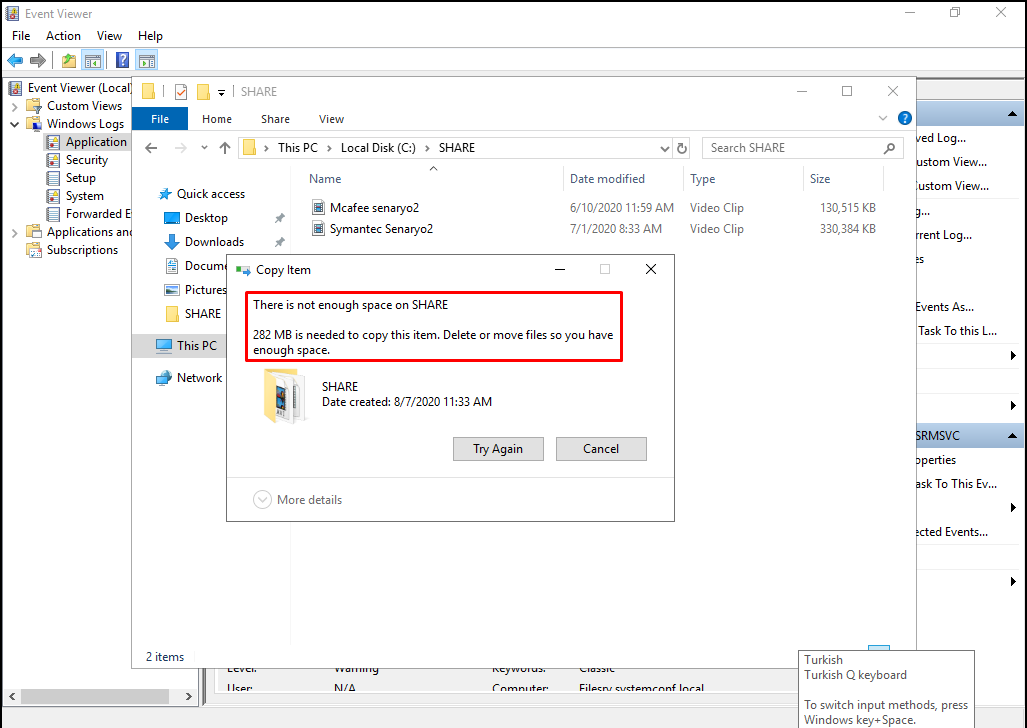
When we want to copy more data to the folder, 500 MB will be exceeded, so we are greeted by the occupancy warning regarding the space to be copied.
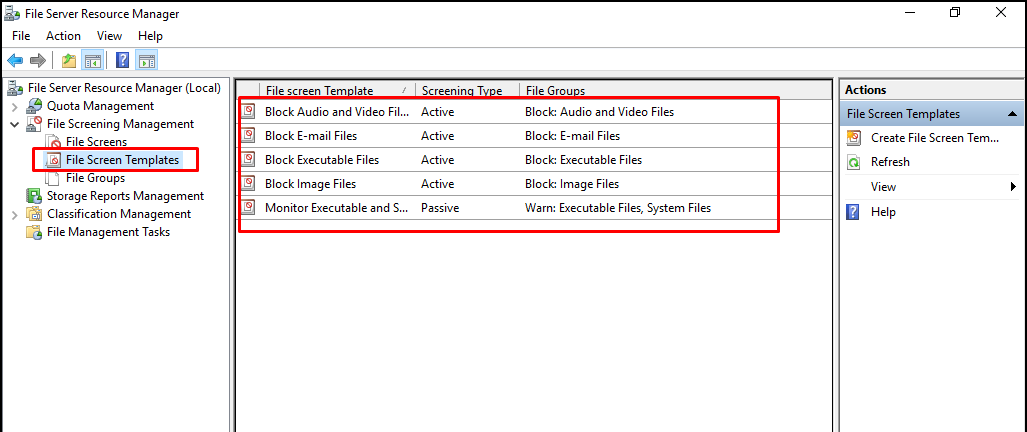
After reviewing the role feature setup, general console setting and quota settings, let’s examine the “Screen Template” settings. This template setting offers the opportunity to make settings such as copying or not copying the desired extensions to the folder to be applied. On our current screen, we can see the default templates already created.
File Groups
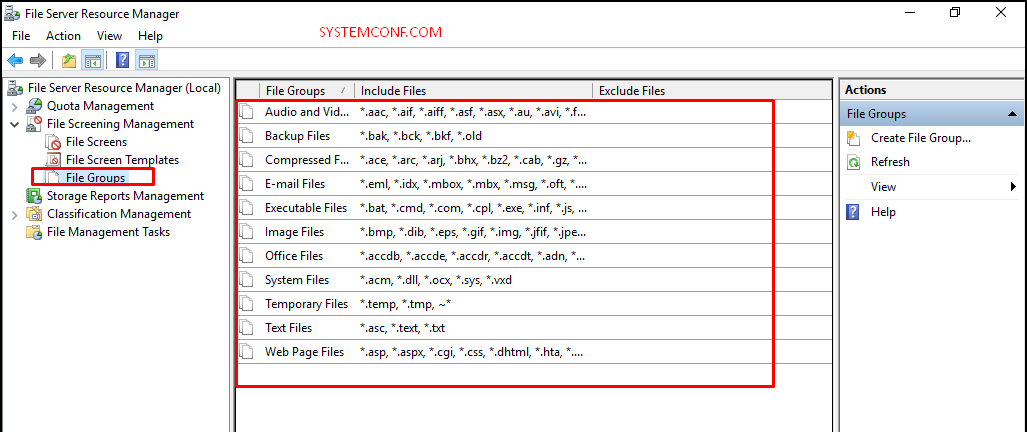
In the “File Groups” section, we can see the already defined file extensions.
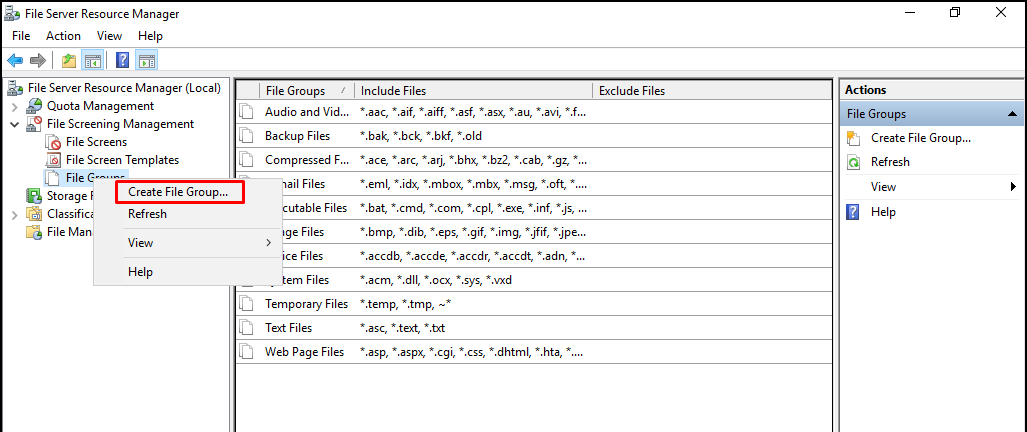
Let’s make a template definition for ourselves in this area. To do this, right-click on “File Groups” and click on “Create File Group…“.
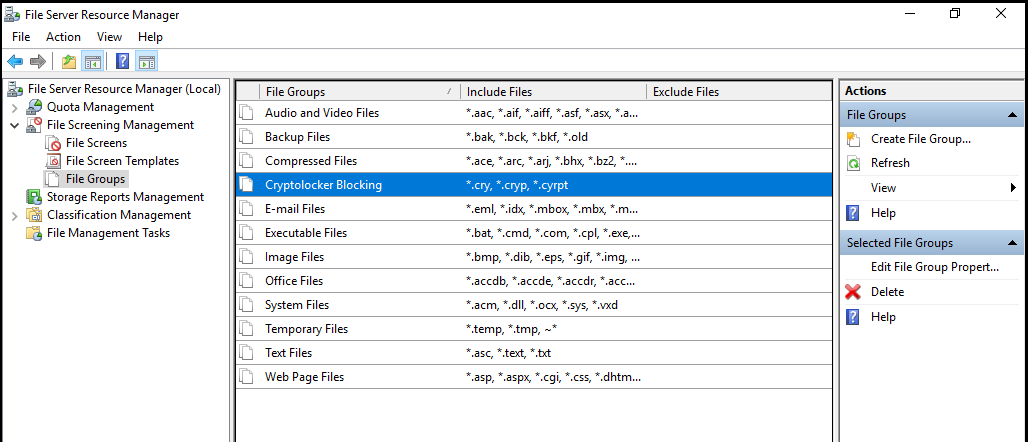
Let’s give a name to our template in the “Settings” tab. Let’s write the file extensions to be used. Let’s do an example here to prevent cyrptlocker virus. Cryptolocker virus replaces the extensions of the files it reaches. Since this file cannot have a file extension as we have determined below, it will not have an effect here. It is also possible to do only the specified extensions as writable by doing the opposite. We can complete our template by clicking the “Ok” button.

We can see our template under File Groups.
File Screen Templates
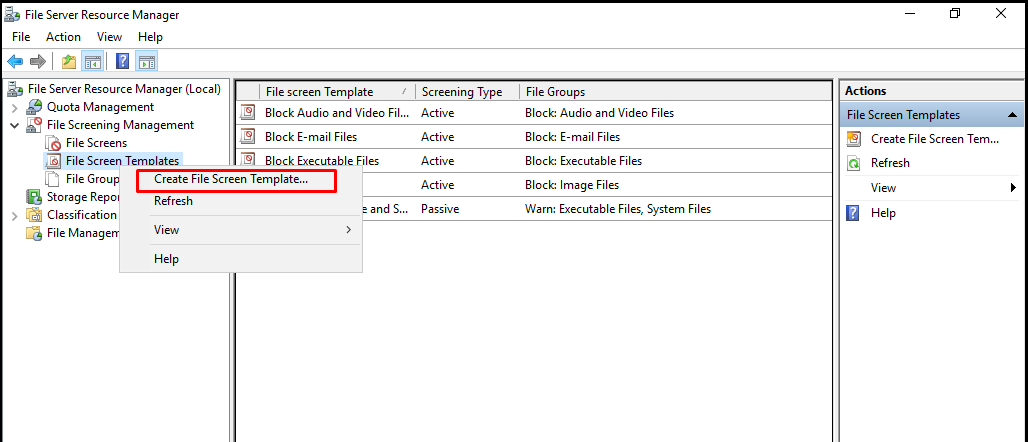
Let’s assign the created file extension template to a block or allow template. For this process, let’s right-click on File “Screen Templates” and click “Create File Screen Template…“.
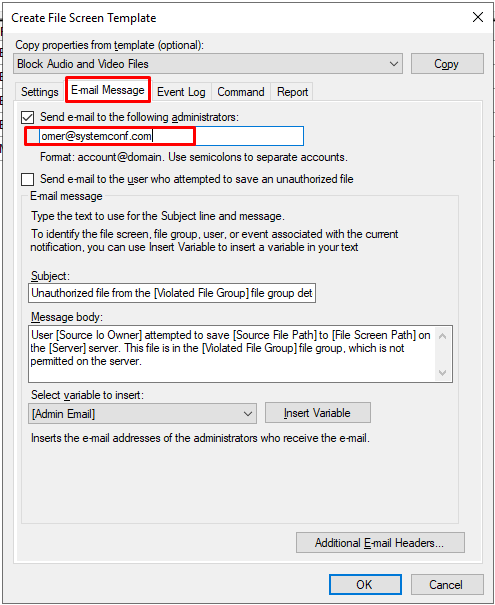
First of all, we define a name for the template in the Settings section. In this template, we select the file extension templates to be blocked. In our template, we choose the template we created to prevent Cryptolocker virus and the “Audi and Video Files” template for audio and video blocking.

If mail settings are required to be active here, the necessary settings can be activated in the “E-mail Message” tab.
In case of a violation, if a log is requested on the event viewer, you can activate the required setting from the screen below in the “Event Log” tab.

As seen on our screen, our template has been created again.

File Screens
By assigning our template to a folder, we can prevent the copying of files or extensions that are not allowed here. Right-click on the “File Screens” section and click the “Create File Screen…” section.

Since we will apply this Screen template to the “SHARE” folder on “C:“, we select this folder via “Browse“. We select the template we created to apply it and complete the process with Create.
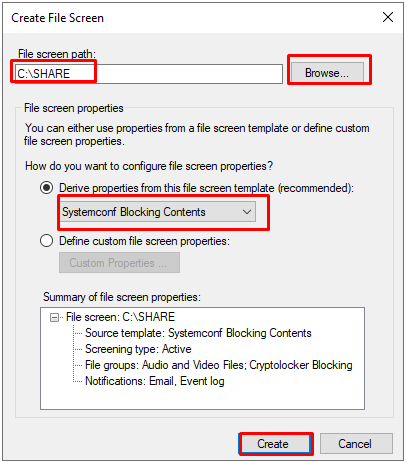
The folder setting we created in the “File Screen” console is visible.

Now we can try to copy the files with CRYPT and MP3 extensions on our desktop to the folder where we created extension restrictions.

When we want to change the extension of an existing file to one of the prohibited extensions, we again encounter an error.

The situation is seen on “Event Viewer” as below.

Storage Reports Manager
Finally, let’s take a look at the reports. Although very comprehensive reports cannot be obtained, we can receive general reports about the actions returned here. In the “Storage Reports Manager” section, we can click on the “Generate Reports Now…” section.

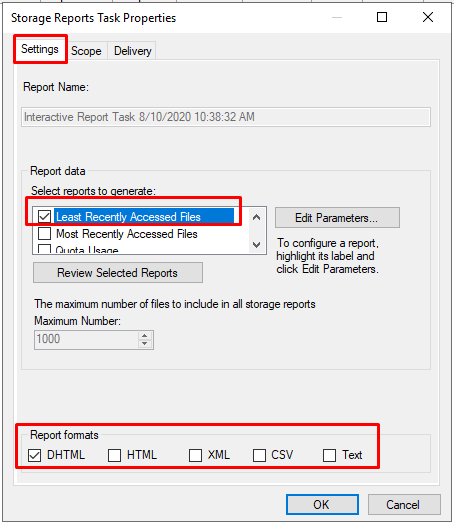
We can select the report actions to be created in the “Settings” tab of the “Storage Reports Task Properties” page. We choose the report format from the bottom.
In the “Scope” tab on the “Storage Reports Task Properties” page, we select the folder where the report will be extracted.
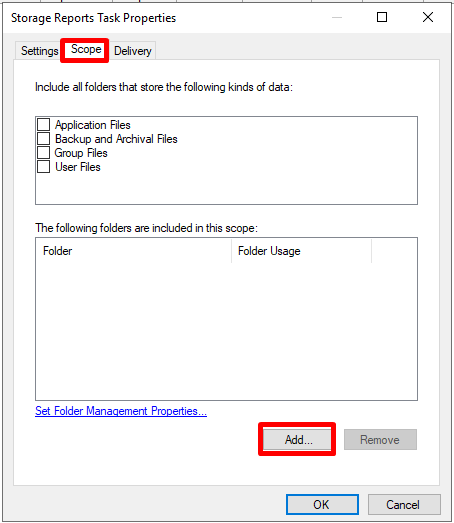
We have completed the step of adding our SHARE Folder under our “C:” disk.

If we want the report to be sent via mail in the “Delivery” tab on the “Storage Reports Task Properties” page, we need to turn on the mail setting. We open the mail setting and enter the mail address.

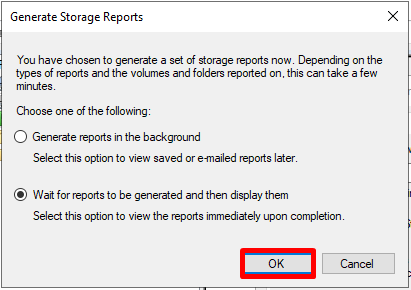
By clicking the “OK” button, we create the report.
Least Recently Accessed Files Report
The report we have created has been created.


