by
by The File Server Role, which has been in our lives since Windows Server 2008, continues with Windows Server 2019. It is used for assigning sharing quotas to our users in our environments, preventing unnecessary content from being copied to these areas or adding only allowed content, receiving reports, seeing the event log in case of violations here, receiving e-mail related to the situations.
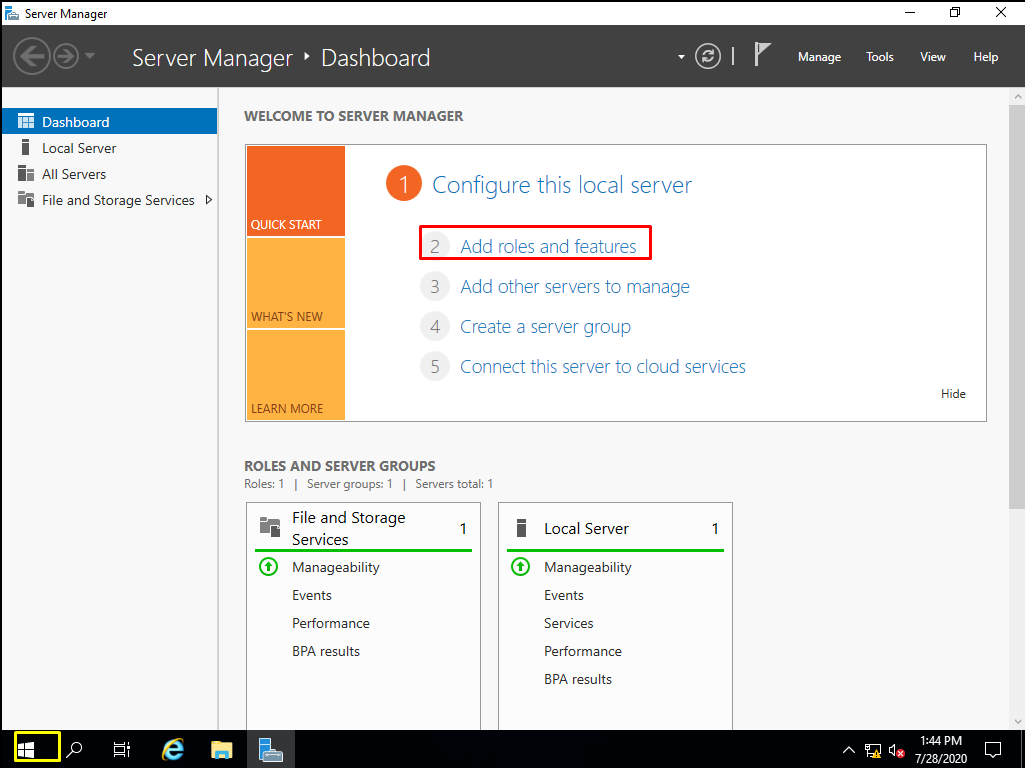
We can start the steps to add roles by using one of the Manage menu on Server Manager or the area shown by the picture below.
On the screen that opens, information is given on what we can do with the wizard. With the “Next” button, we can proceed to our next screen.

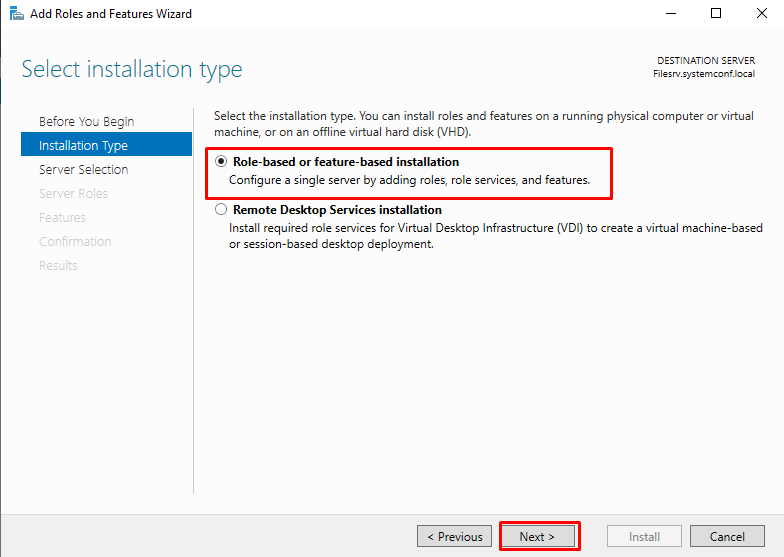
There are two options on our screen that opens. The first one is;
Role-based or feature-based installation: Allows to add and install on role and feature basis. According to the version we have in Windows Server 2016, we can add and remove the roles and features we need.
Remote Desktop Services installation: In the old days called Terminal Service and now we can make RDS (Remote Desktop Services) remote desktop configuration fast and as standard here.
For this reason, we will proceed with the Next button by choosing Role-based or feature-based installation since we will not do RDS installation and configuration.
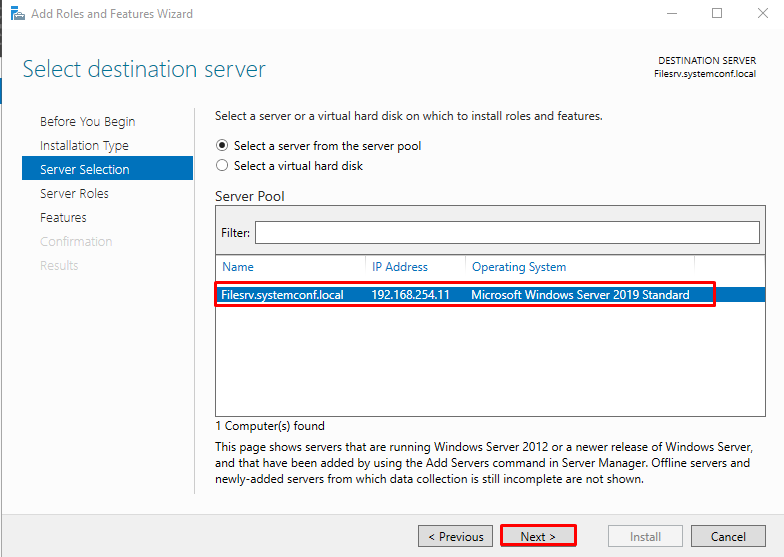
By creating a server cluster with Windows Server 2008 and 2012, it was able to add and remove Roles and Features on this cluster collectively and over a different server. Of course, this process can be done directly on Windows Server 2012, while we had to add some features to Windows Server 2008. Since we have a single server in our environment and we will install the Resources Manager feature of the File Server role on this server, we proceed with the “Next” button by selecting our server whose Name, IP address and version information are provided.
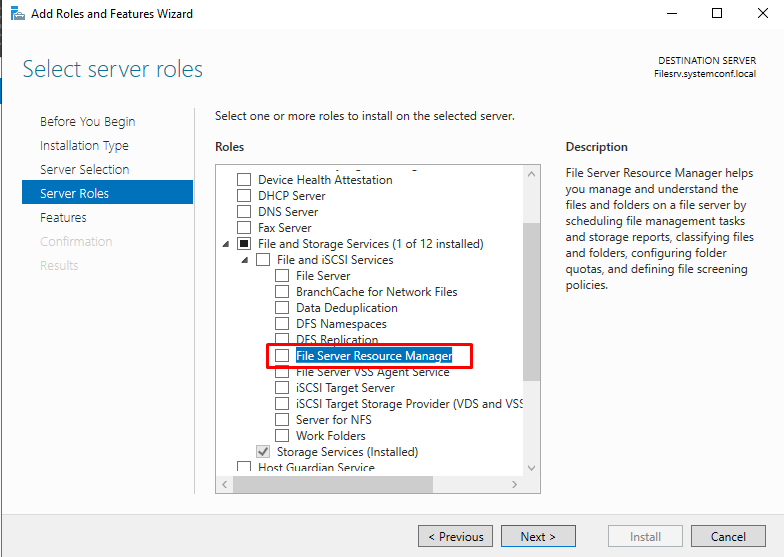
We select and expand the File and Storage Services role for the feature that we will install from the screen we see.

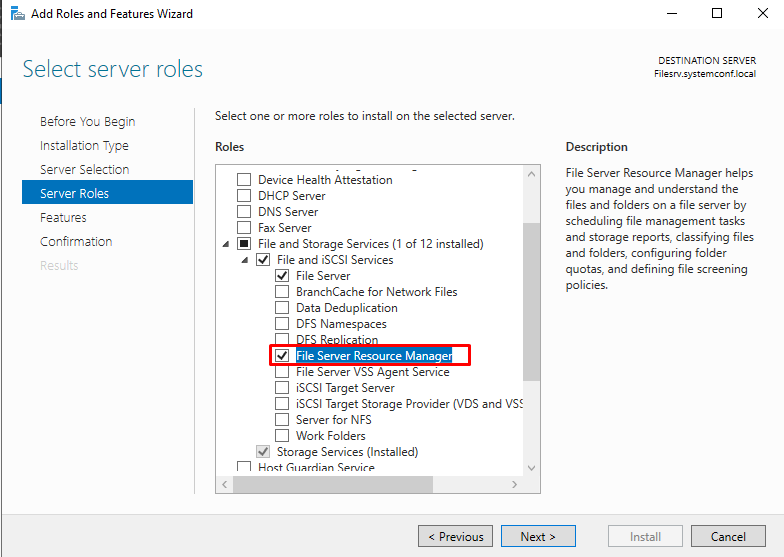
We select the File Server Resource Manager feature.
After selecting this feature, the screen of the components required to install this feature is displayed. Since we want it to be installed automatically on these components, we click on the Add Features button.

After our selections are completed, we proceed to the next screen with the “Next” button.
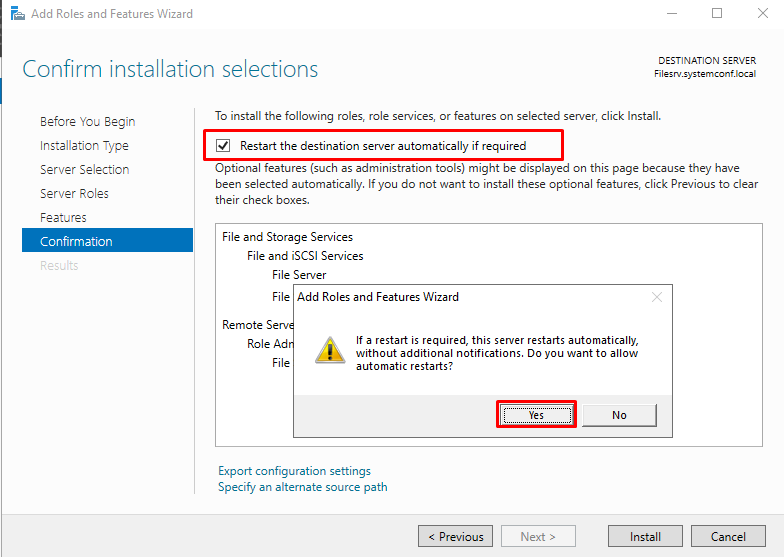
By selecting “Restart the destination server automatically if required”, we can ensure that this process happens automatically if a reboot is required after installing the roles. Let’s click the YES button on the problem screen that comes to our mix and let us state that we give consent to start again.
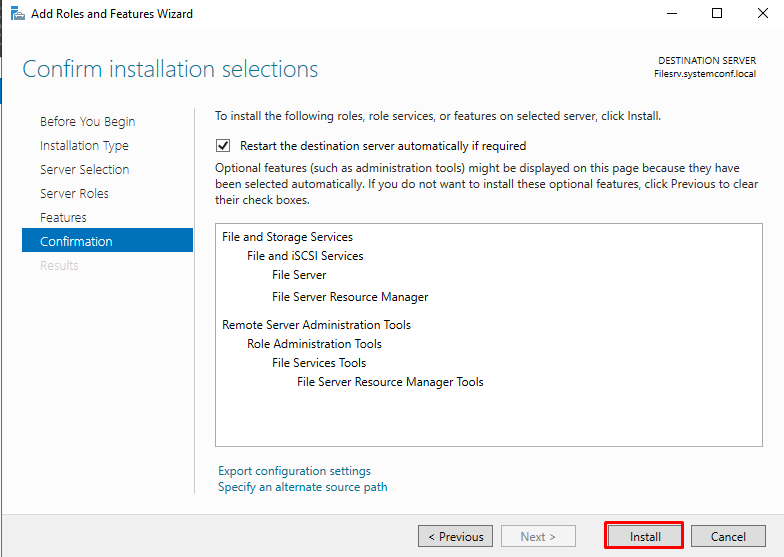
On this screen, we can start our installation process by clicking our Install button.
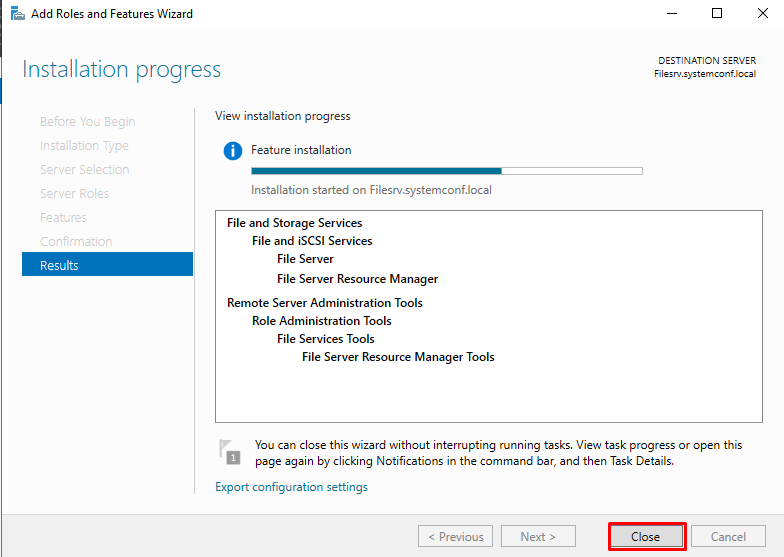
File Server Installation has started and continues.
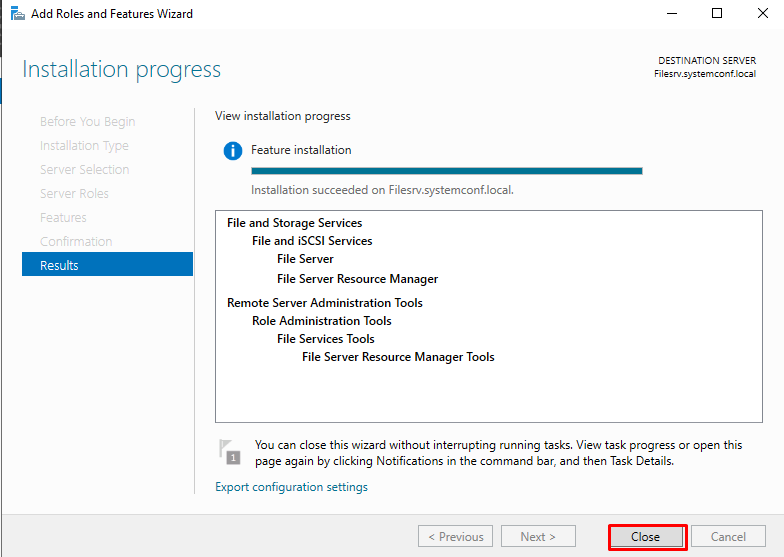
Role feature setup is complete. We can close our screen with the “Close” button.
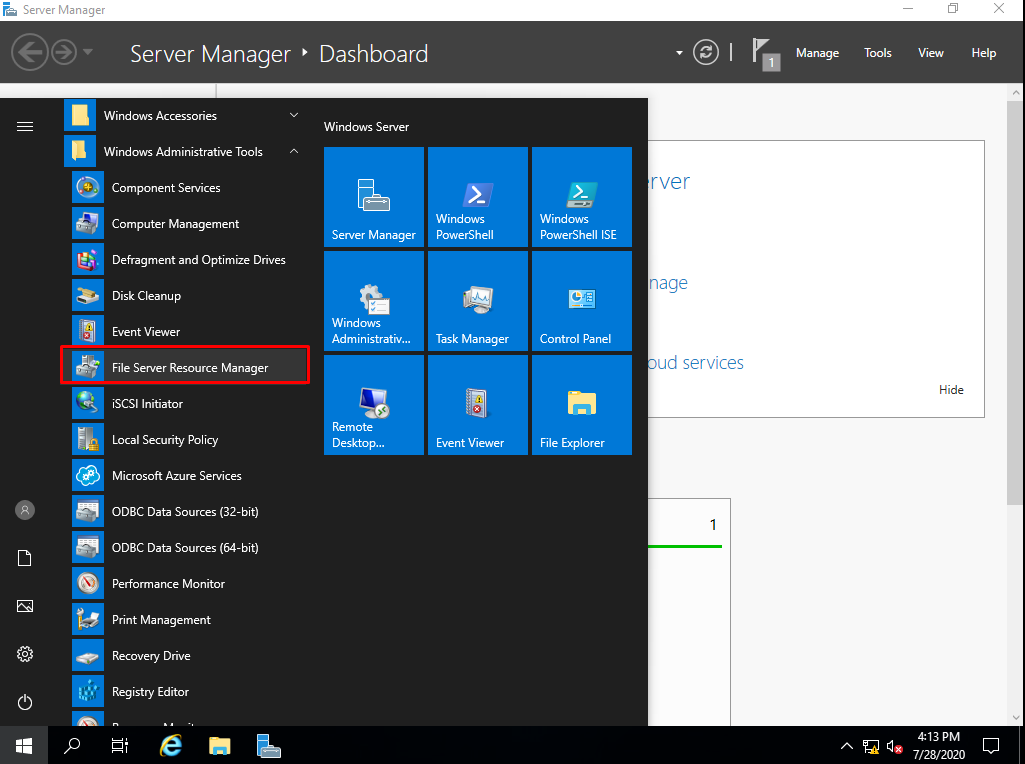
A shortcut of our File Server Resource Manager feature has occurred on the start menu. We can open our console by clicking here.
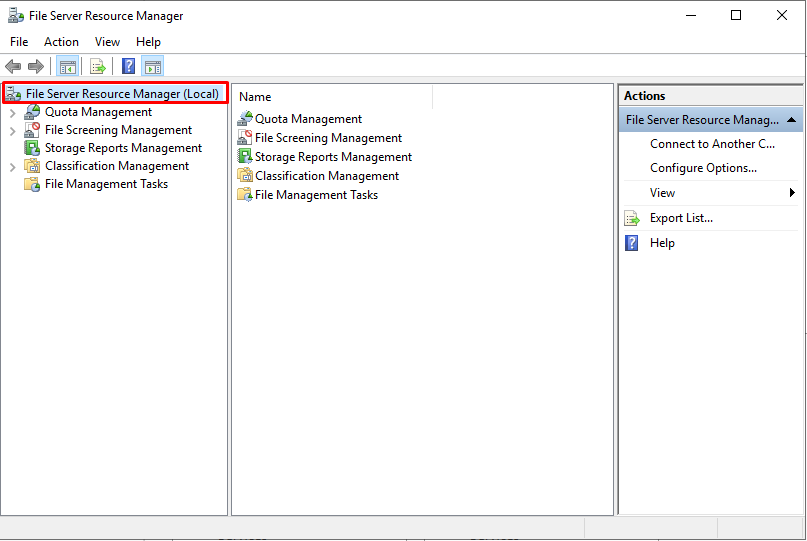
Our console is opened. A screen that is simple to use and manage welcomes us.
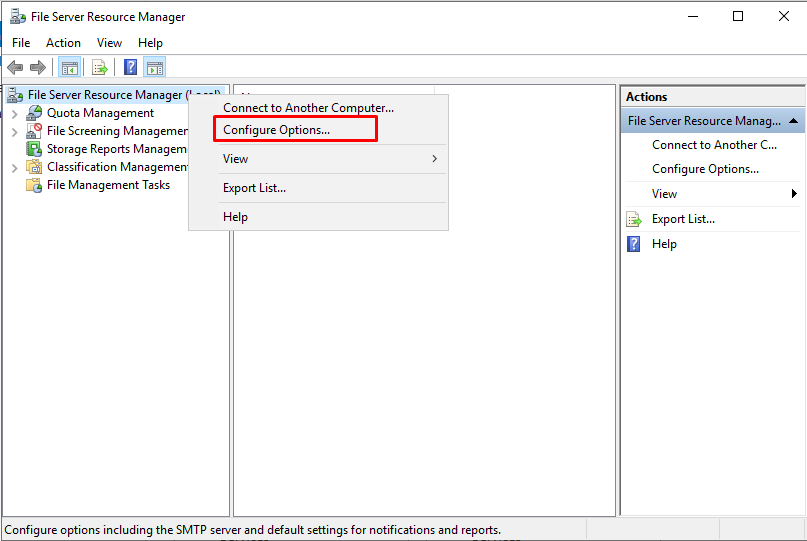
First, let’s right-click on the console main menu and click on “Configure Options…” to configure our main settings.
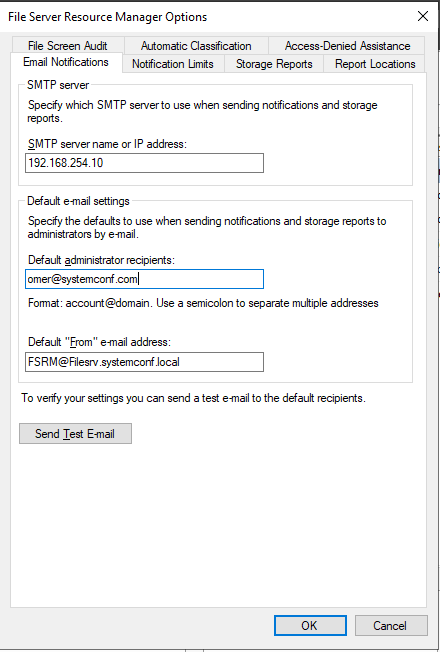
We just need to make a few settings on our screen in general. One of them will be notifications by mail when there is a violation or report situation. Therefore, first of all, let us enter an SMTP server information in our environment or outside in the Email Notifications section. Then we can enter the address information that will send and receive mail.
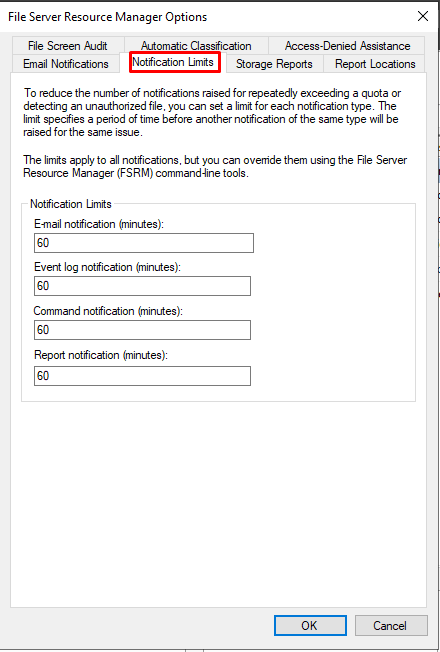
In the Notifications Limits section, we can edit the values or leave them as is.
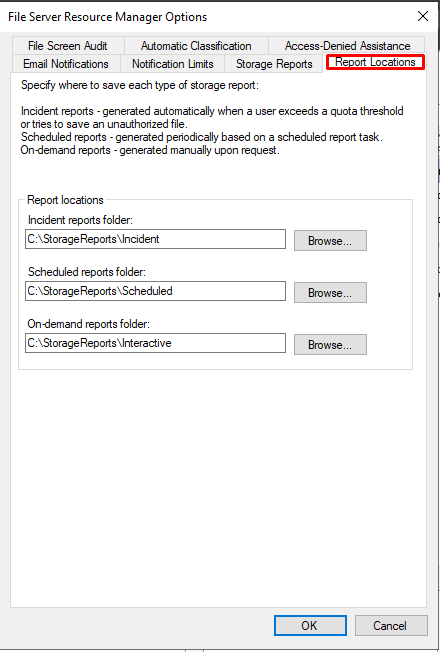
In the Reports Locations section, we can change the area where the reports are stored or leave them as is.
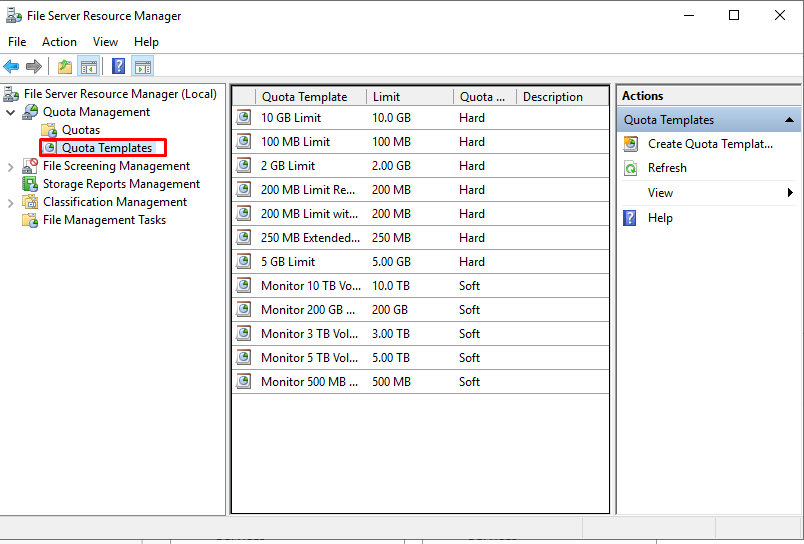
Finally, let’s start our settings after general settings. When we first look at the QUOTA Templates section, we can see ready templates prepared in MB, GB and TB.