 by
by Canonical Ltd., the official developer of Ubuntu. It is an operating system distribution that uses the Linux kernel developed for servers. Unlike the versions of Ubuntu for desktop and laptop platforms, Ubuntu Server, which contains some additional features and services, is an operating system distribution that only works on server systems. Ubuntu Server is not a Linux distribution that personal users can install on their PCs.
In addition to being a completely free Linux operating system distribution, Ubuntu is also one of the most preferred operating system versions on the server-side. Ubuntu Server, which is the version of Ubuntu prepared for the server, does not have a user graphical interface, unlike the Ubuntu distribution, and the installation process is performed with the help of the command line.
Ubuntu Server is fully compatible with many systems and platforms. Ubuntu Server distribution is a platform compatible with popular products such as Microsoft Hyper-V and VMware ESX server. With Ubuntu Server, you can easily create the appropriate infrastructure to host websites and game servers on your server.
Download Ubuntu Server
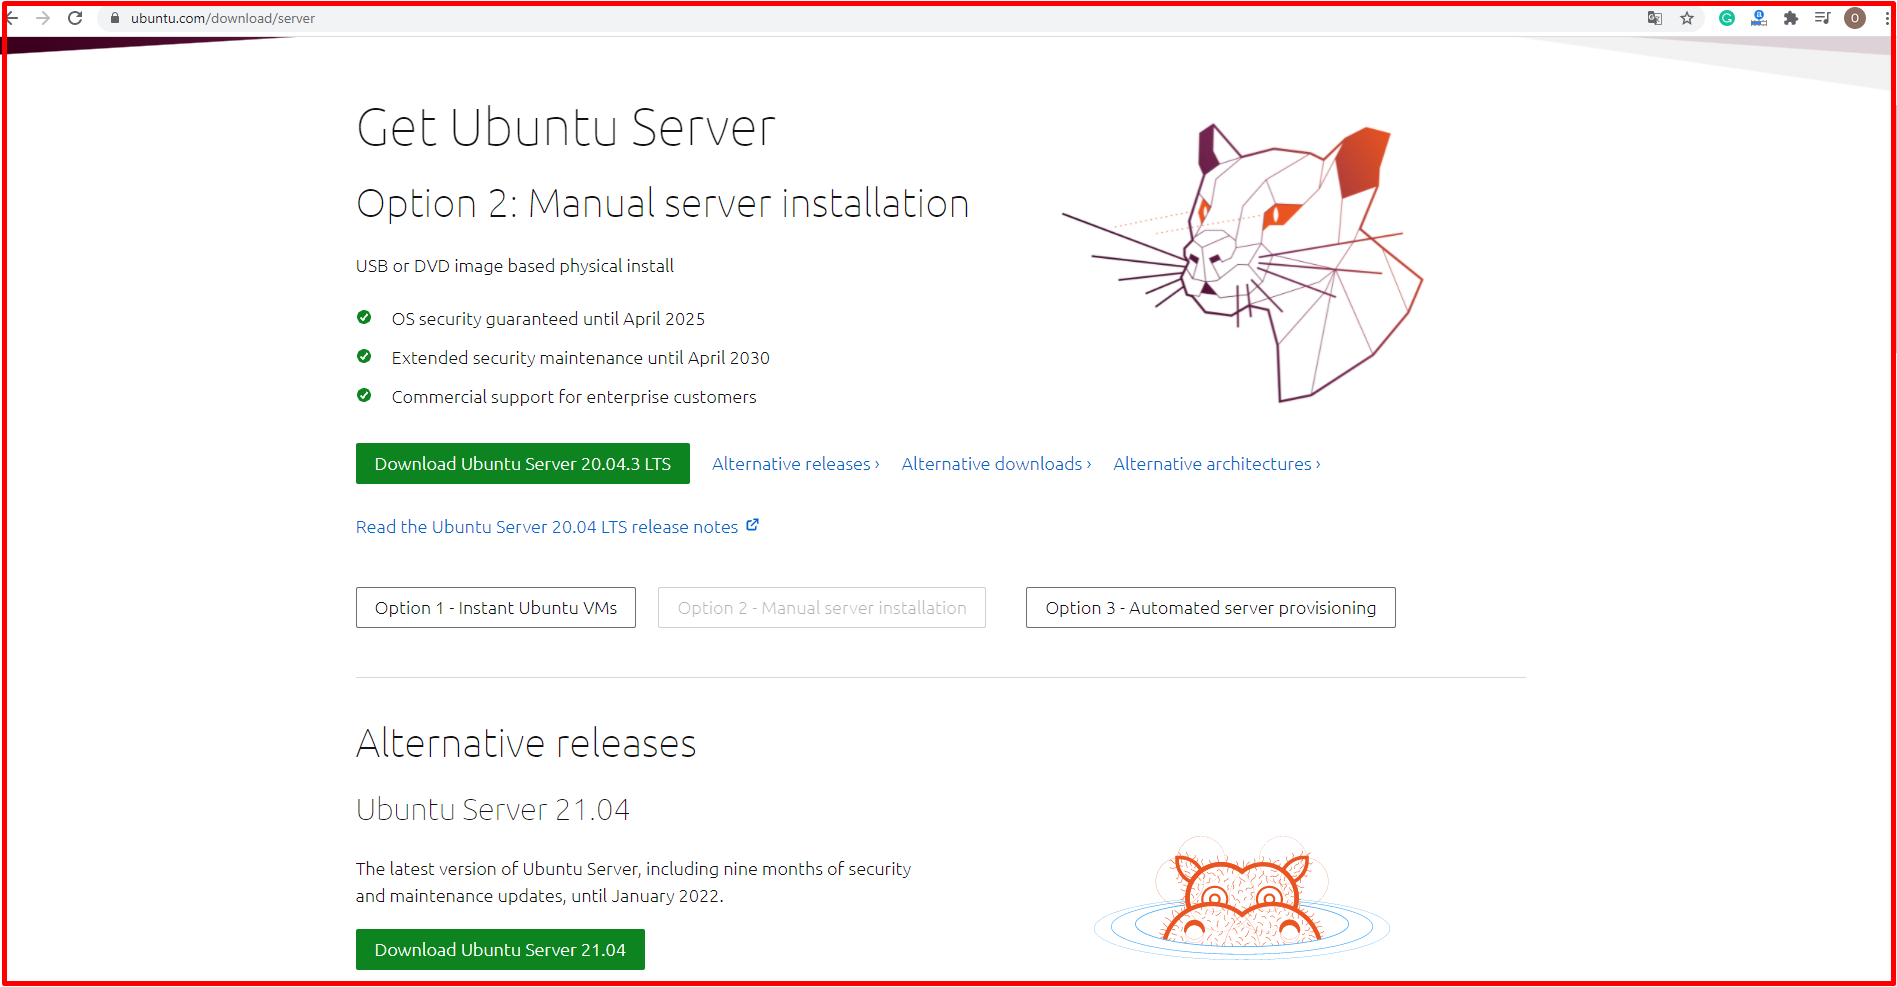
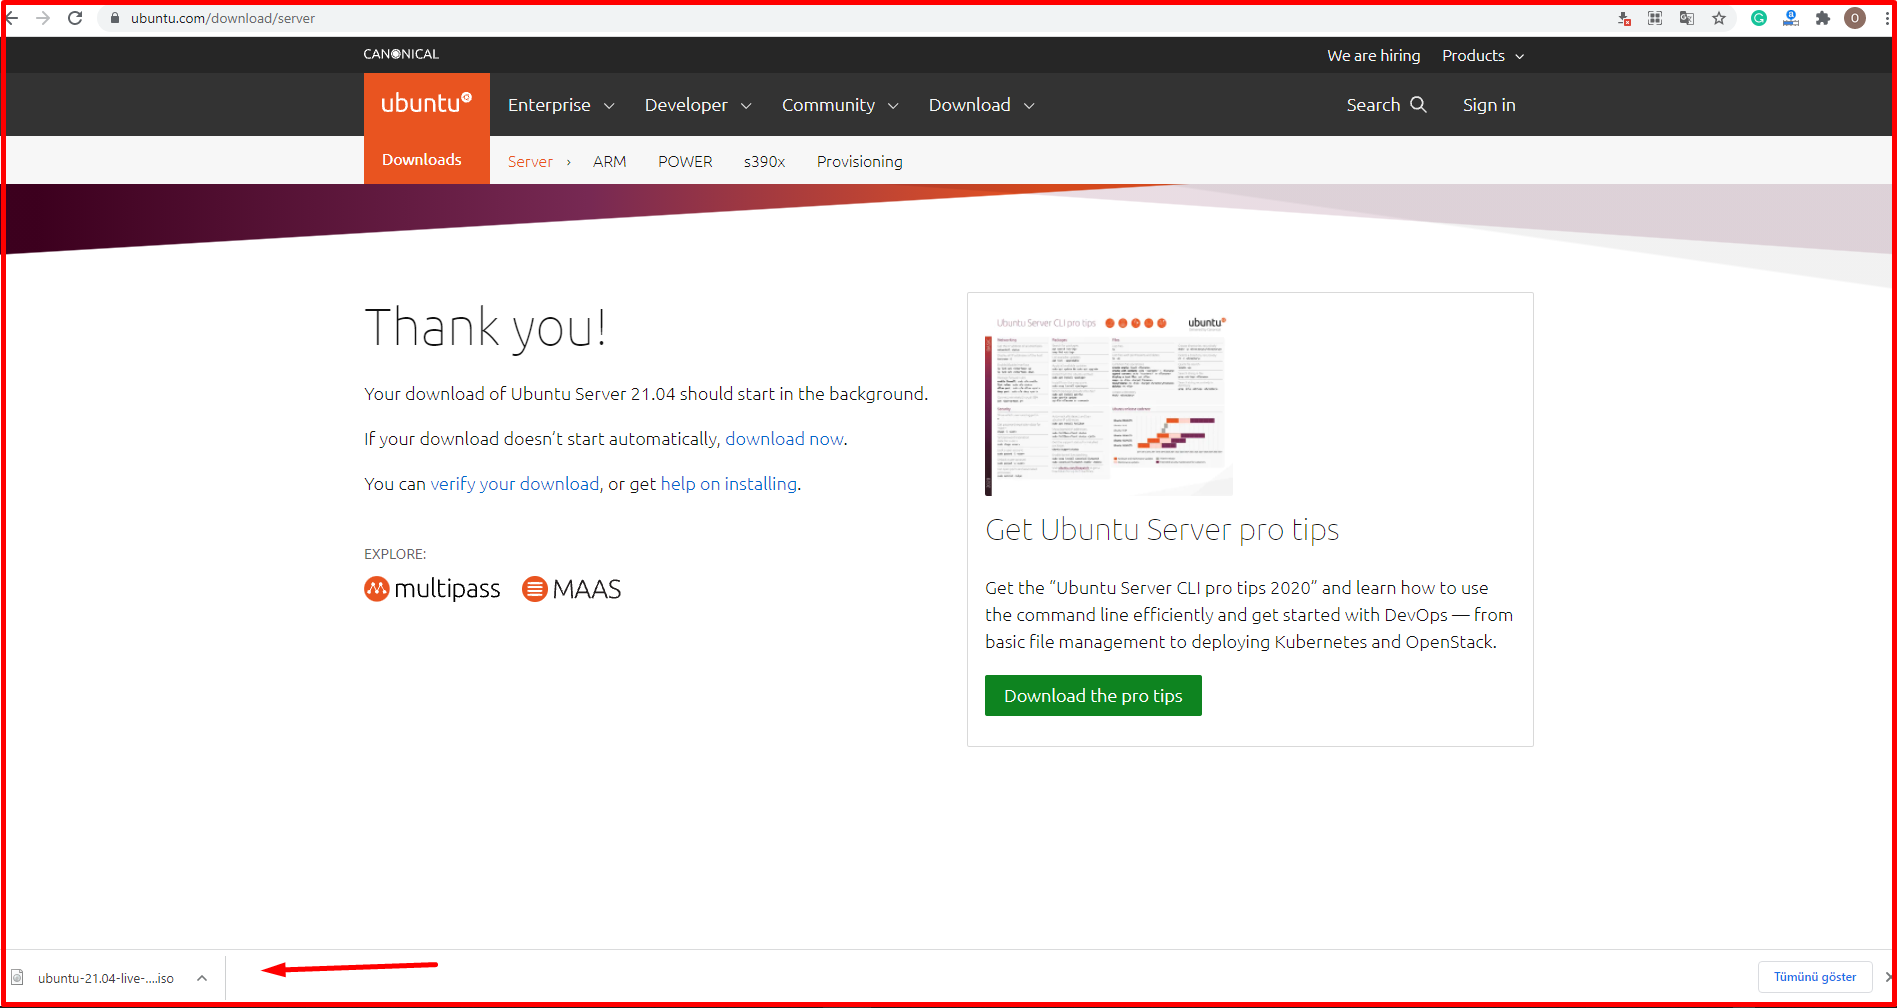
You can download the current version of Ubuntu Server from the link below. You can start downloading the latest version of Ubuntu Server by clicking the “Download Ubuntu Server” button in the window that opens.
https://ubuntu.com/download/server
How to Install Ubuntu Server?
Ubuntu Server does not use a graphical interface in installation. Therefore, the person who will complete the installation should have at least a basic level of command of the server and Linux commands.
We will install Ubuntu Server on the Vmware system. For this, we click on “File -> New Virtual Machine” on Vmware.

We continue by clicking the “Next” button on the “New Virtual Machine Wizard” screen.

We select the iso file that we downloaded during the “Guest Operating System Installation” from the “Browse” button. Then continue by clicking the “Next” button.

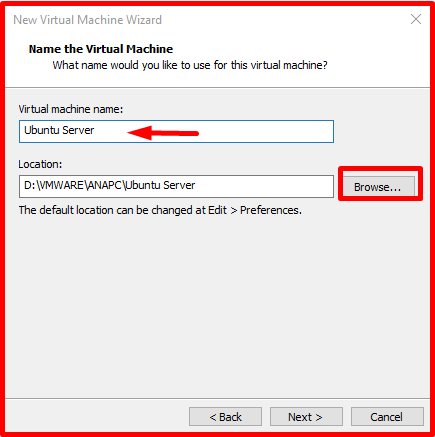
On the “Name the Virtual Machine” screen, we enter the name of the machine in the “Virtual machine name” field. In the “Location” part, we choose where to install our machine. Then continue by clicking the “Next” button.
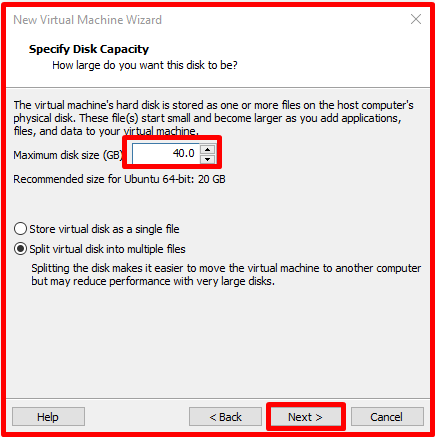
On the “Specify Disk Capacity” screen, we determine the size of our disk. Then continue by clicking the “Next” button.
On the “Ready to Create Virtual Machine” screen, a summary of the settings made is shown. We gave our machine 4 GB ram and 40 GB disk. If you want, you can change the settings according to your own capacity by clicking the “Customize Hardware” button. Then continue by clicking the “Next” button.

After clicking the “Finish” button, the following screen appears. On this screen, we select “Ubuntu Server” and press enter.

On the welcome screen, we select the language for the operating system installation. On this screen, we select the “English” language and press the Enter key to start the installation.

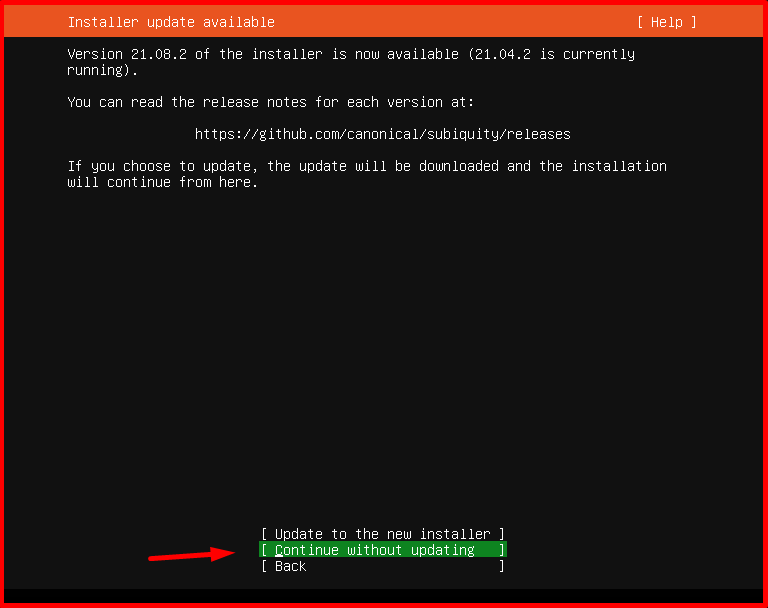
On the “Installer update available” page, if there is a new update on the current version, it asks us for approval for its installation.
Update to the new installer: With this option, update packages are downloaded from the internet and installed in the last step of the installation process.
Continue without updating: With this option, the installation process continues without updating.
We select “Continue without updating” and press Enter to continue the installation.
On the “Keyboard Configuration” page, “English (US)” is selected in accordance with the previous step on the keyboard configuration screen. You can optionally select the keyboard language on this screen. Then we press “Done”.

On the “Network Connections” page, the network cards on my operating system will be listed. IP address definition and address distribution type are determined for each of the network cards here. In this setup, we will define static IP addresses. For this process, we select the network card for which we will define a Static IP address and enable the configuration options to be opened with the Enter key. In the configuration options that open, we choose “Edit IPv4” to define a static IPv4 address.

In the IPv4 IP address configuration options, we choose the “Manual” tab because we will define Static IP addresses.

In the IPv4 address configuration, we define the required configuration information in the following fields. Then we press “Done”.
- Subnet: It needs to be defined as CIDR. Specifies which part of the IP address corresponds to the local network address and which part corresponds to the machine address.
- Address: IP address information is defined.
- Gateway: Default Gateway address is defined. Specifies the IP address of the device (gateway – firewall – router) that forwards traffic from the local network to all other remote networks.
- Name: DNS server(s) IP address information is defined. Specifies the IP addresses of the DNS servers required for your machine’s name query.
- Search Domains: Local domain name information is defined. It is used to create the FQDN. For this purpose, the local domain acts as a single-item lookup list.

After the “Network Connections” settings are completed, we press the “Done” button to proceed to the next step of the installation process.

On the “Configure Proxy” page, if you are using a proxy in your network, define the necessary configuration. If you are not using a proxy, we press the “Done” option without making any changes on this screen.

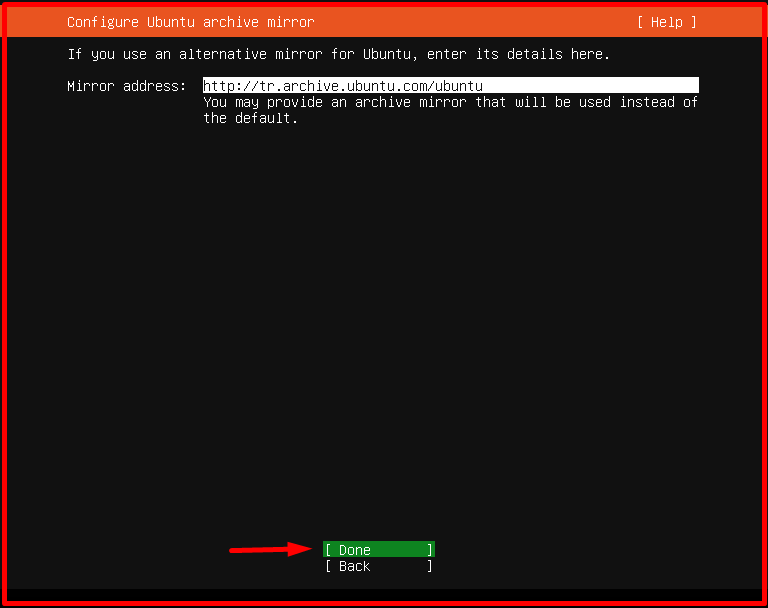
In the “Configure Ubuntu archive mirror” step, the default Ubuntu archive mirror address information is defined. If there is a mirror you prefer, you can enter it. We leave it as default. Then we click on the “Done” option.
On the “Guided Storage configuration” screen, we select the “Use An Entire Disk” option. You can either want it to use the default disk or configure the same disk using LVM. LVM is a useful disk management system for expanding your disk later. We continue with the first option. Then we click on the “Done” option.

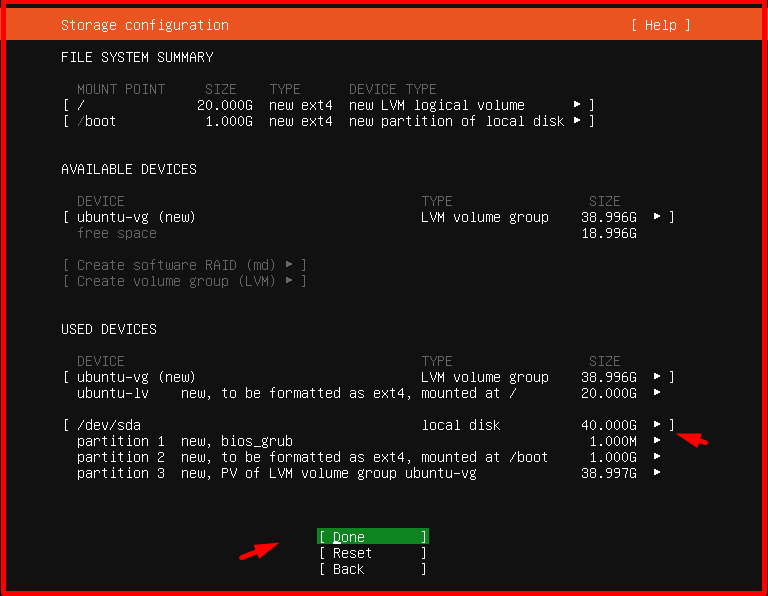
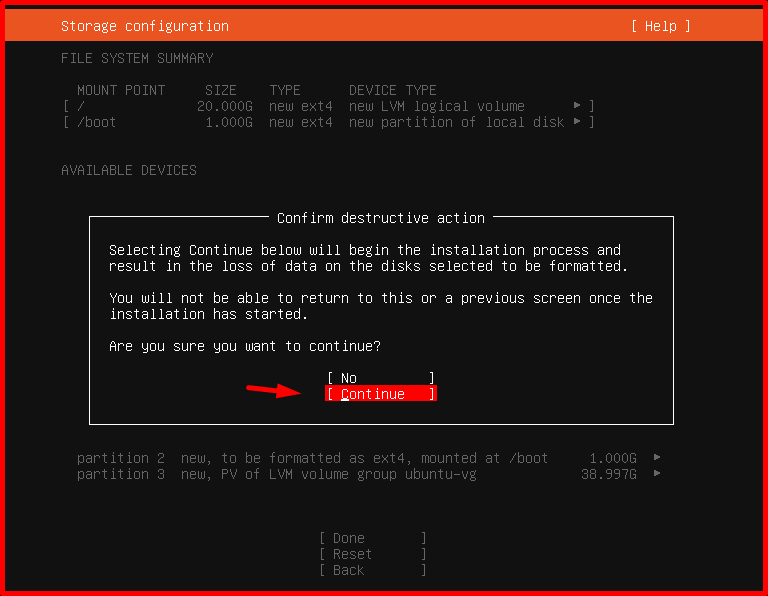
We leave it as default on the “Storage configuration” page and continue the process by saying “Done“.
Since our disk will be completely erased, it will ask us to confirm. We continue by saying “Continue”.
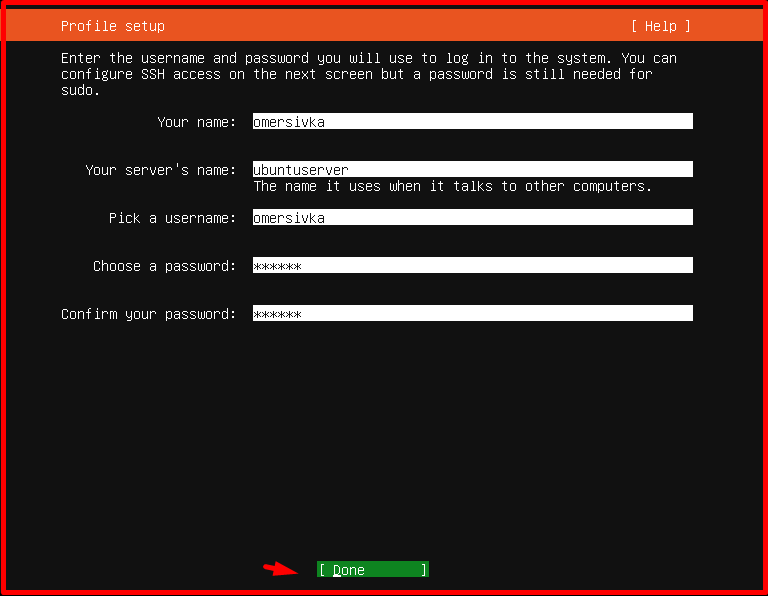
On the “Profile setup” page, we define a user account with root account authority. We define the required information and the operating system name. Then we click on the “Done” option.
On the “SSH Setup” page, we recommend installing an “OpenSSH” server, as we will do our post-installation configuration and application installation over SSH. On this screen, we select “Install OpenSSH server” and press the “Done” option.

On the “Featured Server snaps” page, if you want a special configuration to be installed, you can select the relevant option and perform the necessary actions. If you do not want to make any selection, we press the “Done” option.

In the “Installing complete” step, the Ubuntu installation process starts. Depending on the speed of the system to be installed, this process will take between 5 minutes and 30 minutes. When the installation is finished, you can start using Ubuntu Server by saying “Reboot Now“.

Extract the installation tool (DVD, USB or iso) and press Enter to reboot the system.

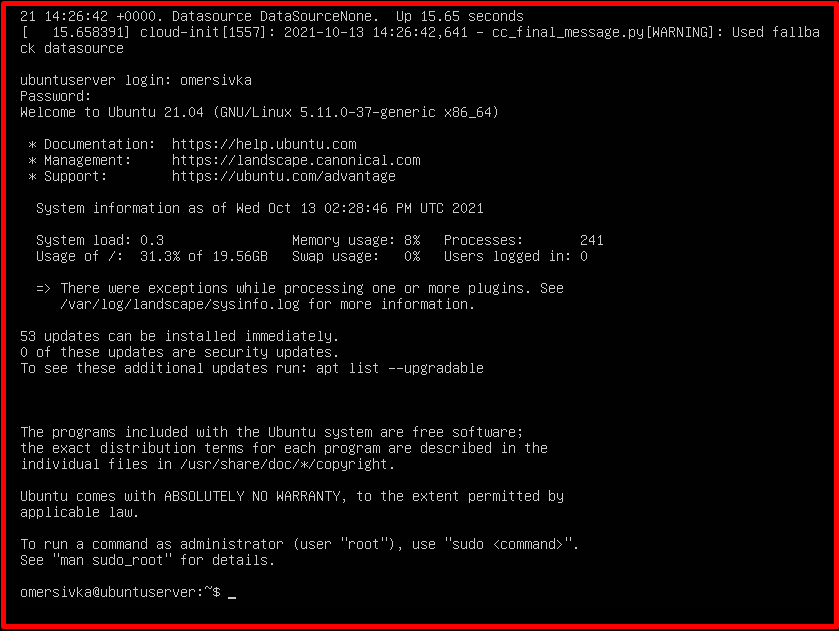
You can log in to the system with the user information you specified during installation.