To operate the DLP(Data Loss/Leak Prevention) process, you may need to grant authorization to representatives from different units in your Institution through Mcafee ePO. For this, we will look at situations such as which authorizations, which incidents, which dashboards it needs to see. We will only authorize personnel in one unit. We will let this personnel see incidents in their unit.
Setting “Permission Sets”
First, we click on the “Menu -> Permission Sets” button on Mcafee ePO.

On the “Permission Sets” screen, click the “New Permission Set” button at the top.

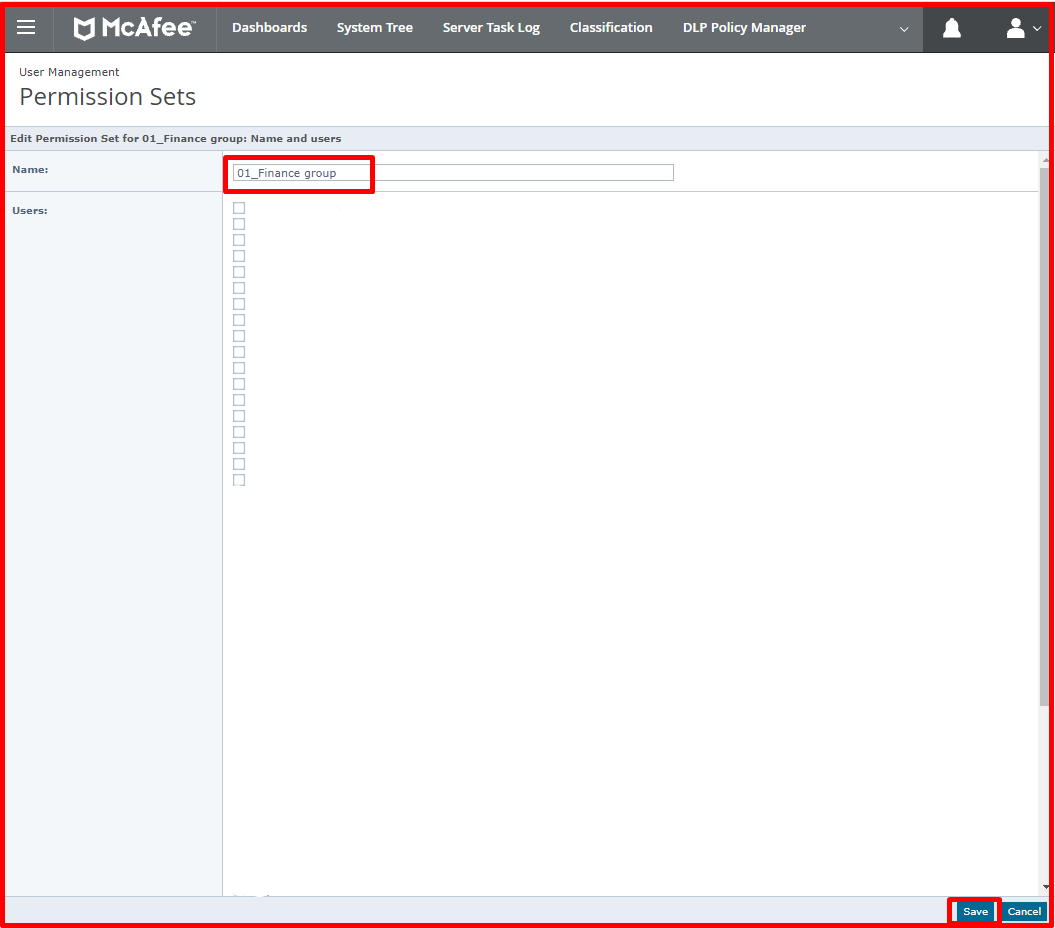
In the “New Permission Set” screen, you can give the unit name as the name. As an example, we gave “Finance group“. Exit by clicking the “Save” button.
We select the “Finance group” that we created in the “Permission Set” settings. Here we click the “Edit” button for the “Data Loss Prevention:” tab.

Since we will ensure that the user can only see the incidents, we select the “Incident Management” tab on this screen. In the “Incident Access by Type” section, we select the “Data Protection“, “Endpoint Discovery (data at rest)” and “Network Discovery (data at rest)” fields. In the “Incidents Access by Reviewer (advanced)” section, we select the “permission sets” that we have created. You can choose other settings according to your wish. Exit by clicking the “Save” button.

Setting “DLP Incident Manager”
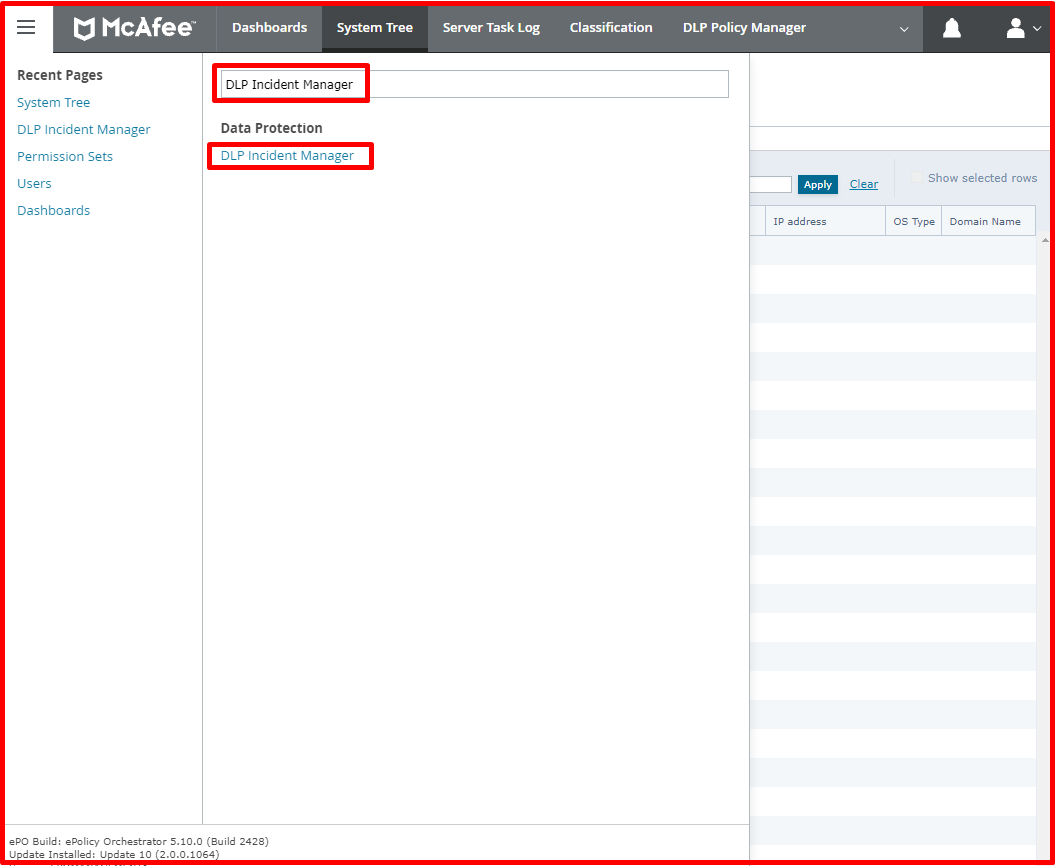
Secondly, we will set the “DLP Incident Manager” settings. For this, we click on the “Menu -> DLP Incident Manager” button on Mcafee ePO.
On the “DLP Incident Manager” page, we click on the “Incident Tasks” option. Click on the “Set Reviewer” section. Click the “Actions -> New Rule” button at the bottom.

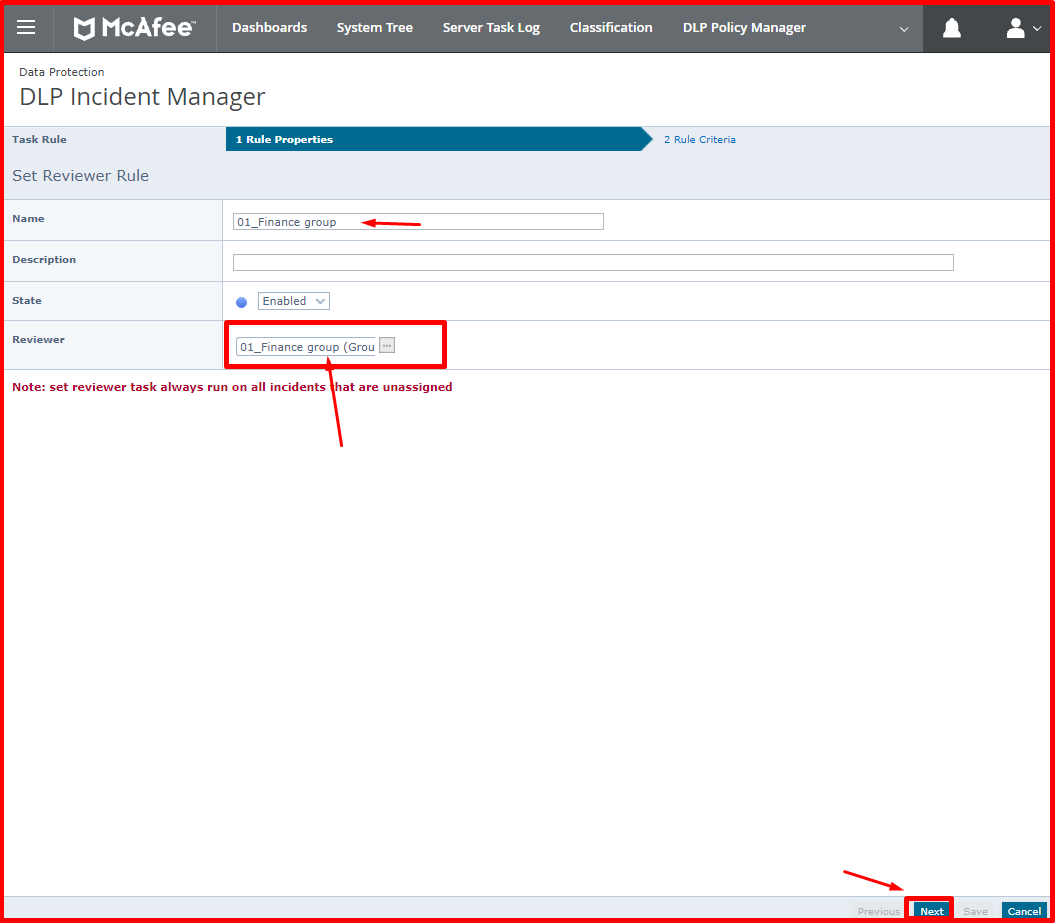
On the “Task Rule” page, we enter the rule name in the “Name” field. In the “Reviewer” section, we select the group we made in the “Permission Set” settings. Continue by clicking the “Next” button.
On the “Rule Criteria” page, we select the “Rule Set Name” criterion on the left. We choose the rule we created. Close by clicking the “Save” button.

User Creation and Settings
As the third step, we will create the user. We will assign the sets we created to the user. For this, we click on the “Menu -> Users” button on Mcafee ePO.

Click the “New User” button at the top of the “Users” screen.
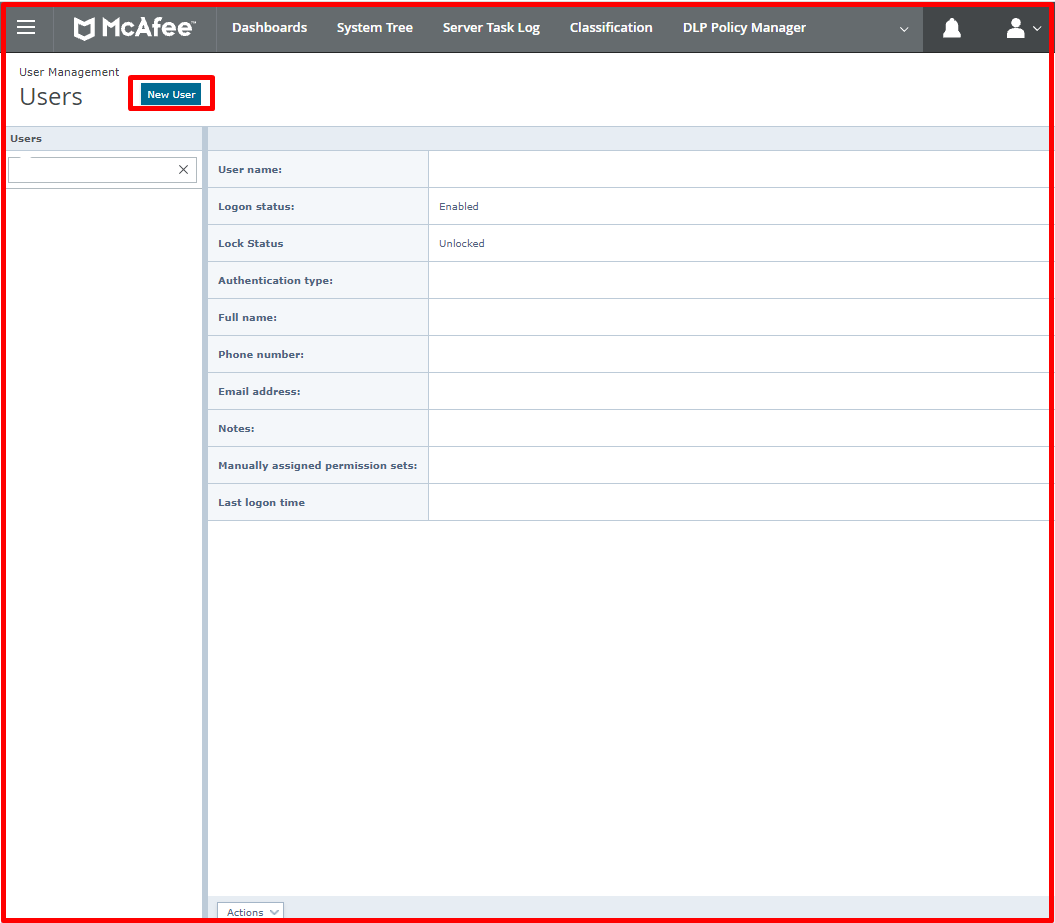
Here, enter the user’s job in the “User name” field. If Active Directory is used in the environment, you can add a user from the “Windows authentication” section. If not, you can create a user via ePO from the “ePO authentication” section. The important thing here is the “Manually assigned permission sets” part. Here we select the “Permission set” that we created. We choose the “Finance group” set. Exit by clicking the “Save” button.

McAfee ePolicy Orchestrator
We log in to “ePolicy Orchestrator” with the user we created.
We can see a limited number of categories on the screen as a result of the authorizations we have given for the user we have created. Here we click on the “Menu -> DLP Incident Manager” tab.

On the “DLP Incident Manager” page, we click on the “Incident List” tab. Here we can only see family logs to the Finance directorate. This was the rule we wanted anyway. We asked the directorates to see only their own logs without giving any further authorization.


