by
by Previous “What is Firewall Pfsense? What are its Features?” You can read our article. We will be performing the pfsense installation virtually on VMware Workstation.
Download Firewall Pfsense
You can get the software and files during the installation from the links below.
- Pfsense download link:
https://www.pfsense.org/download/
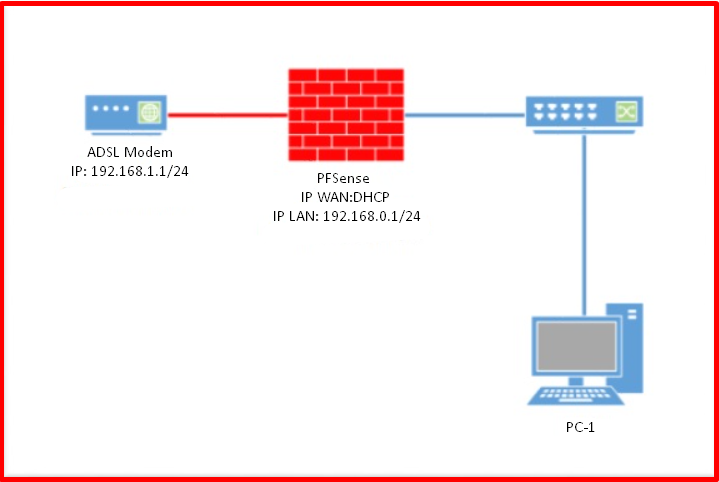
Below is the schematic of the scenario that we will install.
Firewall Pfsense Installation on VMware
If you have not made any special settings in your current ADSL internet structure, it is configured to automatically distribute IP addresses to your devices on the network via the DHCP server on your ADSL modem. For this reason, you do not need to give any IP address to the WAN connection of the device you will install Pfsense. In other scenarios, you may need to manually configure the IP address. Since Pfsense will divide your current structure into different subnets as I have shown with red (WAN) and blue (LAN) colours in the diagram above, you need to activate the DHCP service over Pfsense and create a different IP subnet for the LAN section.
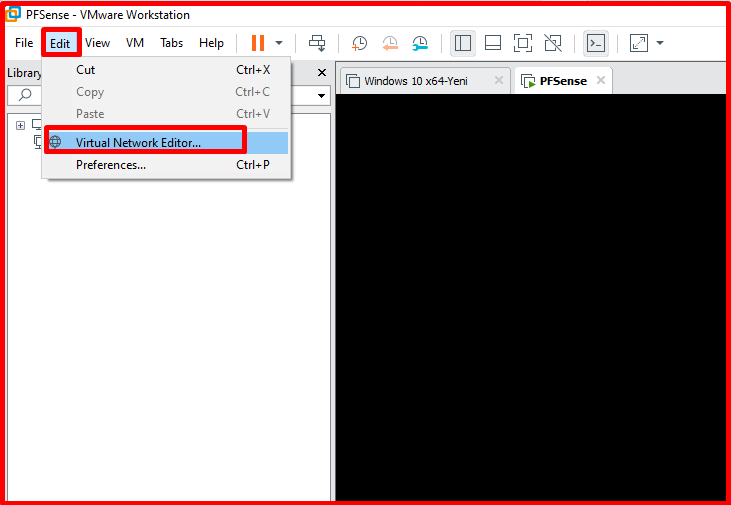
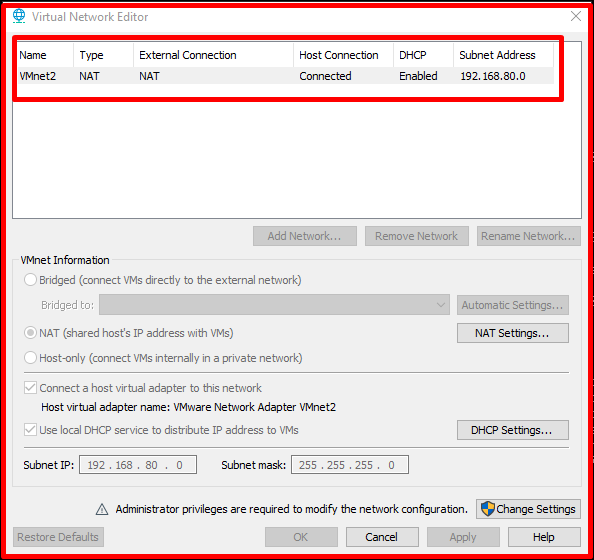
Before installing Pfsense, we configure our network as follows from the “Virtual Network Editor” page.
First of all, we will create a virtual machine to install pfsense on Vmware Workstation. For this, we click on “New Virtual Machine Wizard” from the “File >> New Virtual Machine” menu.

On the “New Virtual Machine Wizard” screen, select “Typical” and click the “Next” button.

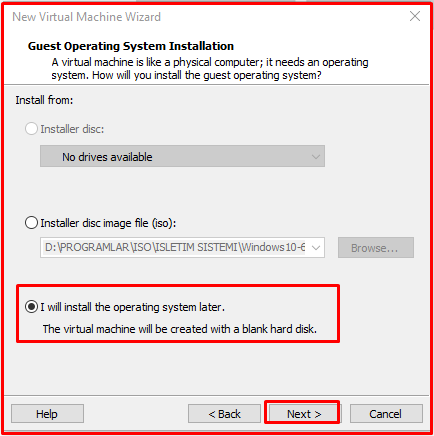
On the “Guest Operating System Installation” page, we select the “I will install the operating system later” section at the bottom.
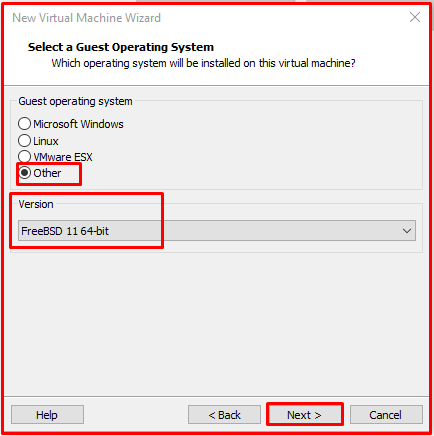
On the “Select a Guest Operating System” page, in the “Guest operating system” section, we select the “Other” tab. In the “Version” section, we select the “FreeBSD 11 64-bit” tab.
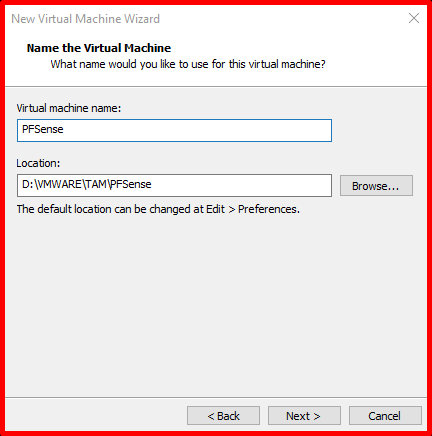
On the “Name the Virtual Machine” page, we enter the name of the machine we will install in the “Virtual machine name” section. In the “Location” section, we choose where to install this machine.
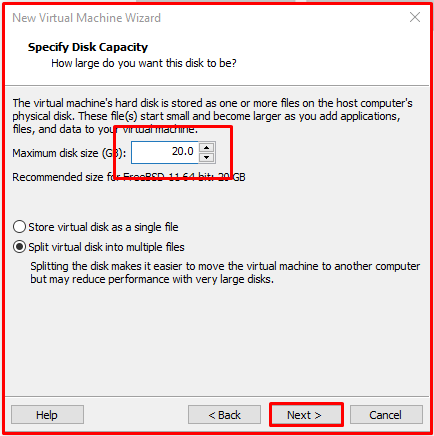
On the “Specify Disk Capacity” page, we enter the capacity of the disk.
It shows the setting of the installation to be made on the “Ready to Create Virtual Machine” page. Here we click on “Customize Hardware“.
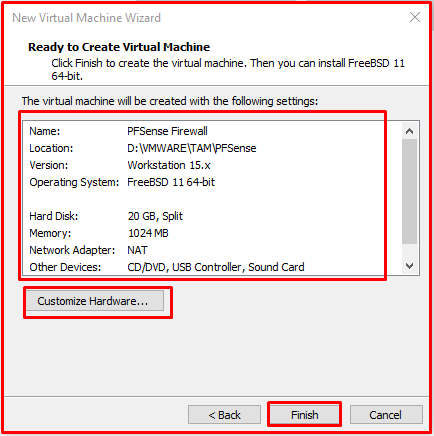
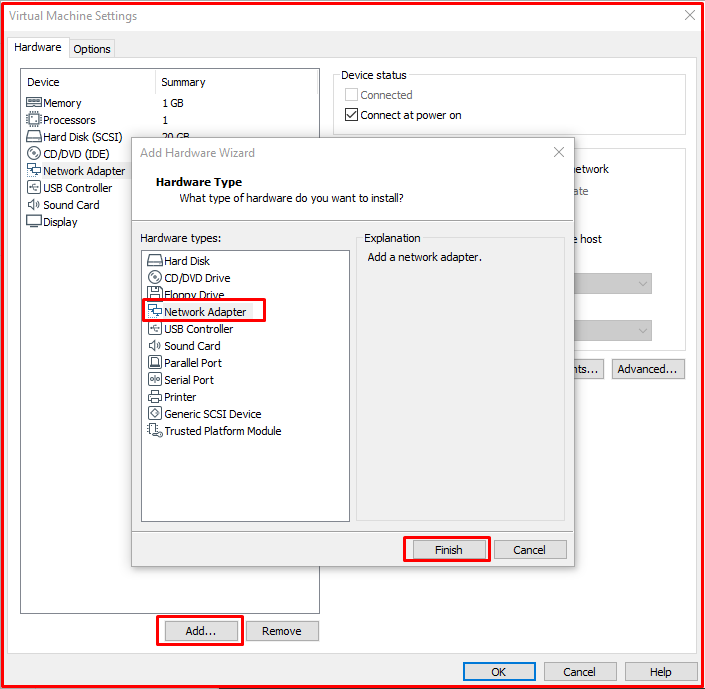
In the “Hardware Type” window that opens, click the “Add..” button at the bottom left, select the “Network Adapter” option and say “Finish“. We made the ram capacity 1 GB. You can increase the capacity you want.
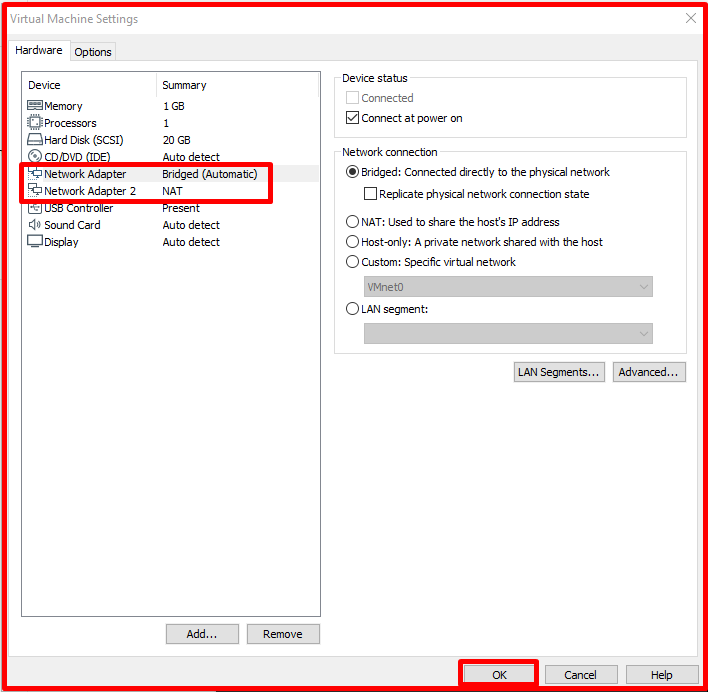
We added two as Network Adapter. For network access, we chose one of the “NAT” and the other “Bridged“.
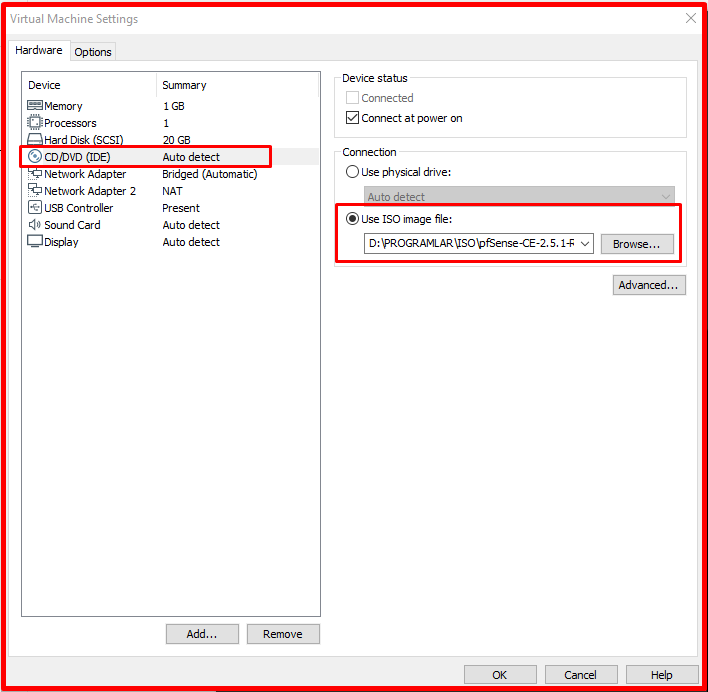
From the “Use ISO image file” section, we select the Pfsense iso.
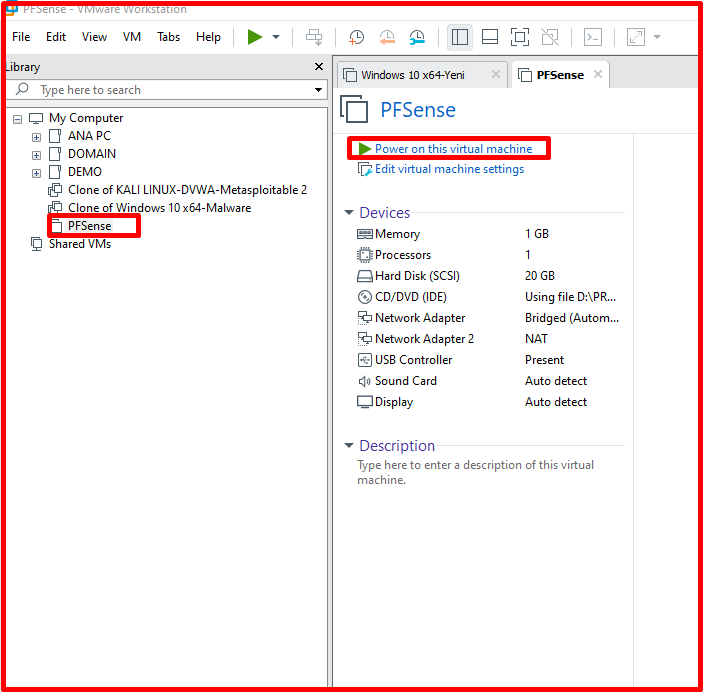
After making the settings, we start to set up our PFSense machine.
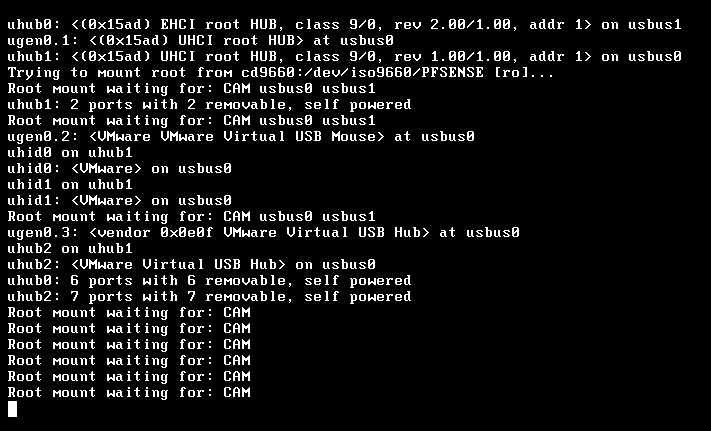
After starting our PFSense machine, the installation continues as follows.
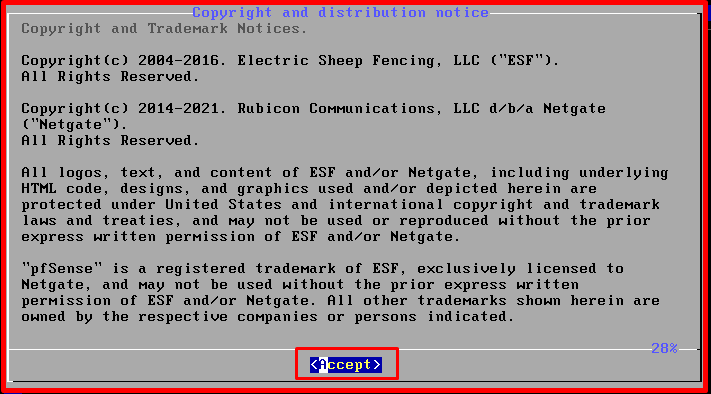
On this page, we click on the “Accept” button.
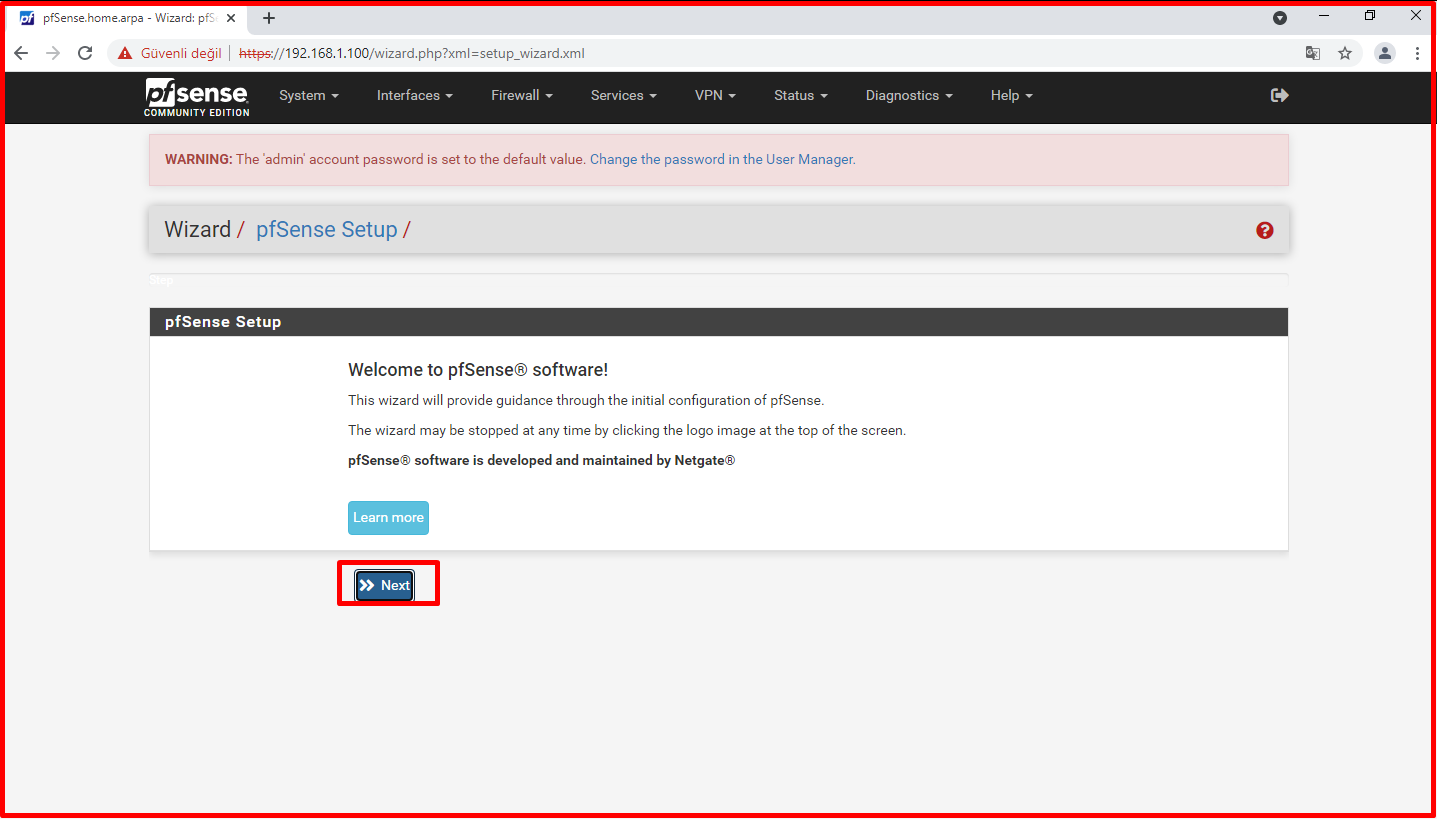
On the “Welcome to pfSense” page, we click the “OK” button.

You can make your own selection on the “Keymap Selection” page. We continue by clicking the “Select” button.

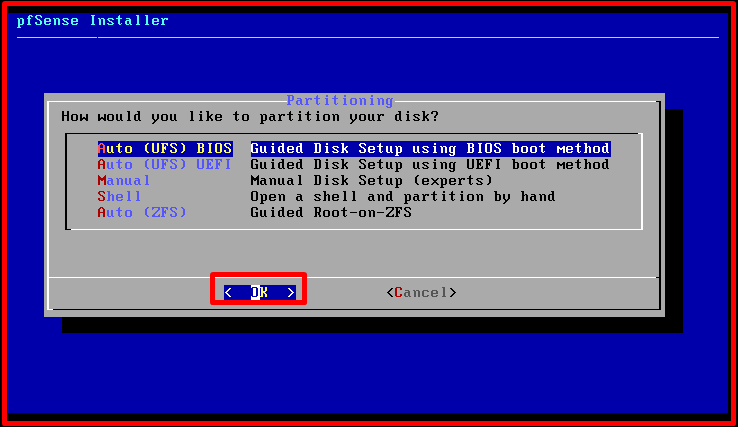
We click the “OK” button on the page “How would you like to partition your disk“.
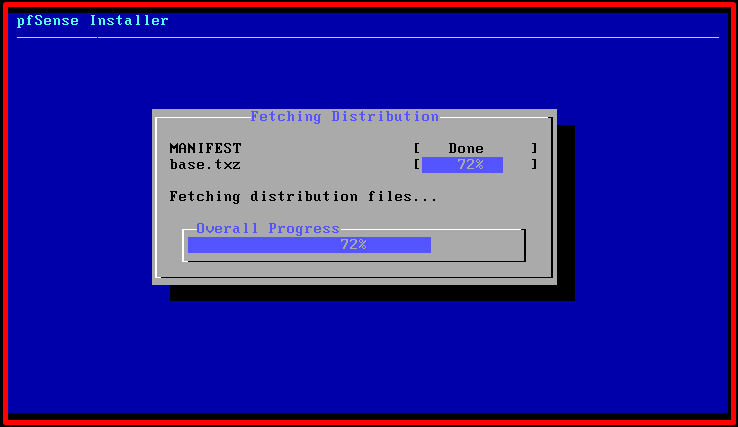
The process continues on the “Fetching Distribution” page.
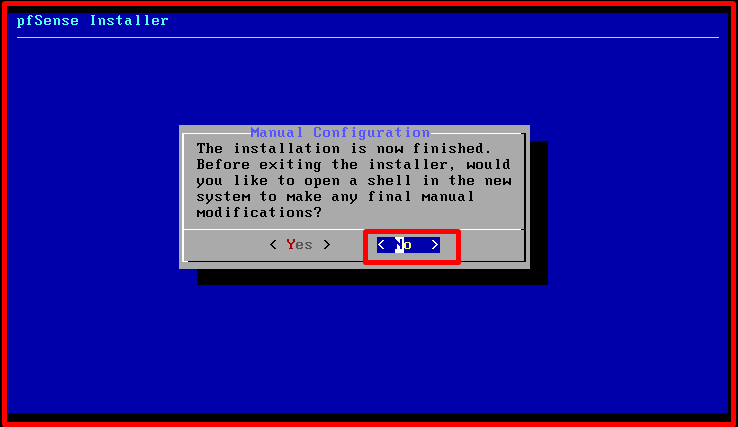
On the “Manual Configuration” page, we click the “No” button.
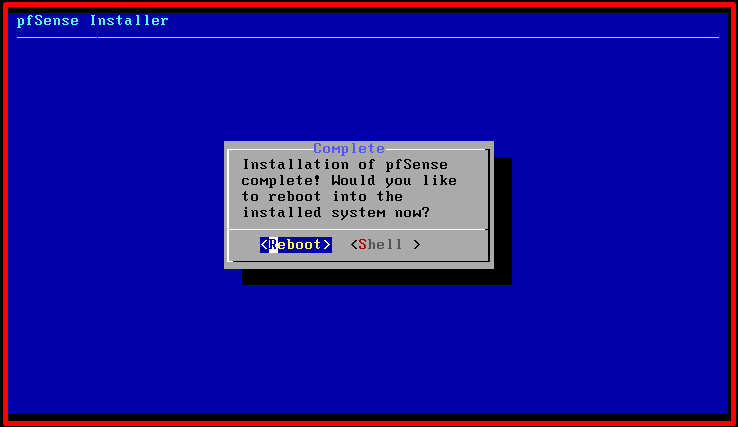
We restart our machine by clicking the “Reboot” button on the “Complete” page.
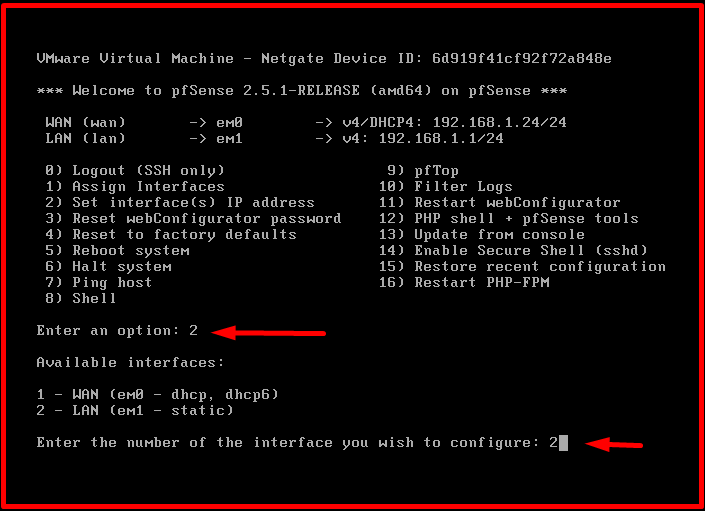
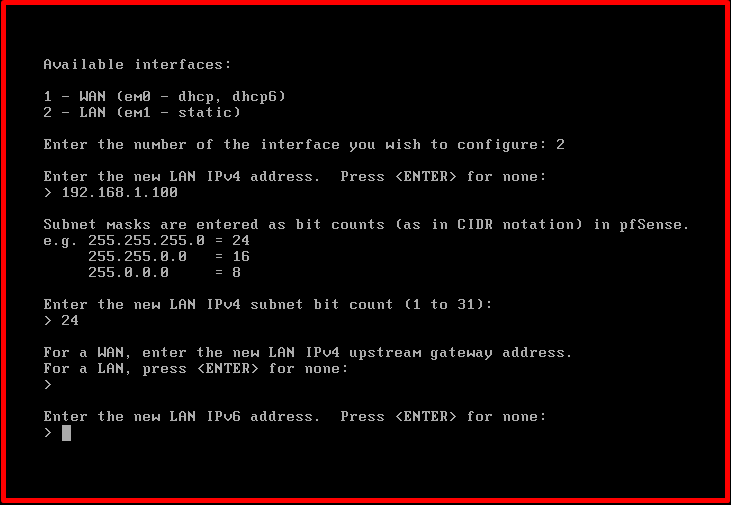
After the machine restarts, we select the “2” option to adjust the Pfsense settings and press the enter key. We select “2” to set the “LAN” network.
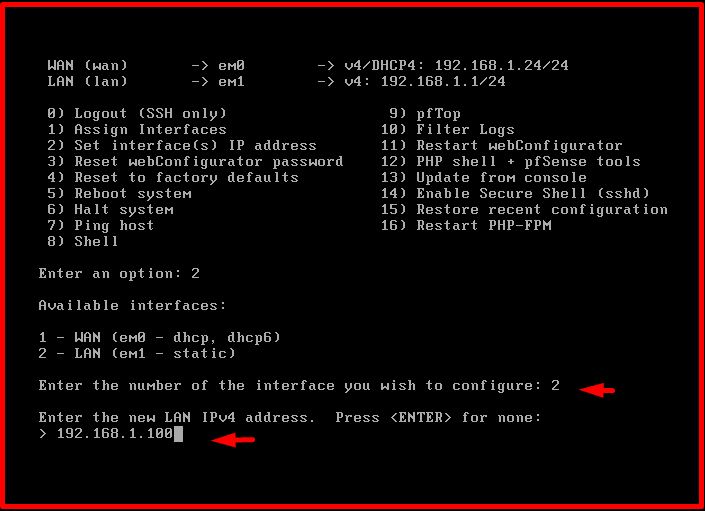
On this page, we enter the Pfsense ip.
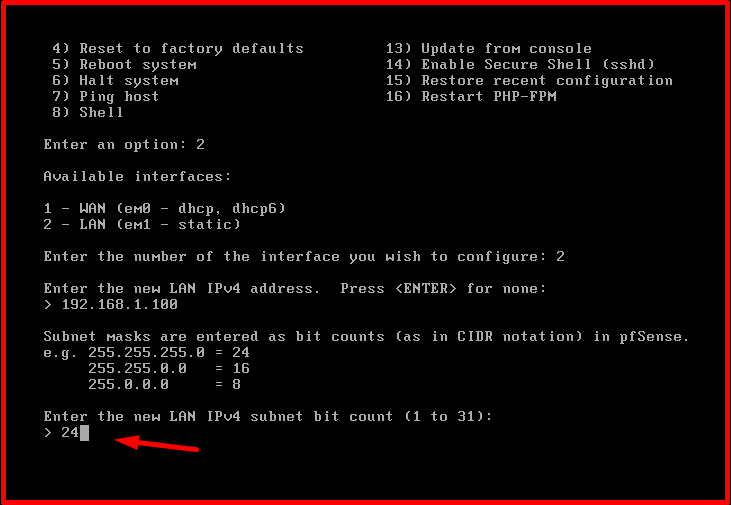
In the next step, we enter the IPv4 subnet. After entering, we press the enter key.
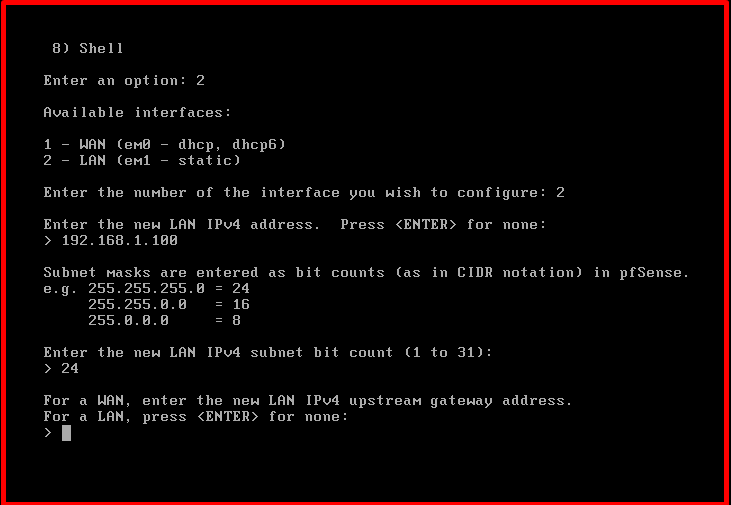
In this step, we leave it blank by pressing the enter key in the part that says “For a LAN, press enter for none“.
In this step, it asks us to enter an IPv6 address, and we leave this step blank by pressing the enter key.
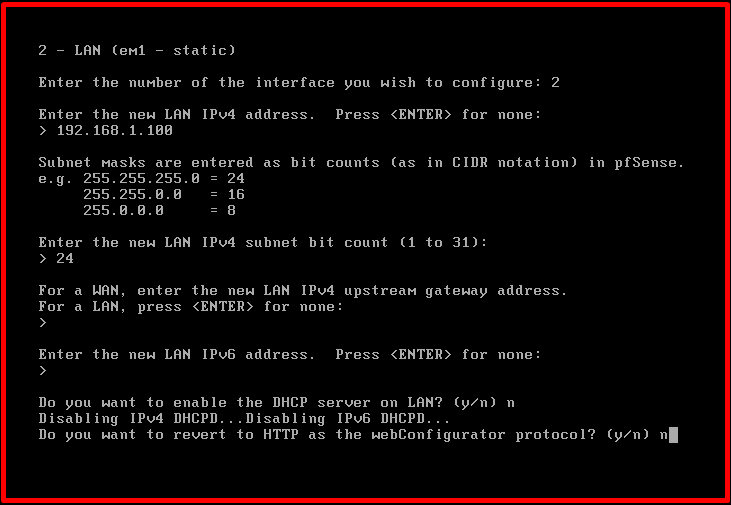
Here, it asks us if you want to activate the DHCP server on the LAN, we do not accept the activation by pressing the “n” key here. Press enter and continue.

WebConfigurator asks if you want http to set the protocol. We finish the installation by pressing the “n” key.
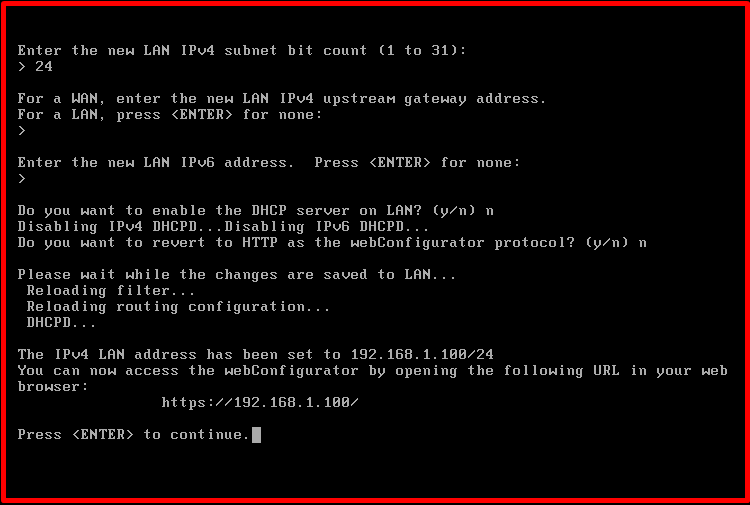
Our configuration process is finished and as it says in the picture below, we can now enter the web configuration page with our 192.168.1.100 IP address.
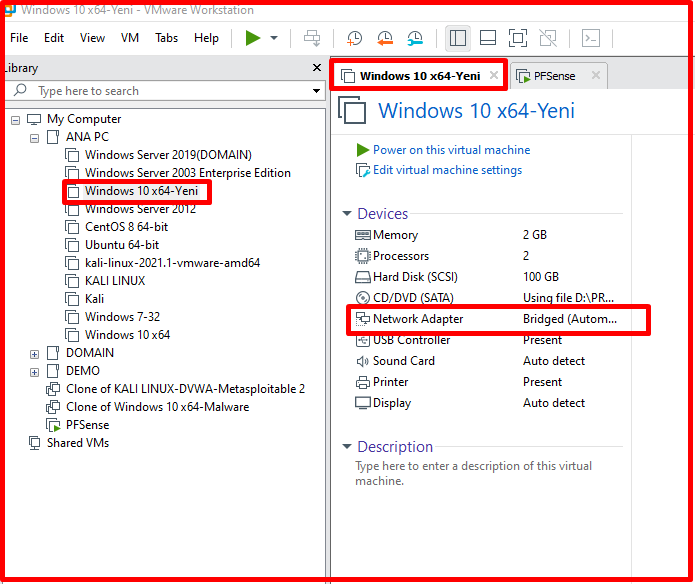
We choose the “Network Adapter” of our Windows 10 machine as “Bridged” to go to the web configuration page.
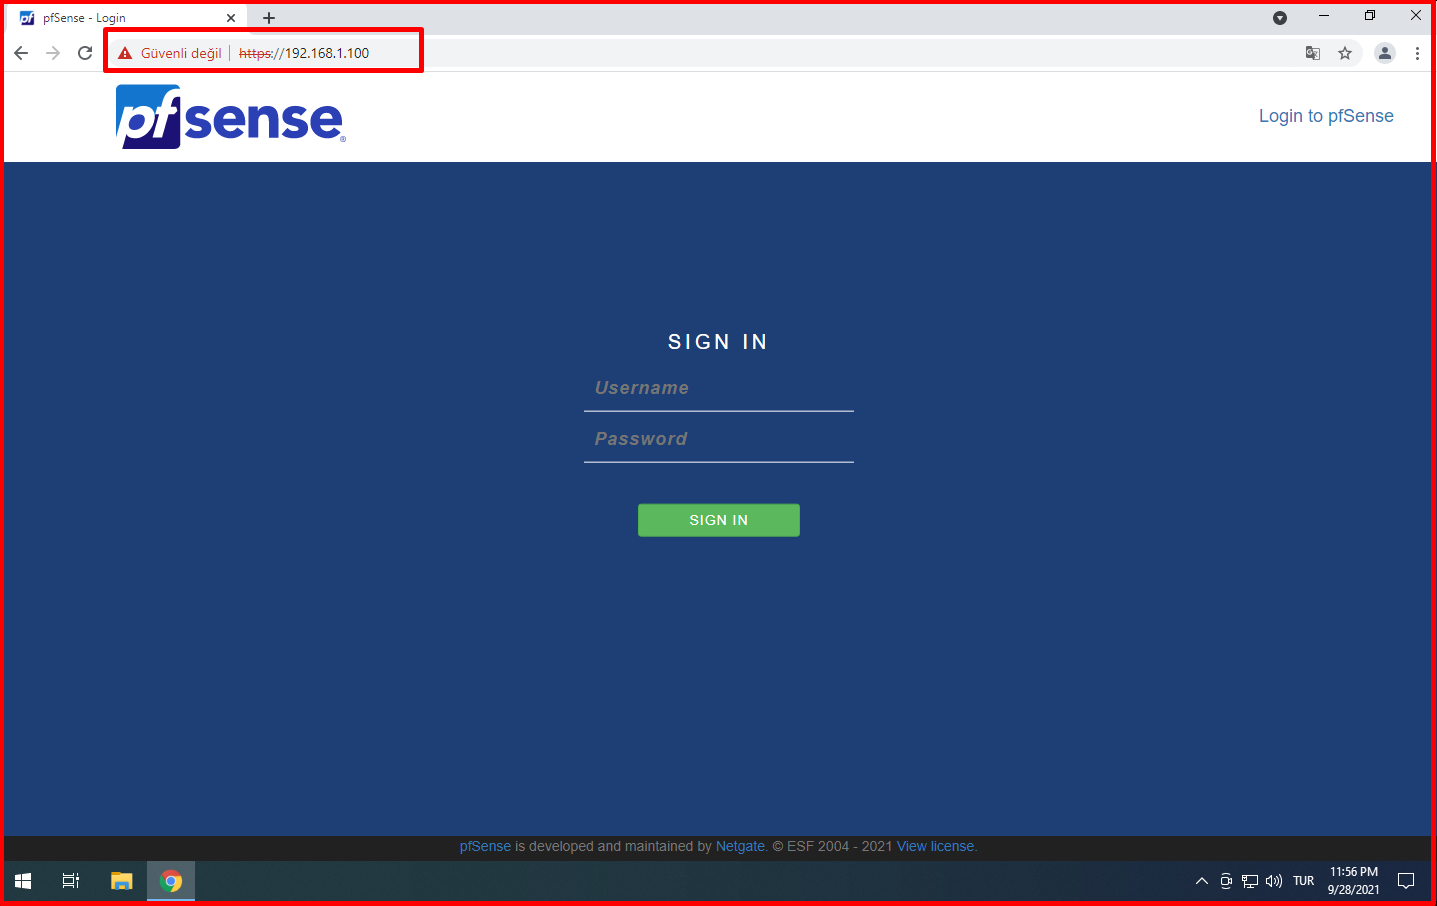
Finally, we log in to the web configuration page with the address “https://192.168.1.100“. Enter “admin” as “username“. We enter “pfsense” as “Password“.