
 by
by The scalpel is one of the nice tools that can be used for recovering files that have been deleted from the system for one reason or another and for forensic analysis. It can be preferred due to its small and fast speed and also because of its platform-independent operation (ext2 / 3, Ntfs, Fat). Scalpel looks at the header and footer definitions of the files from a database and performs the recovery process by comparing from any disk image file or raw disk partition.
Since almost all * nix distributions are in the package repositories, it is very easy to install.
We will install Scalpel on ubuntu. First of all, we install Scalpel to our system with the sudo apt-get install scalpel command. Package repositories differ from distribution to distribution. The package manager will be different if you are not using a Debian-based distribution.
To install scalpel in Debian and Ubuntu-based distributions. If you are using an RHEL-based distribution, you can install it using the yum command.
sudo apt-get install scalpel

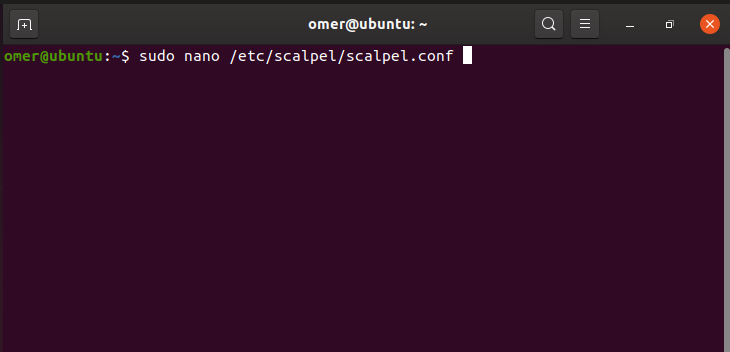
After installing the scalpel on our system, we open the scalpel’s setting file by saying sudo nano /etc/scalpel/scalpel.conf. We opened the configuration file with nano, you can open it with editors such as vim, vi, gedit.
sudo nano /etc/scalpel/scalpel.conf
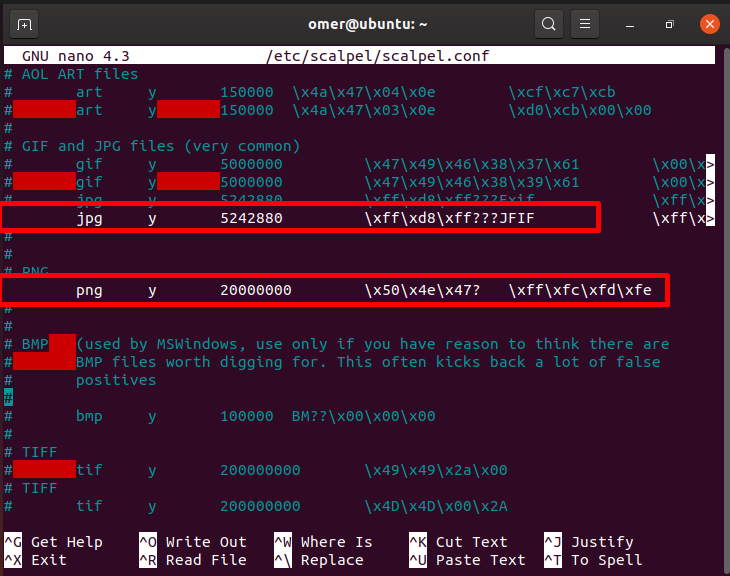
We see lots of # (pound) signs in Scalpel’s settings file. They are detected as comment lines and not working. We will remove the # (sharps) marks in front of the file format you want to recover so that it will search and recover the file with that extension during the search. The ones next to the Y letter you see in the settings file are the size of the file in bytes. It will not search for larger files, you have to change it. Finally, remove the # (sharp) and save the file with the Ctrl + x command, press Y and exit the Scalpel settings by pressing the Enter key. After that, it was left to show the disk we wanted, the area to be recovered and recover our files.
By saying sudo scalpel /dev/sda1 -o /home/omer/Desktop/output, we will save the files scalpel recovered by searching for the deleted files with .jpg and .png extension on the sda1 partition in a folder named output on the desktop. The scanning and recovery process will be longer depending on the size of the disk. I scanned a small area of 100 mb for trial purposes. The part after the -o parameter shows where the recovered files will be saved. You can give the folder as you wish.
You can use the commands below to decide which partition to search for deleted files.
/ Dev / sdc1
fdisk -l
sudo scalpel /dev/sda1 -o /home/omer/Desktop/output