by
by The first thing to do after installing the GNS3 network simulator program is to add a Cisco Router or Switch IOS image. If you don’t have IOS images, you can download the related files from here.
How to Add Cisco Router on GNS3?
You can install this simulator software on Windows, Linux and macOS operating systems. You can make more professional network designs on GNS3 by using IOS images of real Cisco network devices. Let’s examine how to add and run a router IOS image to GNS3.
After installing GNS3, run the program and select “Run only legacy IOS on my computer” in the Setup Wizard window.

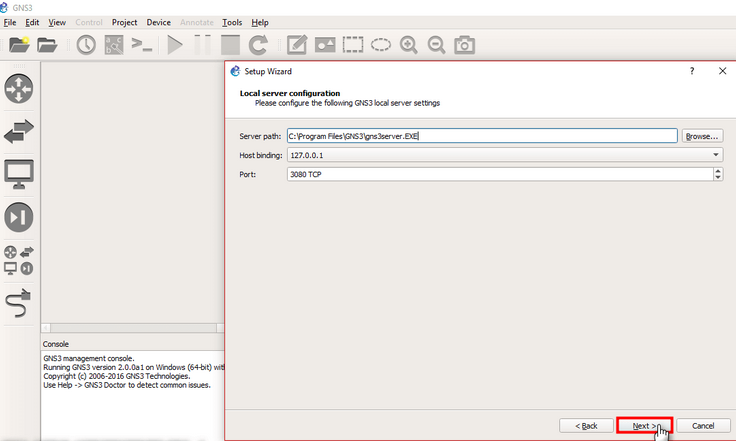
Leave the default settings in the “Local Server Configuration” window and click the “Next” button.
Click the “Finish” button in the Summary window.

Type the project name and click the “OK” button. Select where you want to register your project by clicking the “Browse” button.

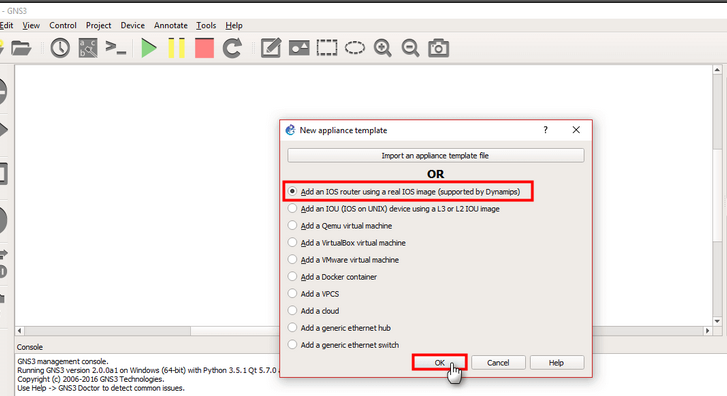
In the “New appliance template” window, select “Add an IOS Router using a real IOS image (supported by Dynamips)” option and click the “OK” button to continue the IOS add steps.
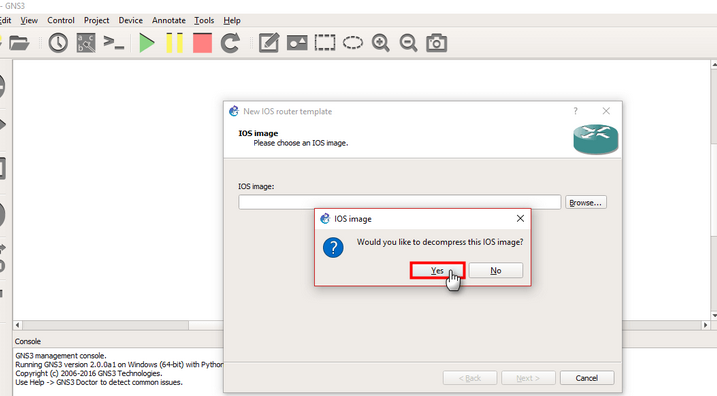
Click the Browse button to specify the location of the image file.

Click the Yes button to extract the compressed IOS image.
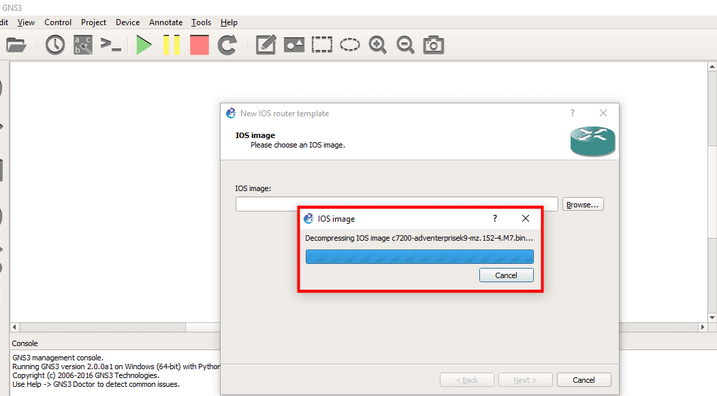
Wait while the router image is decompressed.
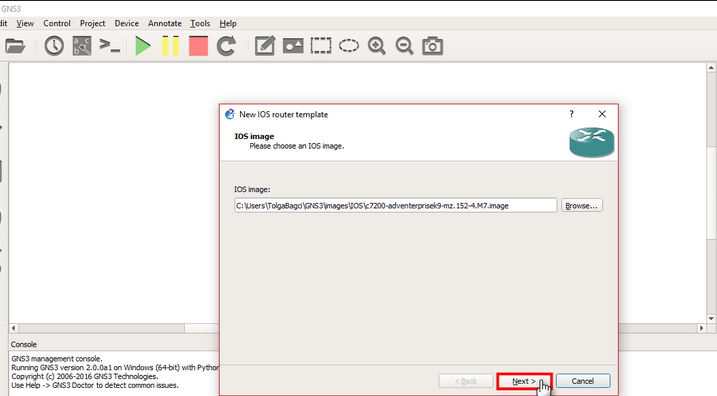
After adding iOS, continue by clicking “Next” button.
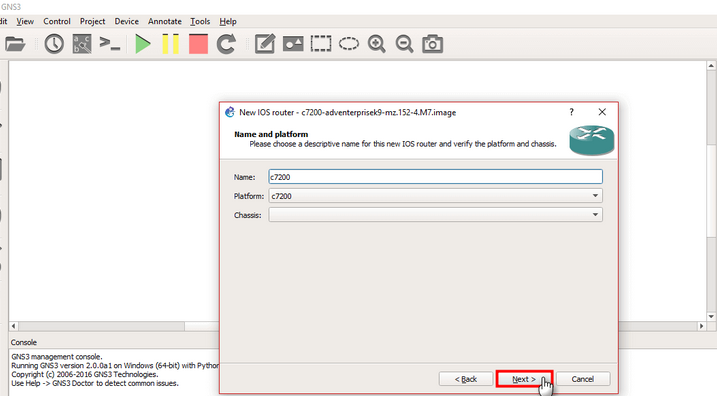
After configuring the name and platform of the version of the Cisco Router you added, click “Next” button.

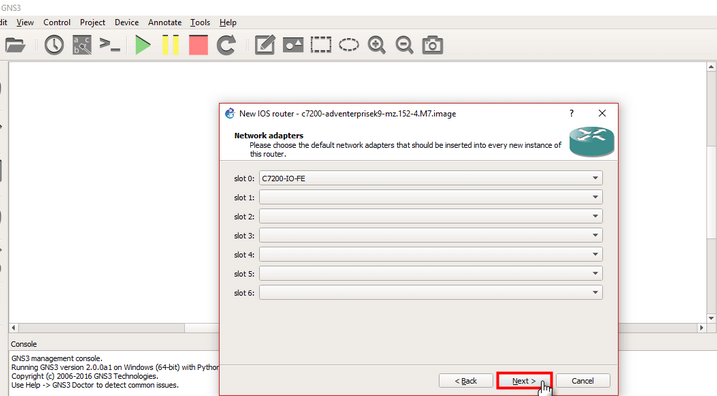
In the Network Adapters window, you can choose which slots you want to add to the Router.
To add the FastEthernet interface to the Router 7200 as in the image below, select “C7200-IO-FE” in Slot0 and click the “Next” button.
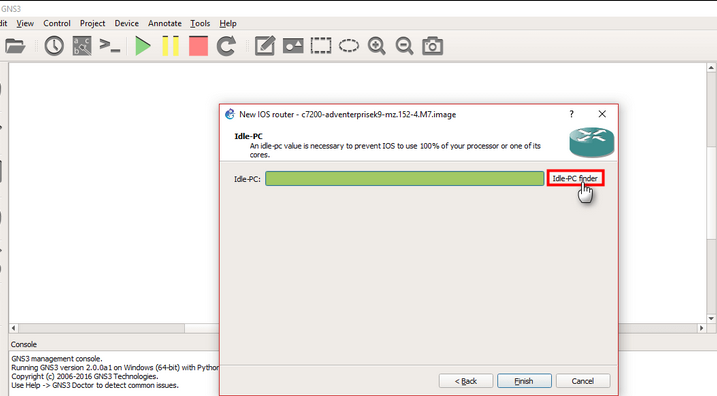
You must set an Idle-PC value for the router. This value may vary depending on the performance of your computer.
Click the “Idle-PC Finder” button to set a suitable value for the Router 7200.
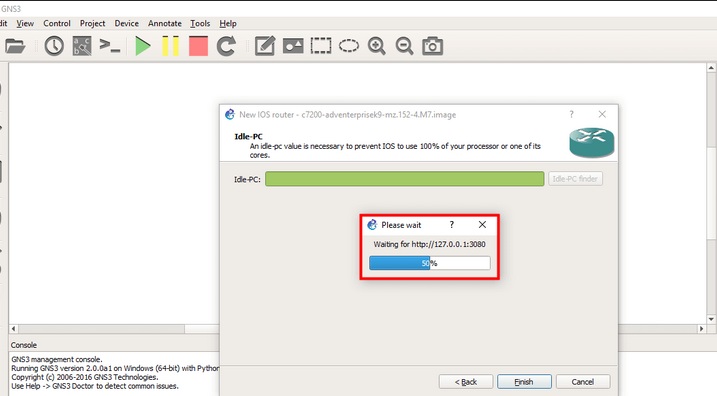
Wait while setting the “Idle-PC” value.
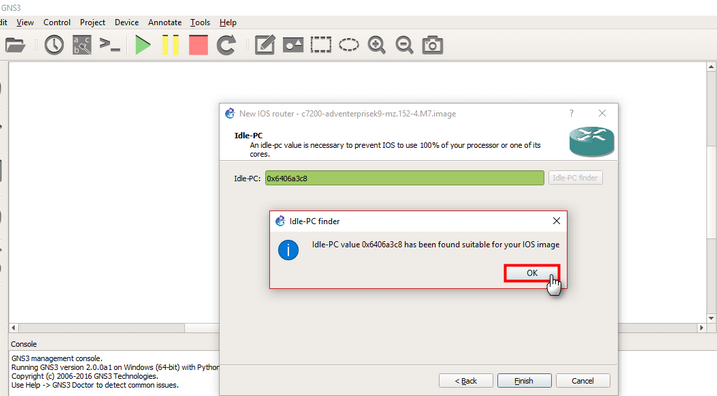
After finding the most suitable value, continue by clicking the “OK” button.
After setting an “Idle-PC” value for your router, click the “Finish” button.

After adding the router successfully, click the “OK” button in the “IOS Router Templates” window.

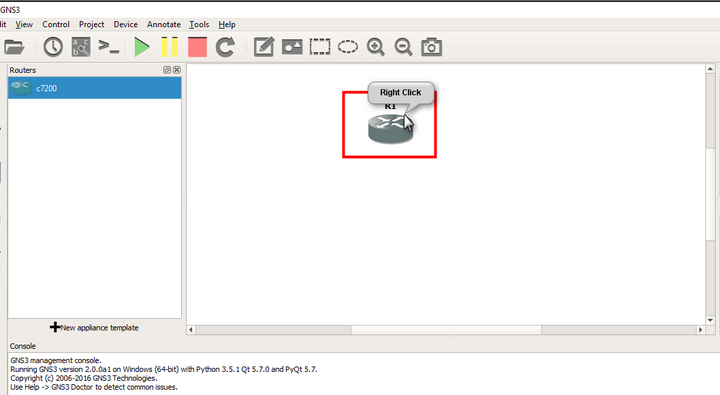
Drag and drop the Cisco Router you added from the “Devices / Router” section to the workspace.

To run the router, right-click on it.
You can check that the router is not currently running in “Topology Summary”.
Now, click on “Start” to run the Router.
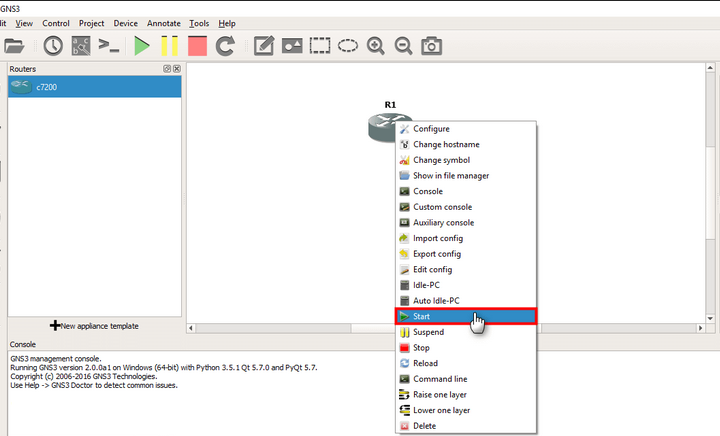
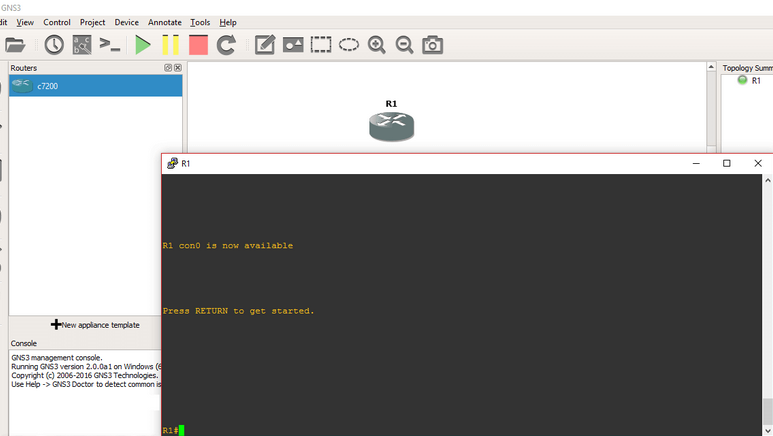
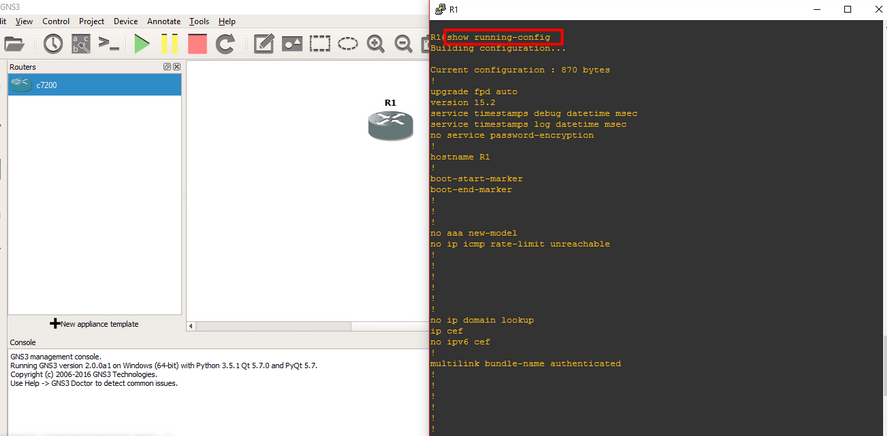
When the router is running, the Red icon in the “Topology Summary” will be Green. To configure the router, you can open the “CLI” command prompt by double-clicking on it.

As you can see in the image below, the Router you added on GNS3 is working successfully.