

 by
by Html’s tag for images is img. The img tag contains many features in itself. We will examine these ones by one. Let’s start with the simplest of adding images to our web page.
Our code below is the simplest image embed code. You can call the image page by specifying the URL or file address of the image to the src = ”” property.
<html>
   <head>
      <title> Add Image to Html Page </title>
   <head>
   <body>
      <img src = "image_address/image_name" />
   </body>
</html>
Linking to Images
We can easily do this with a tag, which is the link tag of Html. If we want to give a link to the image I have added to our web page, it will be sufficient to put our simple image insertion code above in the tags.
<html>
   <head>
      <title> Add Image to Html Page </title>
   <head>
   <body>
      <a href="address we want to forward">
         <img src = "image_address/image_name" />
      </a>
   </body>
</html>
Height and Width in Pictures
If you want to size the image we added to our web page, we can use the width and height properties.
“Width” – Used to determine the width of our image. For example; It is written as width = “100px”. This indicates that our image will be 100px wide.
“Height” – Used to determine the height of our image, eg: height = “100px”. This indicates that our image will be 100px high.
<html>
   <head>
      <title> Tutorial to Add Image to Html Page </title>
   <head>
   <body>
      <a href="address we want to forward">
         <img src = "systemconf.png" width = "400px"; height = "200px"; />
      </a>
   </body>
</html>
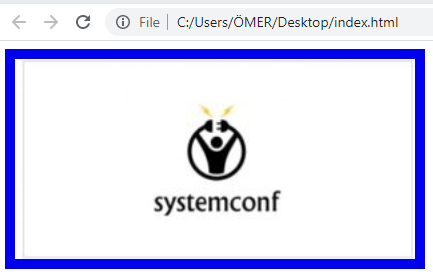
Adding Frames to Pictures
We use the border feature to add frames to the pictures we add to our web page. Although it is not preferred today, it is useful to know. In some cases, maybe you want to use it.
<html>
  <head>
    <title> Add Image to Html Page </title>
  <head>
  <body>
    <a href=" address we want to forward">
      <img src = "systemconf.png" width = "400px"; height = "200px" border = "5"; />
    </a>
  </body>
</html>
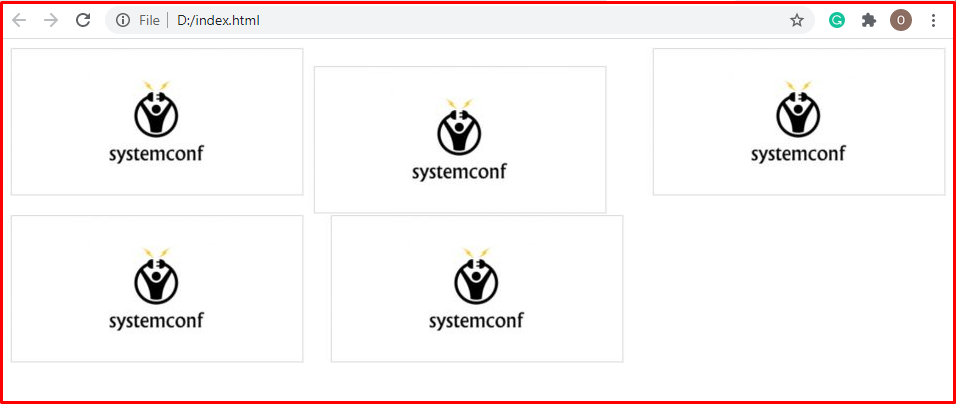
Determining the Position of Pictures
We can position the images we add to our web page with the align feature. The values that the align property will take are as follows,
With Left, move the image to the left of the page.
With Right, to the right of the image page
With the Top, to the top of the official page
With Bottom, to the bottom of the official page
With Center, in the middle of the official page
We can position it as.
<html>
  <head>
    <title> Add Image to Html Page </title>
  <head>
  <body>
    <img src = "systemconf.png"; align = "left"; />
    <img src = "systemconf.png"; align = "right"; />
    <img src = "systemconf.png"; align = "center"; />
    <img src = "systemconf.png"; align = "top"; />
    <img src = "systemconf.png"; align = "bottom"; />
  </body>
</html>
alt = “” feature
The alt = ”” attribute is used to set the alternative text to your images. By specifying a link to our website. When the image we added among the page files is not loaded due to an error, the alt = ”” feature is activated at this point and the description you provided appears instead of the image. As an example, let’s write the extension of our image file missing and add the alt = ”” property and see what will be the result?
<html>
   <head>
      <title> Add Image to Html Page </title>
   <head>
   <body>
      <img src="systemconf.png" alt = "This description will appear when the image cannot be loaded." />
   </body>
</html>
We learned the properties of the img tag in detail.


