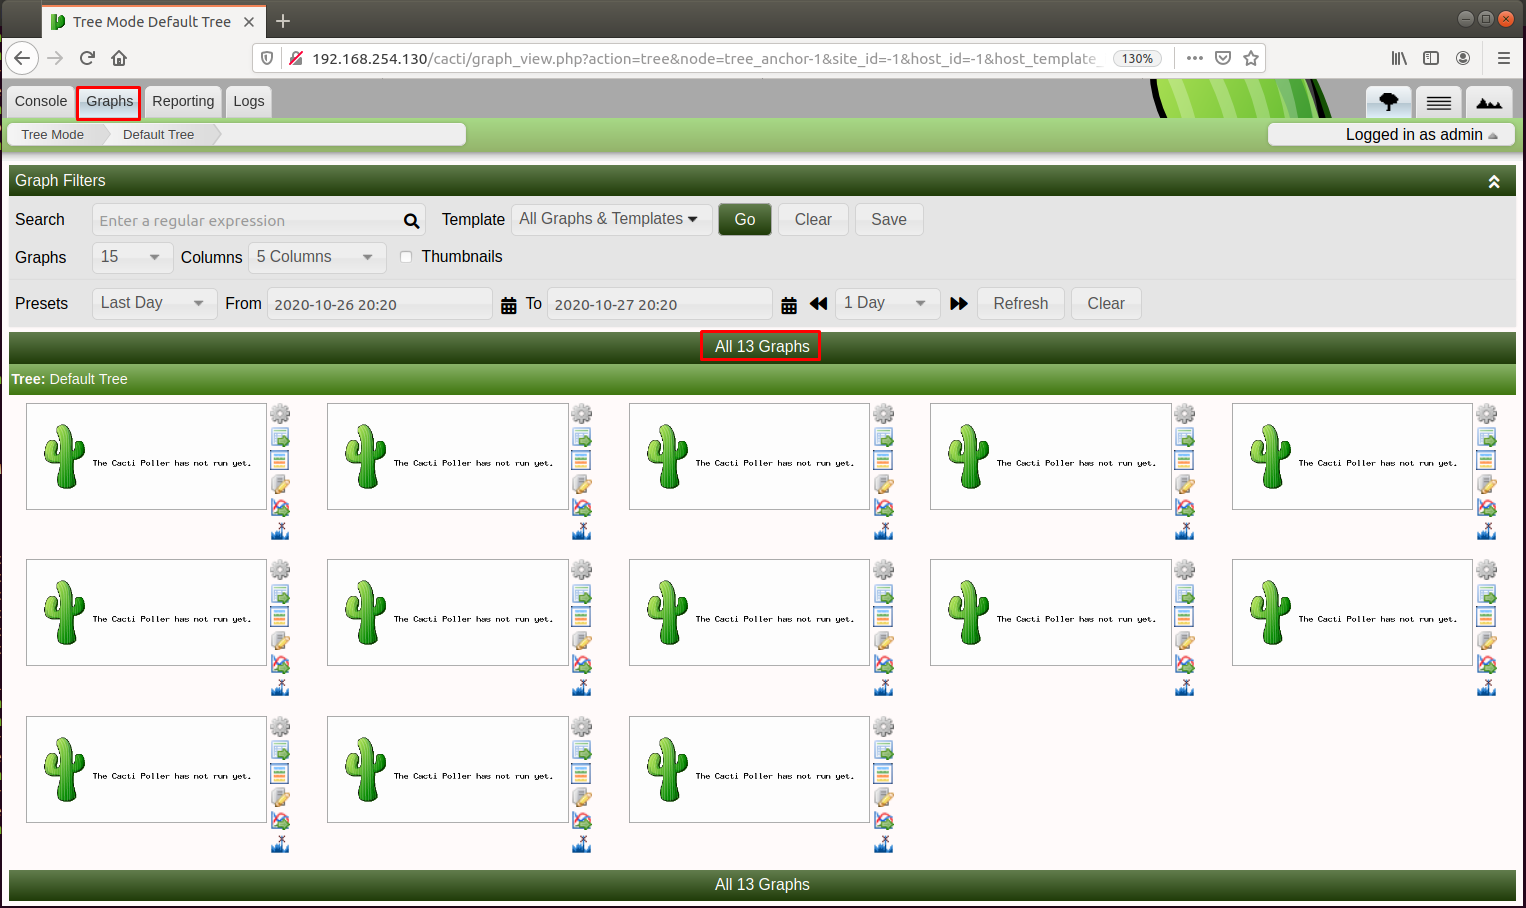
We will talk about how to add and monitor hardware devices that want to be monitored with Cacti software. What we want to do is to listen to Windows server 2019 via cacti.
Data received using the SNMP protocol is received publicly in SNMP v2, while it is received securely in v3. Therefore, we configured the configuration of the device to be monitored according to SNMP v3 and we will add it to the cacti software as v3. Thus, SNMP data will be retrieved securely.
Note: SNMP v3 may not be available on every device, so it would be useful to review the SNMP v1 v2 v3 support on the device you want to monitor.
Adding and Monitoring Windows Server 2019 to Cacti Software
Now we are installing the SNMP protocol on Windows Server. To install the SNMP protocol, we click on the “Add roles and features” option on the Server Manager.

Then click the “Next” button and select the “SNMP Service” option in the “Features” tab and add it.
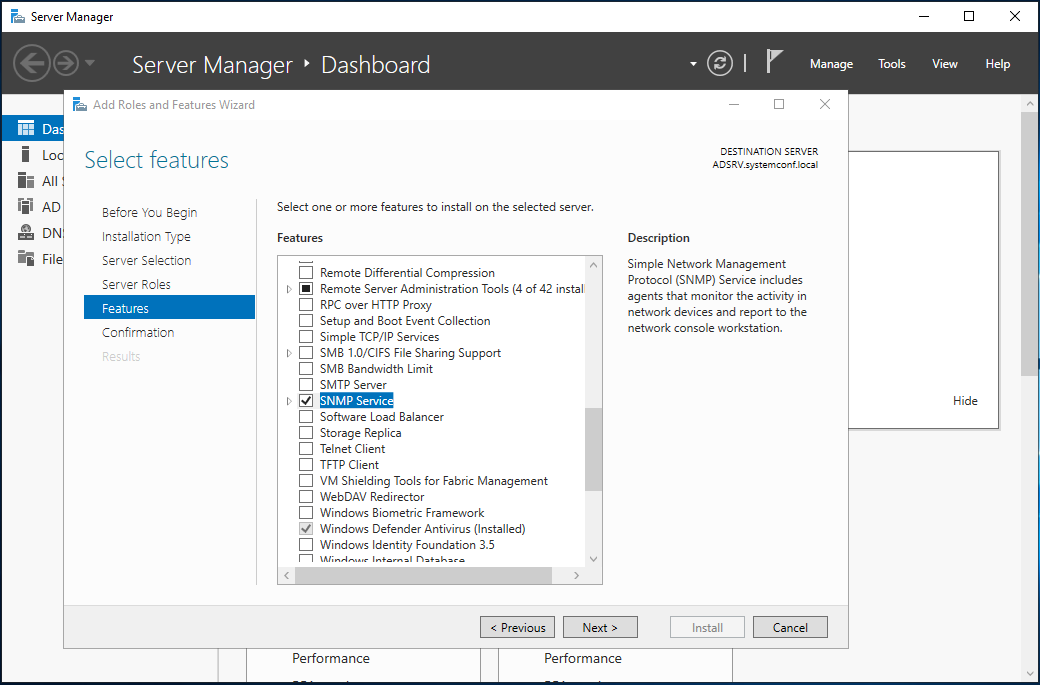
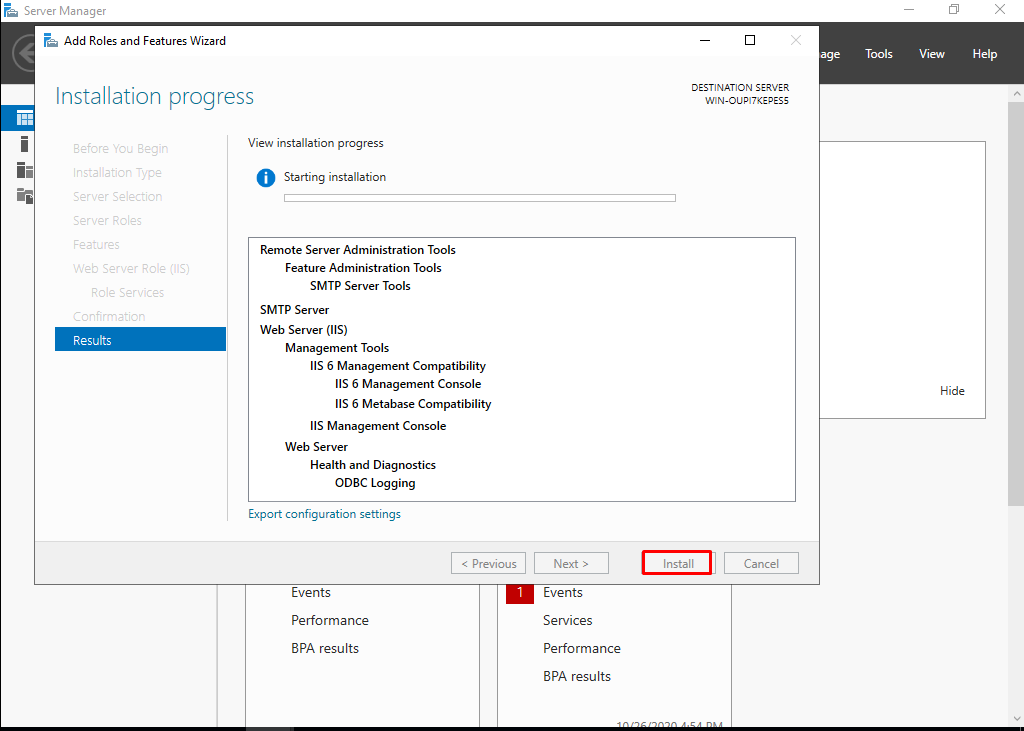
We continue by clicking the “Next” button until the “Confirmation” tab. In the “Confirmation” tab, we click the “Install” button and finish the installation.
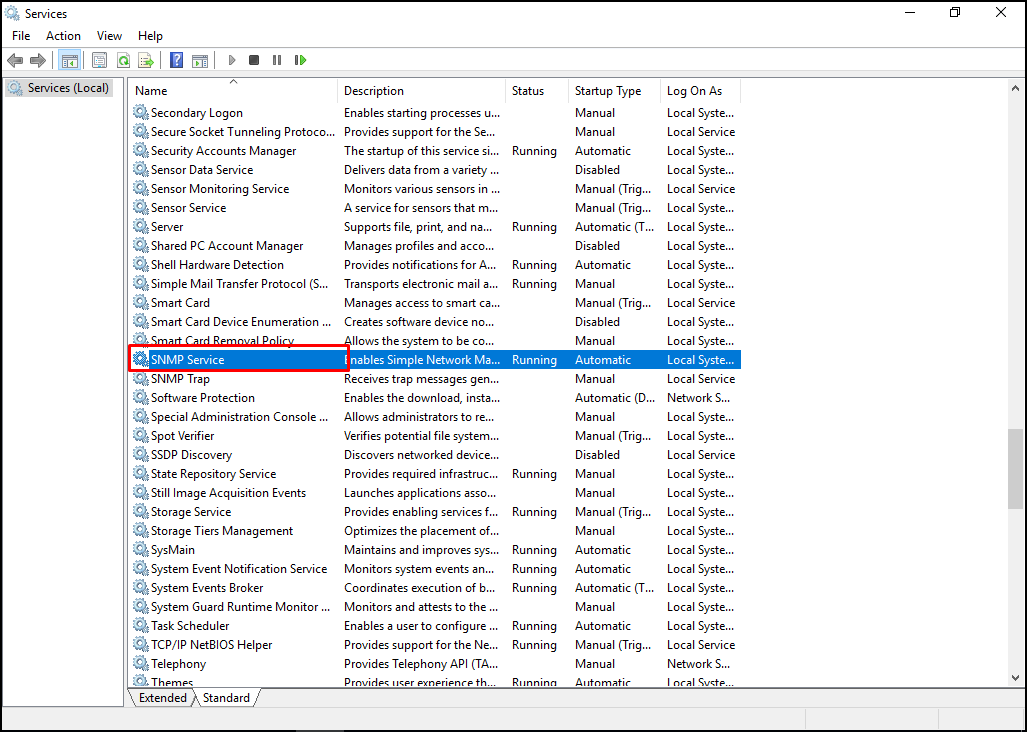
We make the “SNMP Service” settings on the “services” page on Server 2019. Clicking on it we open its properties.
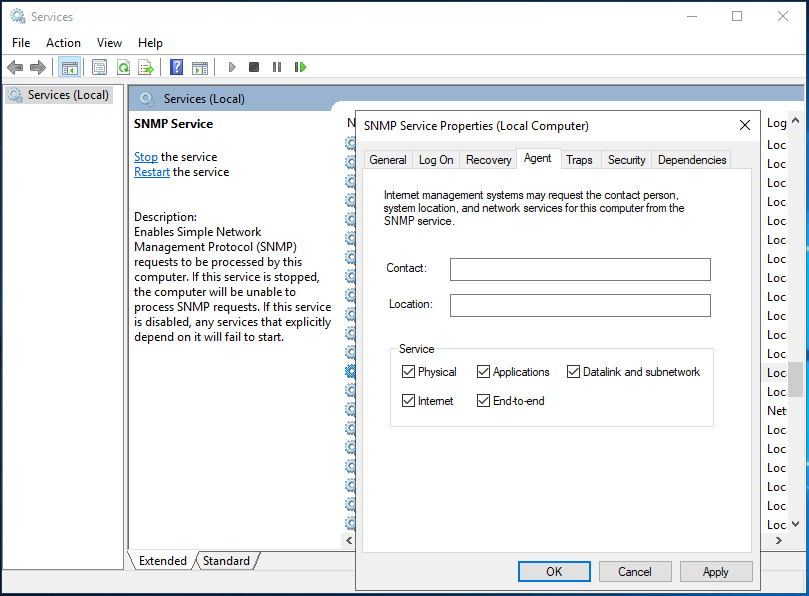
In the “SNMP Service” settings, we select them all in the “service” section in the “Agent” tab.
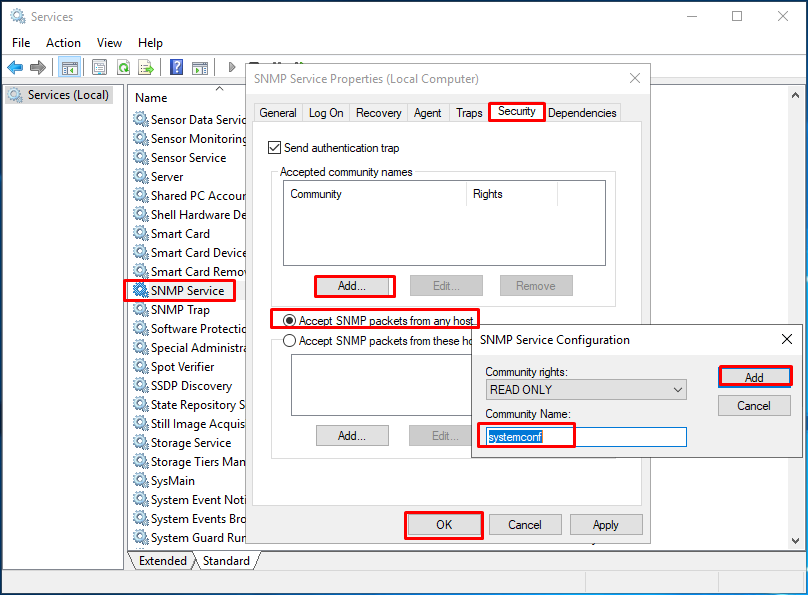
In the “SNMP Service” settings, we click the “Add” button in the “Send authentication trap” section of the “Security” tab and make the settings as shown below. SNMP packets allow all hosts. Click the “OK” button to finish the settings.
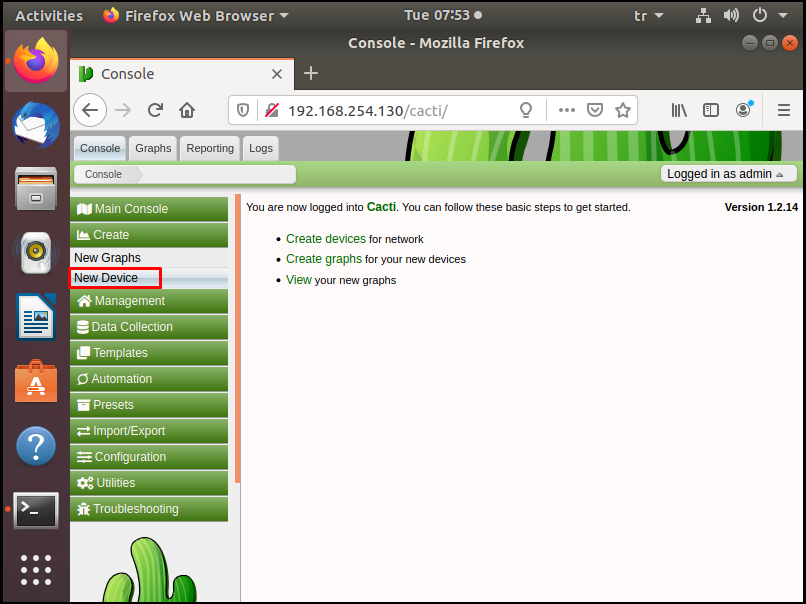
Now I’m hovering over Cacti and adding a new device. For this, we click on “New Device” from the left menu.
We make the SNMP settings on this page.
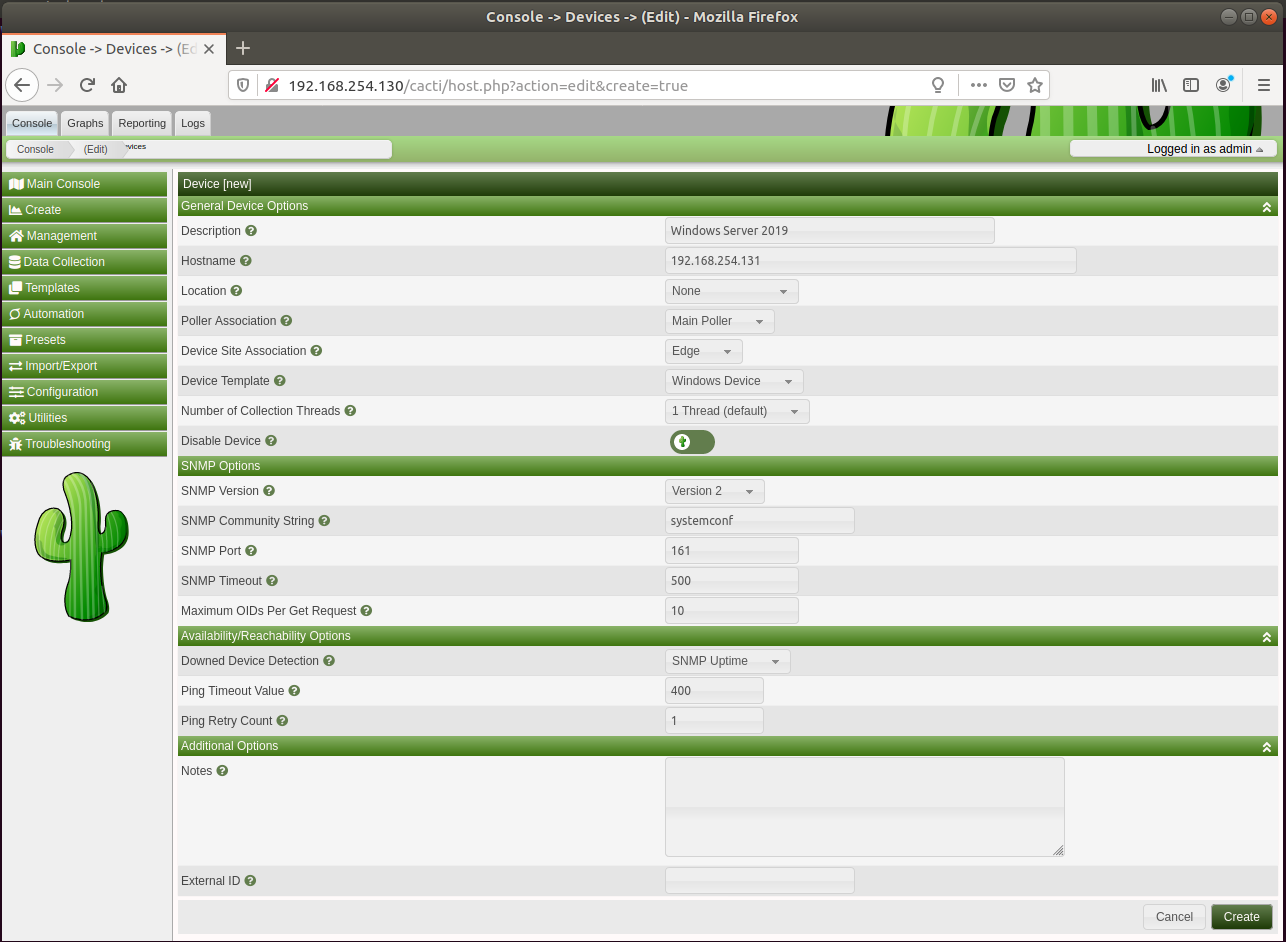
Our Server 2019 device we added will look like the following.
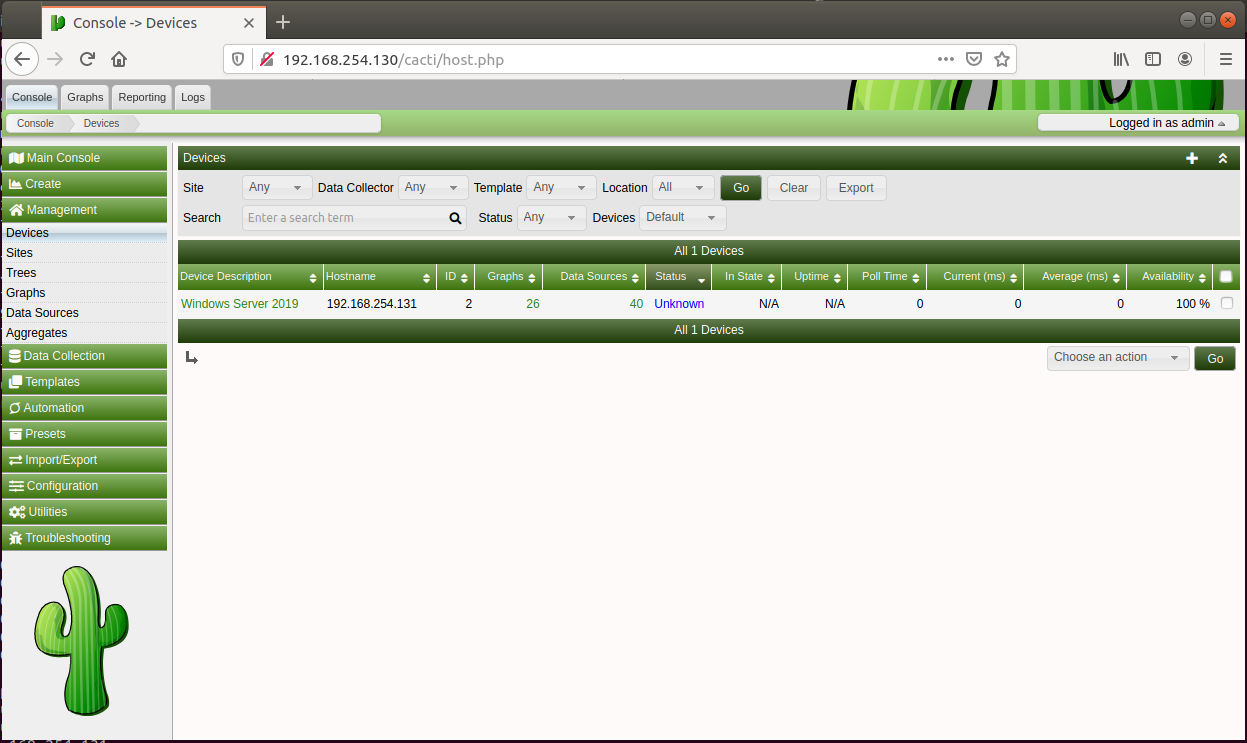
Finally, you are creating a graphic for the device you added, after a while, the data will begin to come.
