 by
by Cacti is a complete server solution that graphically presents information such as memory (ram), disk, network and system load of your active devices on the network via a web interface. We will focus on the installation and configuration of cacti, which is one of the open-source and completely free network monitoring solutions. Although the history of Cacti goes back to the old years, it remains popular and up-to-date. It can produce solutions from large network structures to small structures.
Cacti Installation
The operating system we use for installation is Ubuntu. Although the system resource varies with the size of your environment, we know that 200K + devices can be managed with 4 core processors, 8Gb ram and 50 GB disk space.
Installation System Requirements
- Apache (Web Server)
- PHP
- MariaDB (Database)
- SNMP (Simple Network Management Protocol)
- RRDTOOL (Round Robin Database Tool)
Apache (Web Server)
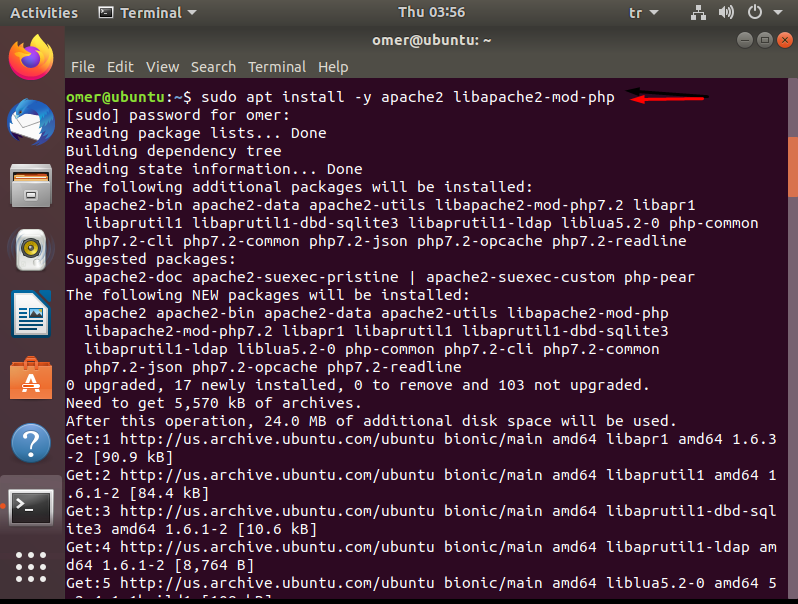
We continue with the Apache web server installation. We enter the following commands in the command line.
omer@ubuntu:~$ sudo apt install -y apache2 libapache2-mod-php
Php Package
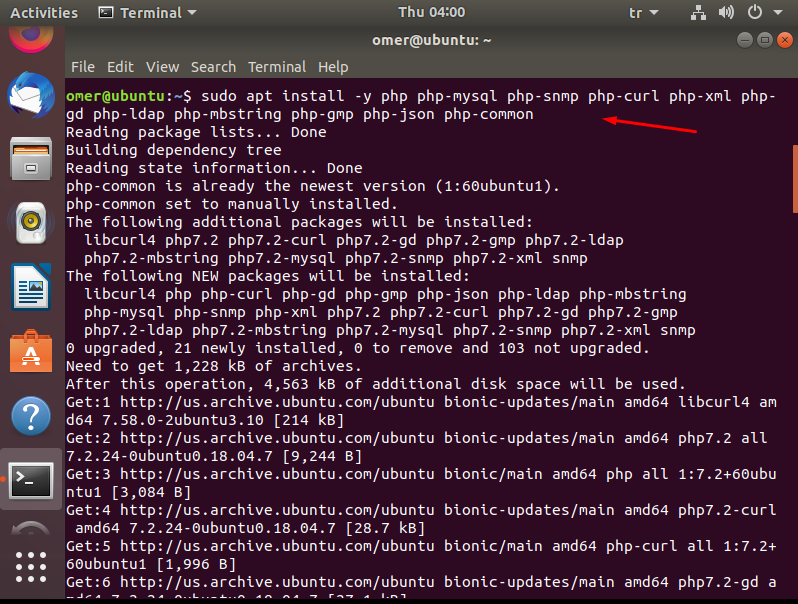
We install PHP packages.
omer@ubuntu:~$ sudo apt install -y php php-mysql php-snmp php-curl php-xml php-gd php-ldap php-mbstring php-gmp php-json php-common
MariaDB (Database)
We set up MariaDB as a database.
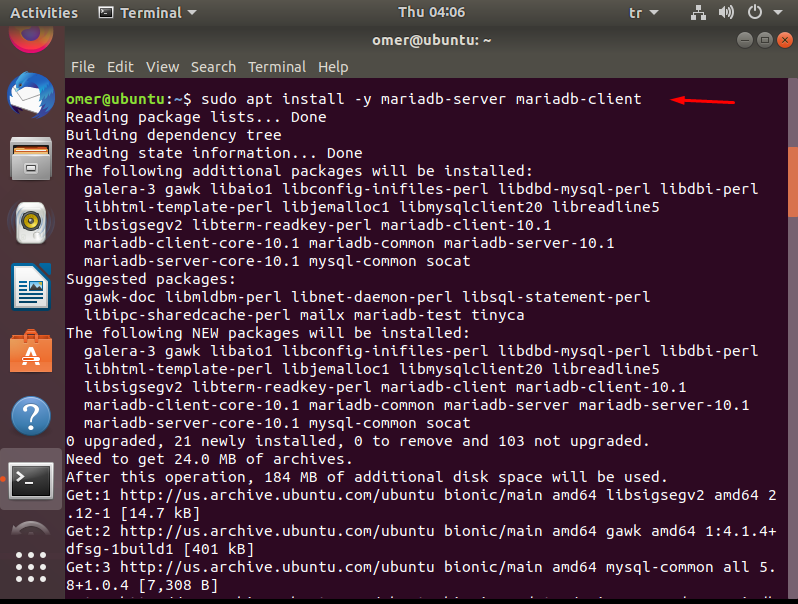
omer@ubuntu:~$ sudo apt install -y mariadb-server mariadb-client
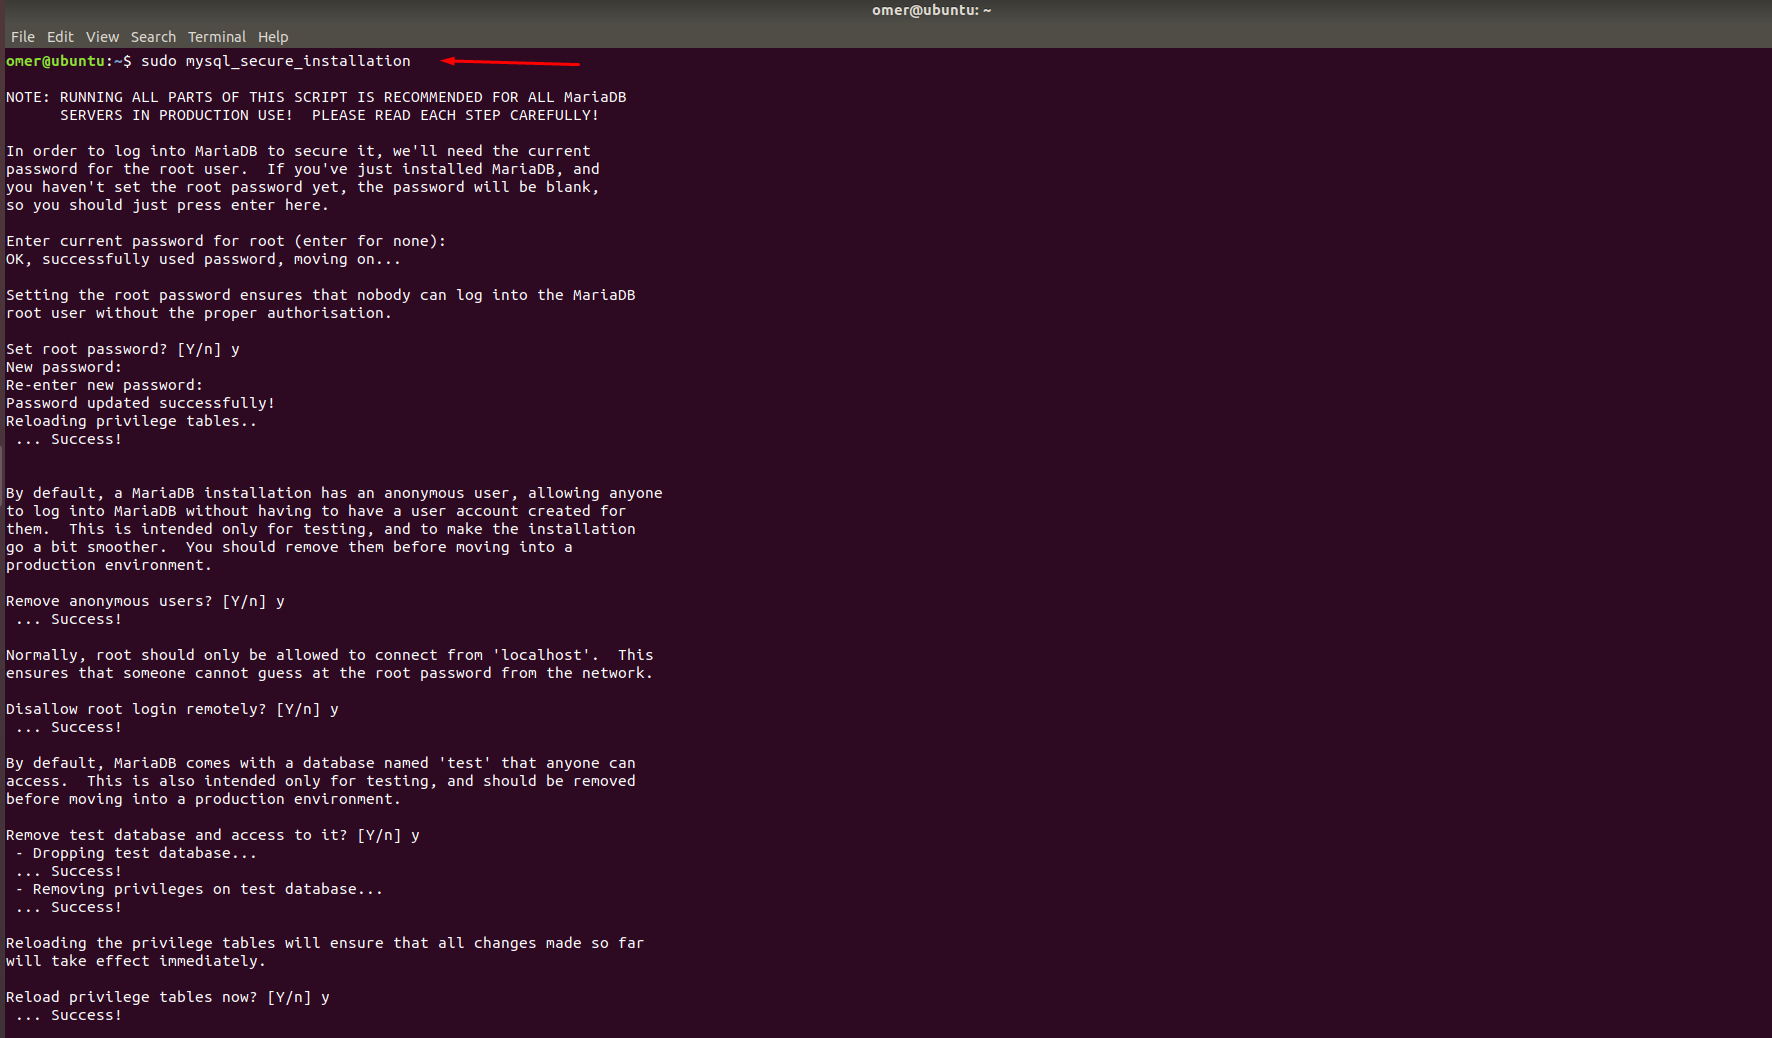
Setting Up Database Security
After installation, we do the database security settings.
With this command, we make the basic MySQL settings of “mysql_secure_installation”. They start asking some questions like this.
Enter current password for root (enter for none): Just press the Enter “You press enter.”
Set root password? [Y / n]: Y “It asks you if you want to define a new password, I continue with Y because we will define a new password.”
New password: Enter the password “Enter your new password.”
Re-enter new password: Repeat password “Re-enter your new password.”
Remove anonymous users? [Y / n]: Y “Do you want to remove users from anonymous users?
Disallow root login remotely? [Y / n]: Y “A question about granting remote access for the root user, saying Y to disable remote access for the root user.”
Remove test database and access to it? [Y / n]: Y “I remove test databases and access with Y.”
Reload privilege tables now? [Y / n]: Y “We update the changes made, we say Y.”
omer@ubuntu:~$ sudo mysql_secure_installation

NOTE: RUNNING ALL PARTS OF THIS SCRIPT IS RECOMMENDED FOR ALL MariaDB
      SERVERS IN PRODUCTION USE!  PLEASE READ EACH STEP CAREFULLY!

In order to log into MariaDB to secure it, we'll need the current
password for the root user.  If you've just installed MariaDB, and
you haven't set the root password yet, the password will be blank,
so you should just press enter here.

Enter current password for root (enter for none):
OK, successfully used password, moving on...

Setting the root password ensures that nobody can log into the MariaDB
root user without the proper authorisation.

Set root password? [Y/n] y
New password:
Re-enter new password:
Password updated successfully!
Reloading privilege tables..
 ... Success!


By default, a MariaDB installation has an anonymous user, allowing anyone
to log into MariaDB without having to have a user account created for
them.  This is intended only for testing, and to make the installation
go a bit smoother.  You should remove them before moving into a
production environment.

Remove anonymous users? [Y/n] y
 ... Success!

Normally, root should only be allowed to connect from 'localhost'.  This
ensures that someone cannot guess at the root password from the network.

Disallow root login remotely? [Y/n] y
 ... Success!

By default, MariaDB comes with a database named 'test' that anyone can
access.  This is also intended only for testing, and should be removed
before moving into a production environment.

Remove test database and access to it? [Y/n] y
 - Dropping test database...
 ... Success!
 - Removing privileges on test database...
 ... Success!

Reloading the privilege tables will ensure that all changes made so far
will take effect immediately.

Reload privilege tables now? [Y/n] y
 ... Success!

Cleaning up...

All done!  If you've completed all of the above steps, your MariaDB
installation should now be secure.

Thanks for using MariaDB!
omer@ubuntu:~$
Installing SNMP and RRDtoll Tools
We install the necessary tools SNMP and RRDtoll. You can install it using the command below.
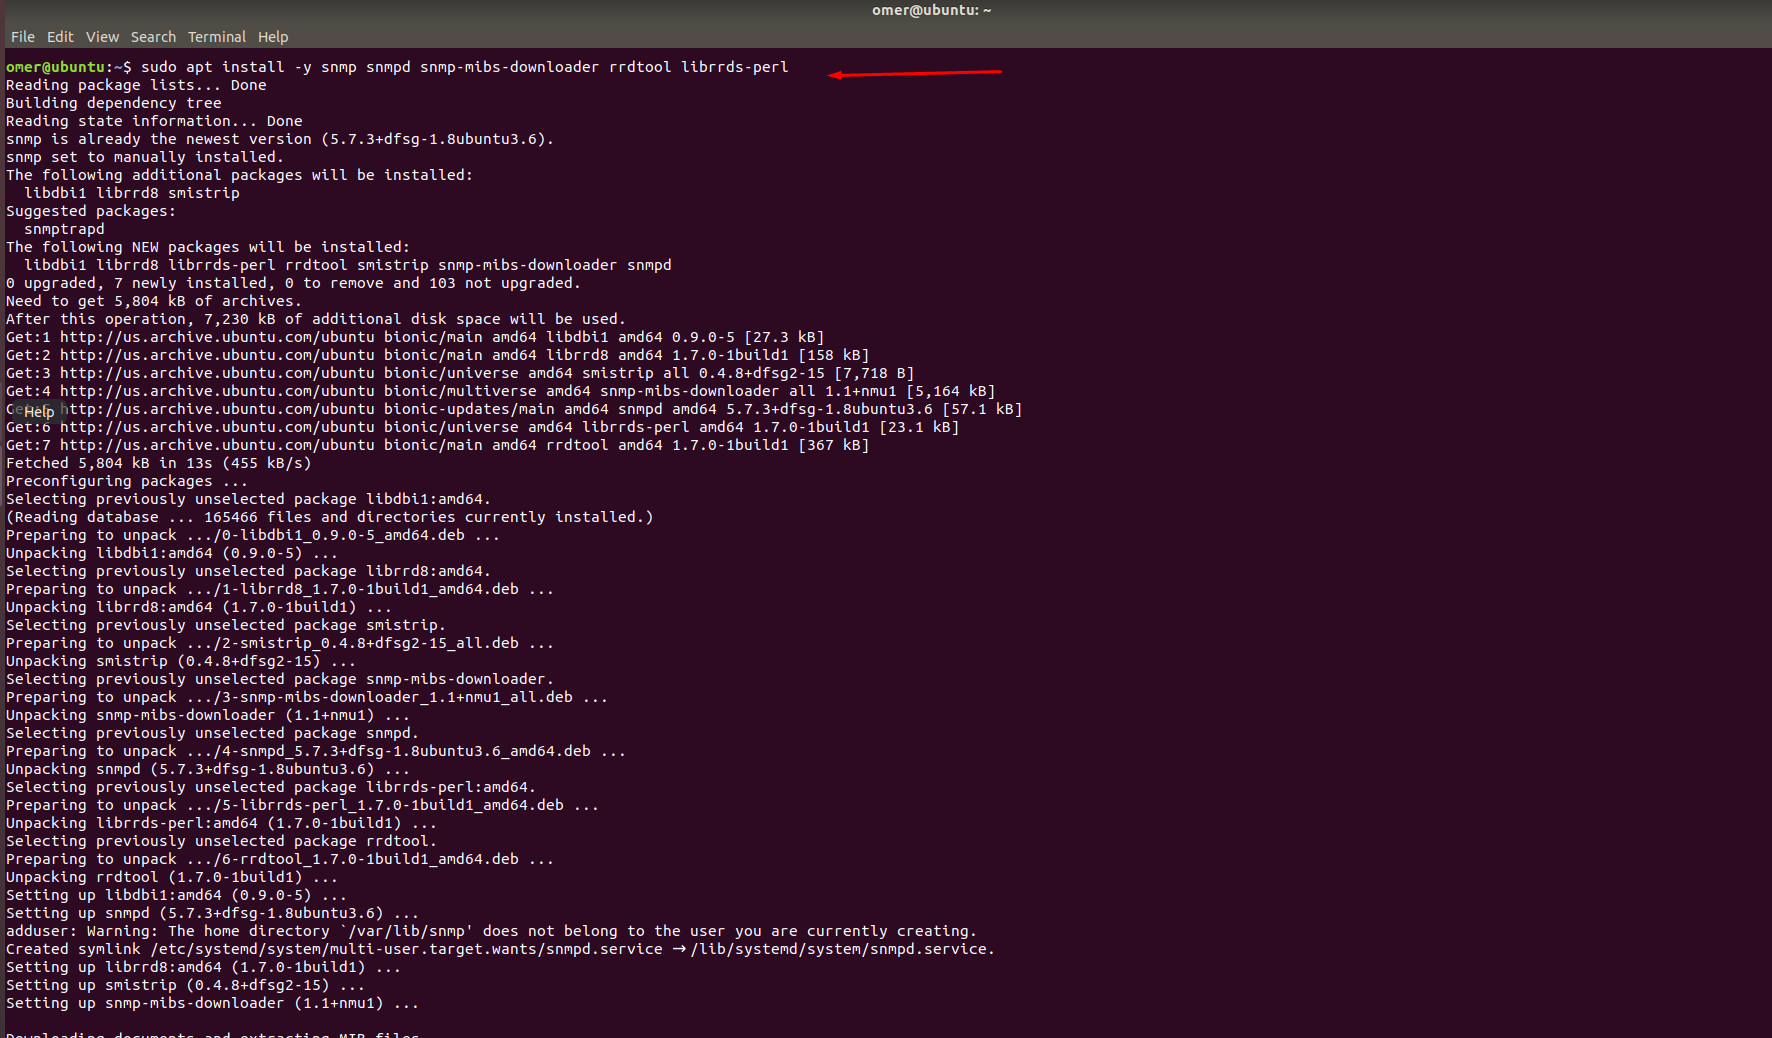
omer@ubuntu:~$ sudo apt install -y snmp snmpd snmp-mibs-downloader rrdtool librrds-perl
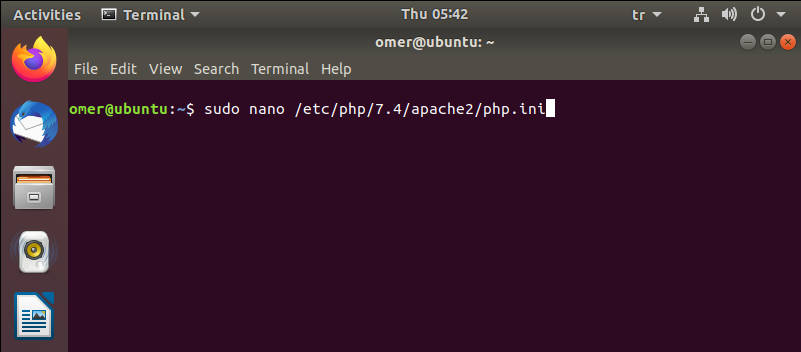
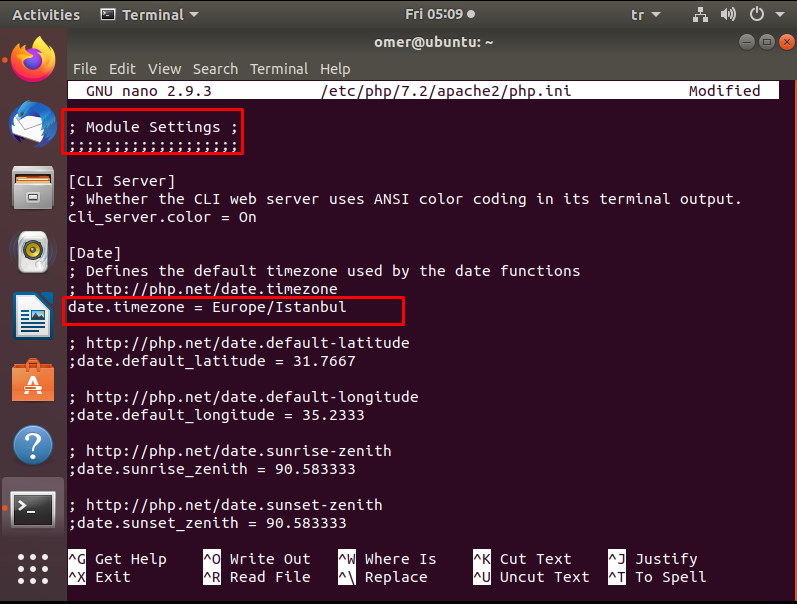
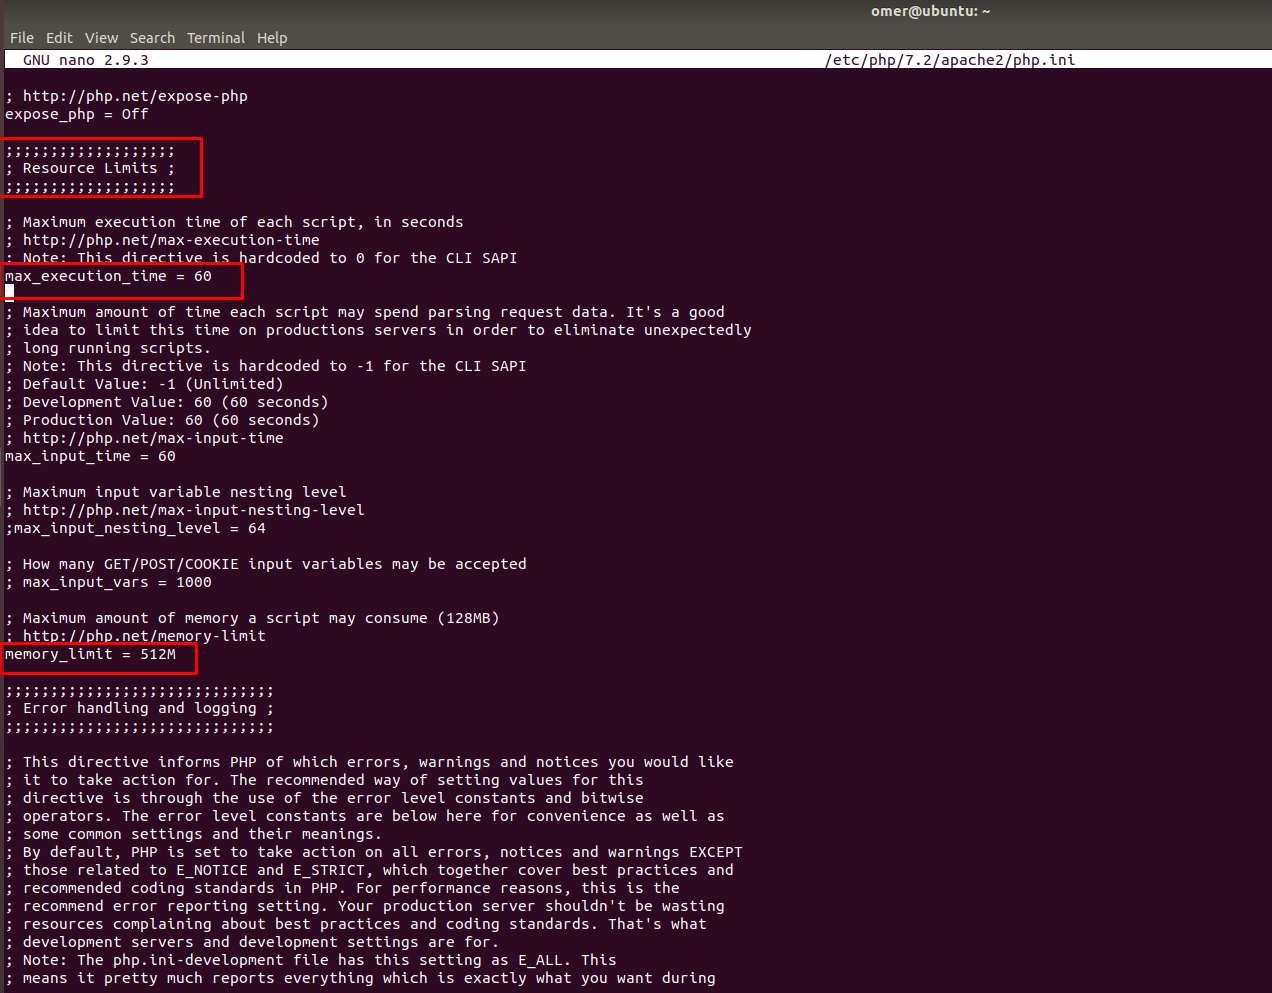
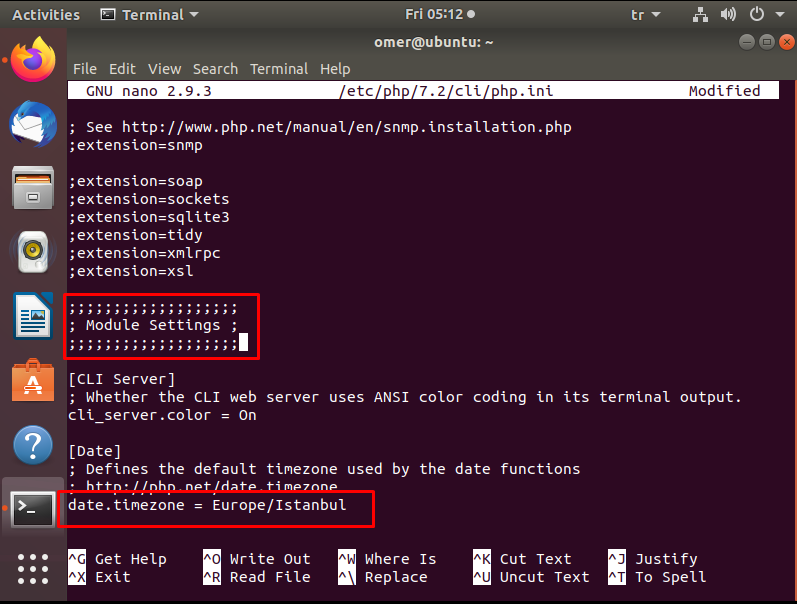
Timezone Settings
Let’s set the timezone now. We make changes in the two files below.
omer@ubuntu:~$ sudo nano /etc/php/7.2/apache2/php.ini
We find the following fields in two files and arrange them in this way.
date.timezone = Europe / Istanbul
memory_limit = 512M
max_execution_time = 60
omer@ubuntu:~$ sudo nano /etc/php/7.2/cli/php.ini
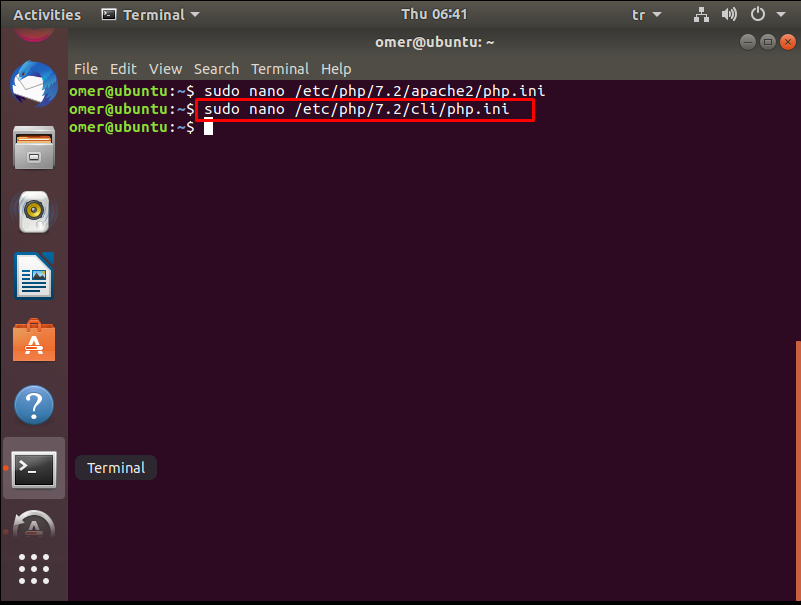
date.timezone = Europe / Istanbul
memory_limit = 512M
max_execution_time = 60
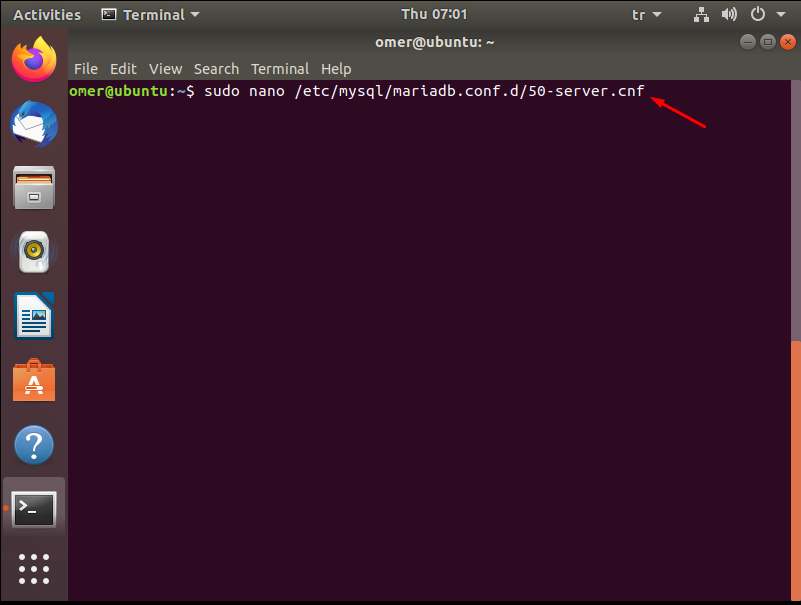
Now we need to make changes to MariaDB. We can configure MariaDB as follows.
omer@ubuntu:~$ sudo nano /etc/mysql/mariadb.conf.d/50-server.cnf
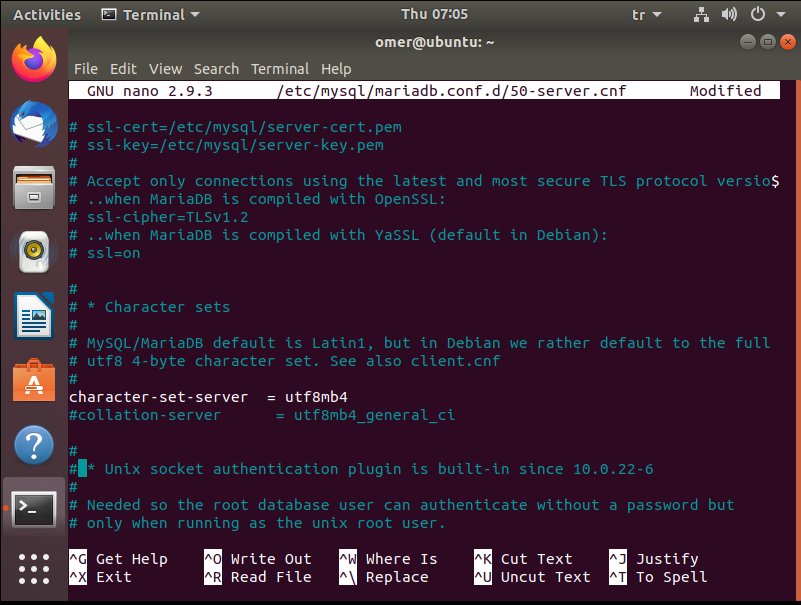
We find the line starting with “collation-server” and make it inactive by adding the symbol “#” to the beginning.
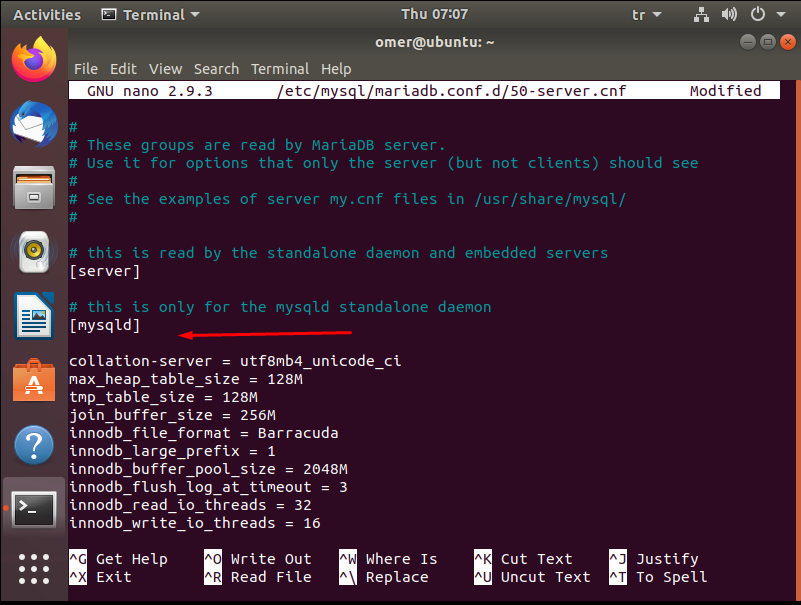
Then we add the following lines under “[mysqld]”.
collation-server = utf8mb4_unicode_ci
max_heap_table_size = 128M
tmp_table_size = 128M
join_buffer_size = 256M
innodb_file_format = Barracuda
innodb_large_prefix = 1
innodb_buffer_pool_size = 2048M
innodb_flush_log_at_timeout = 3
innodb_read_io_threads = 32
innodb_write_io_threads = 16
innodb_io_capacity = 5000
innodb_io_capacity_max = 10000
innodb_buffer_pool_instances = 21
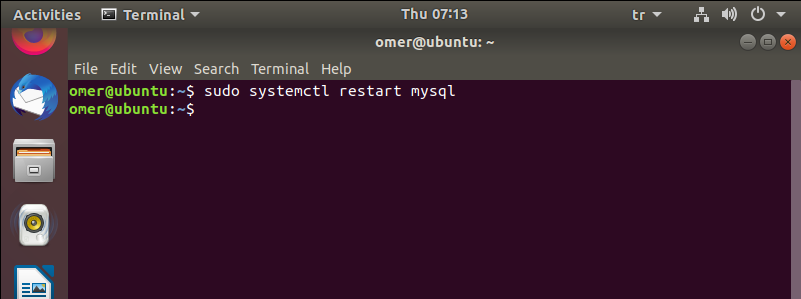
The changes we make on the file are firstly the “ctrl + x” command, secondly, we press the “y” key. Then we save by pressing the “Enter” key. Then we reset the database services with the following command.
omer@ubuntu:~$ sudo systemctl restart mysql
Create a Database
It’s time to create a database.
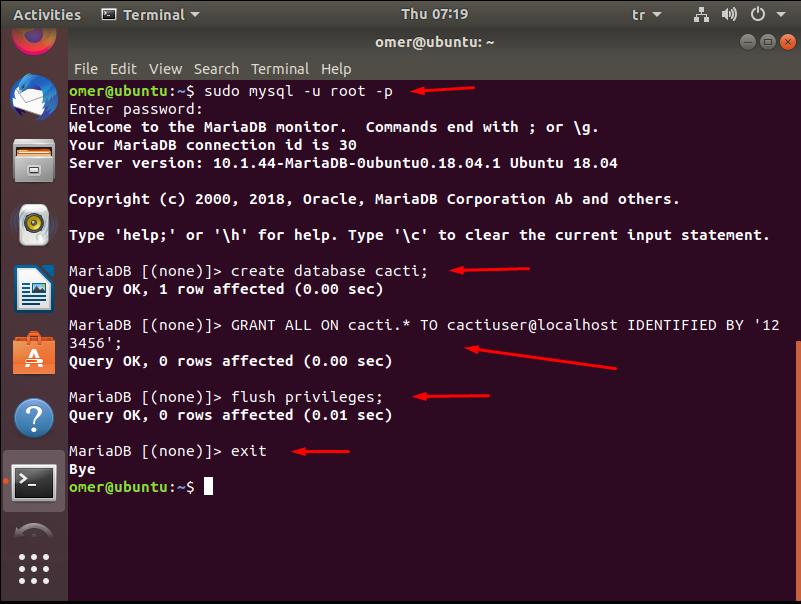
We log in to the database with the sudo “mysql -u root -p” command, then we create our database with the following commands.
mysql -u root -p
create database cacti;

GRANT ALL ON cacti.* TO cactiuser@localhost IDENTIFIED BY '123456';

flush privileges;

exit
Now we import the database file “mysql_test_data_timezone.sql” with the following command.
sudo mysql -u root -p mysql < /usr/share/mysql/mysql_test_data_timezone.sql

Then we reconnect to the database and enter the following commands in order.
GRANT SELECT ON mysql.time_zone_name TO cactiuser@localhost;

flush privileges;

exit

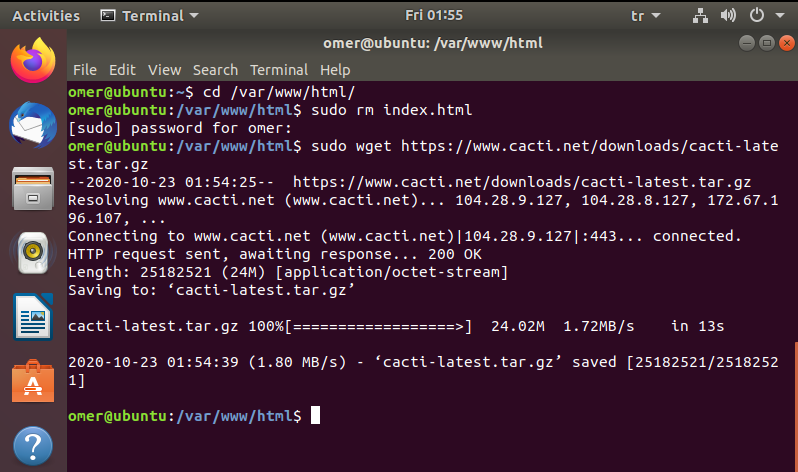
After these processes, we came to the installation of cacti. First, we download the latest version of cacti.
omer@ubuntu:~$ cd /var/www/html/
omer@ubuntu:/var/www/html$ sudo rm index.html
omer@ubuntu:/var/www/html$ sudo wget https://www.cacti.net/downloads/cacti-latest.tar.gz
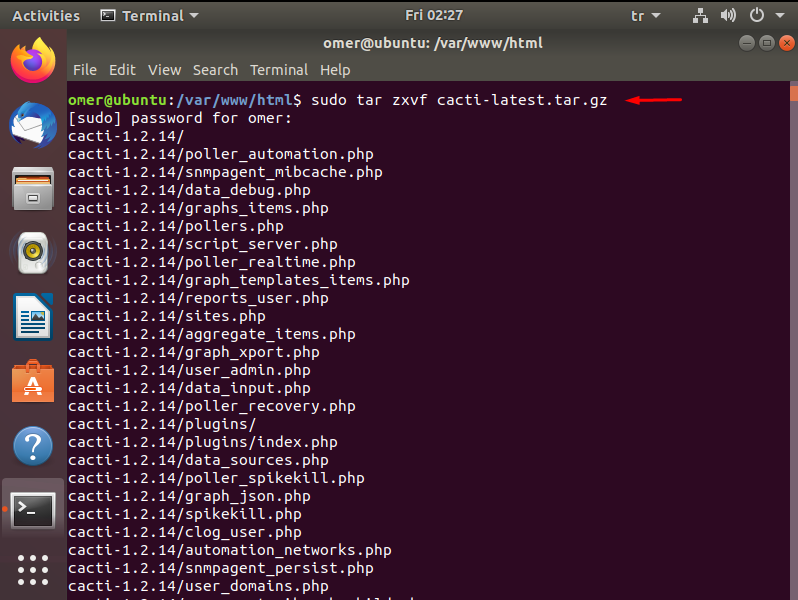
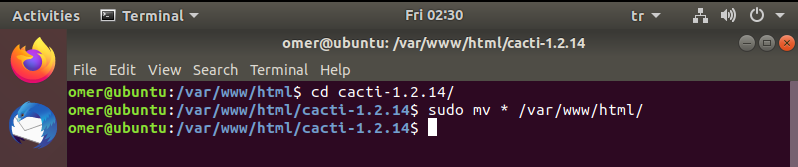
We open the archive and enter it, then copy all the files under “/var/www/html/“.
omer@ubuntu:/var/www/html$ sudo tar zxvf cacti-latest.tar.gz

sudo mv * /var/www/html/
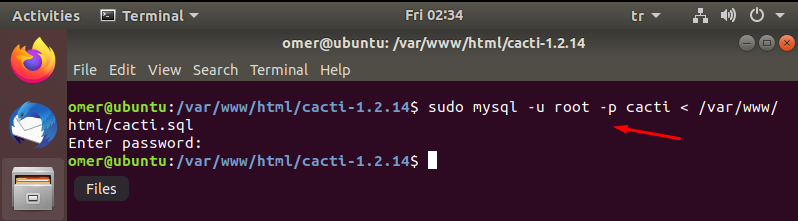
We import the cacti database file into MariaDB.
omer@ubuntu:/var/www/html/cacti-1.2.14$ sudo mysql -u root -p cacti < /var/www/html/cacti.sql
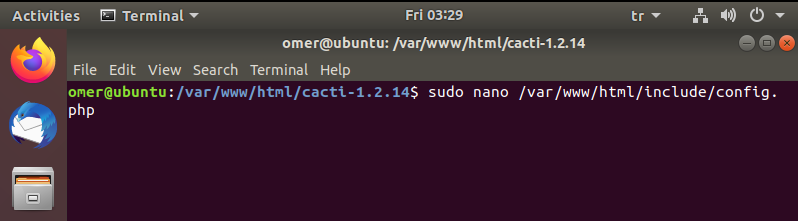
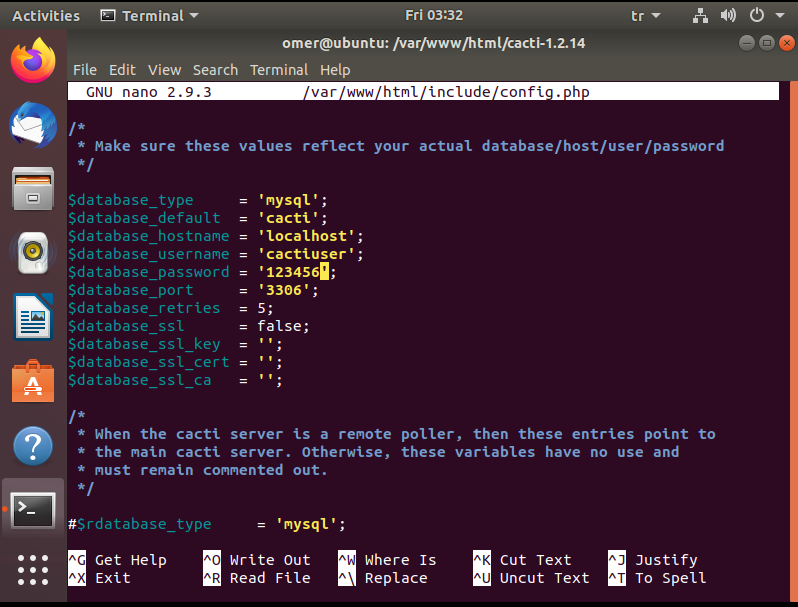
We edit the following config file and enter the cacti database password.
omer@ubuntu:/var/www/html/cacti-1.2.14$ sudo nano /var/www/html/include/config.php
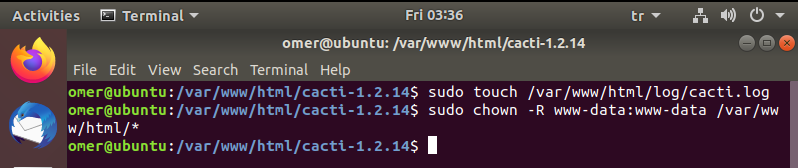
We edit permissions to cacti with the following commands.
omer@ubuntu:/var/www/html/cacti-1.2.14$ sudo touch /var/www/html/log/cacti.log
omer@ubuntu:/var/www/html/cacti-1.2.14$ sudo chown -R www-data:www-data /var/www/html/*
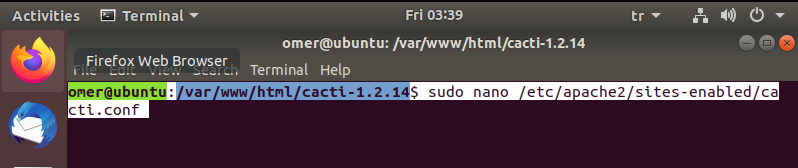
We create the necessary files under apache for web access.
omer@ubuntu:/var/www/html/cacti-1.2.14$ sudo nano /etc/apache2/sites-enabled/cacti.conf
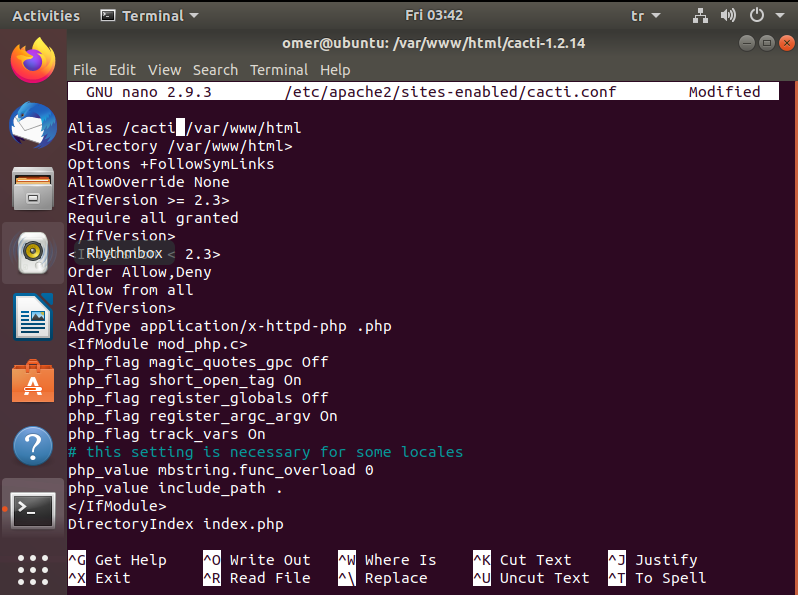
We paste the following content into the file you opened and save the file.
Alias /cacti /var/www/html
<Directory /var/www/html>
Options +FollowSymLinks
AllowOverride None
<IfVersion >= 2.3>
Require all granted
</IfVersion>
<IfVersion < 2.3>
Order Allow,Deny
Allow from all
</IfVersion>
AddType application/x-httpd-php .php
<IfModule mod_php.c>
php_flag magic_quotes_gpc Off
php_flag short_open_tag On
php_flag register_globals Off
php_flag register_argc_argv On
php_flag track_vars On
# this setting is necessary for some locales
php_value mbstring.func_overload 0
php_value include_path .
</IfModule>
DirectoryIndex index.php
</Directory>
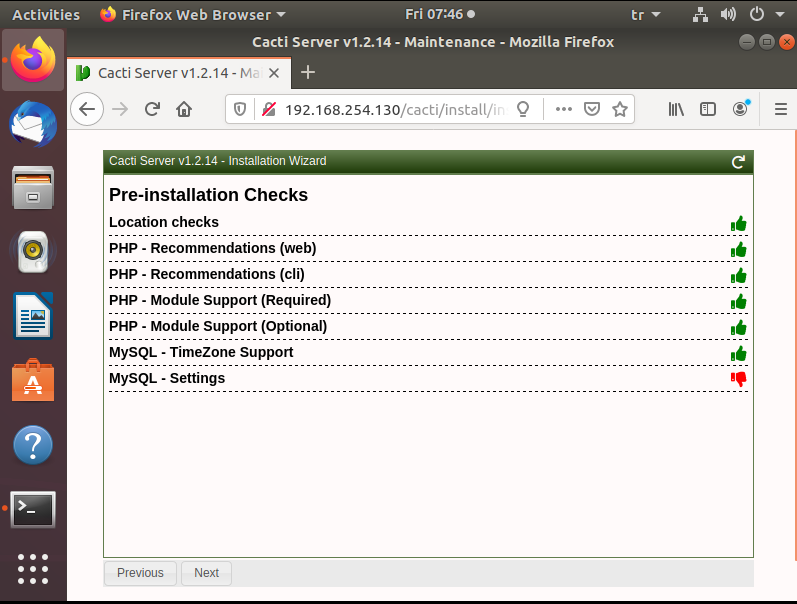
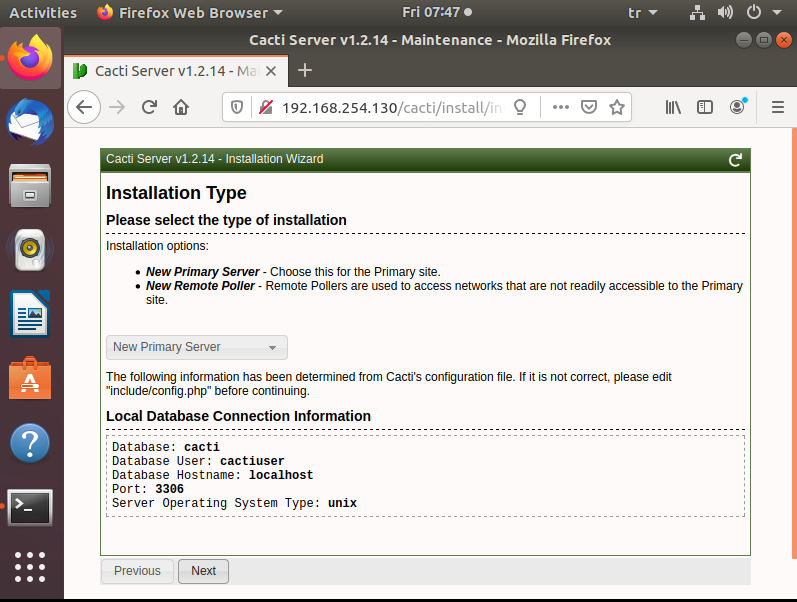
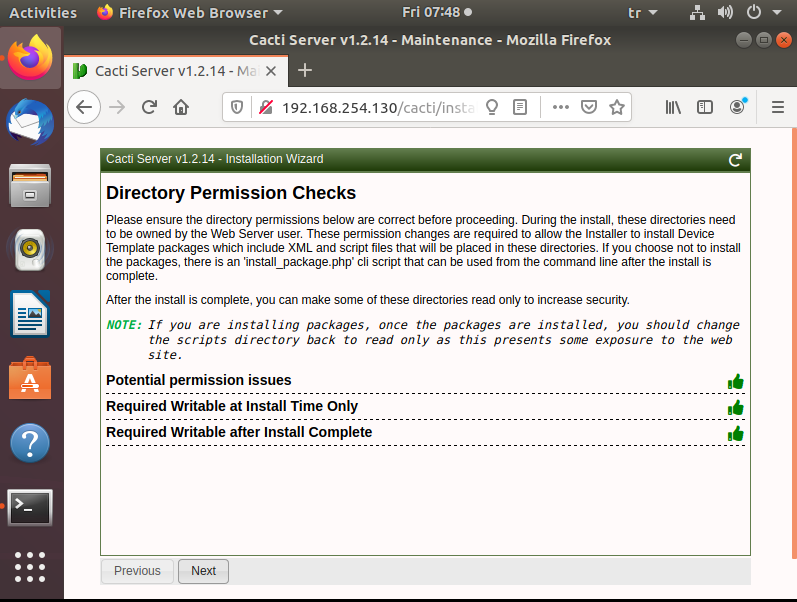
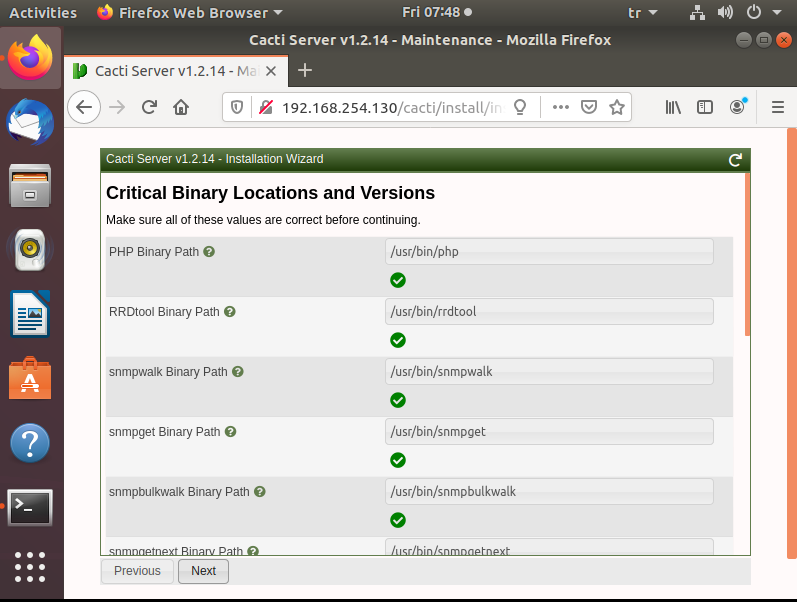
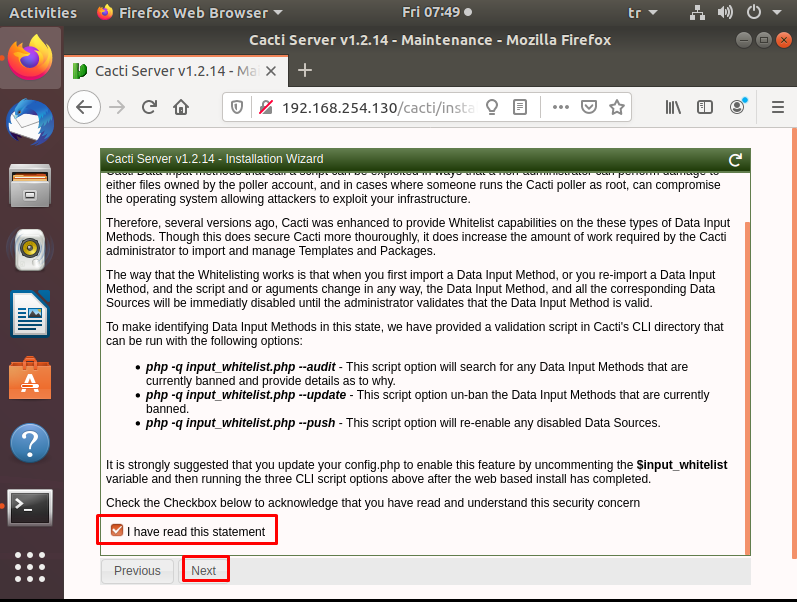
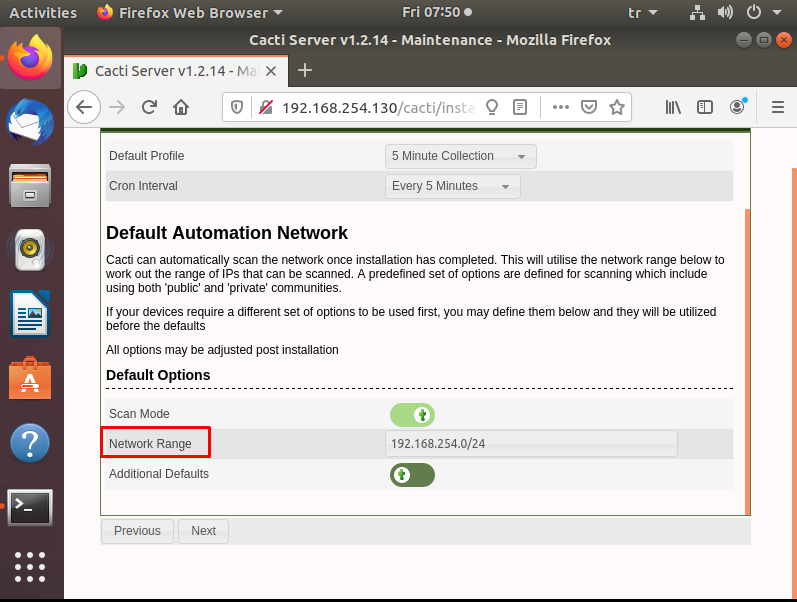
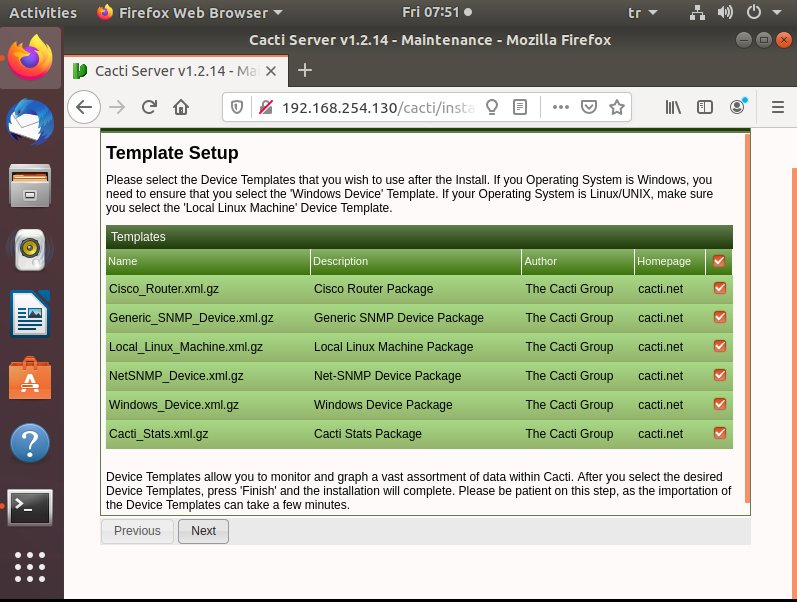
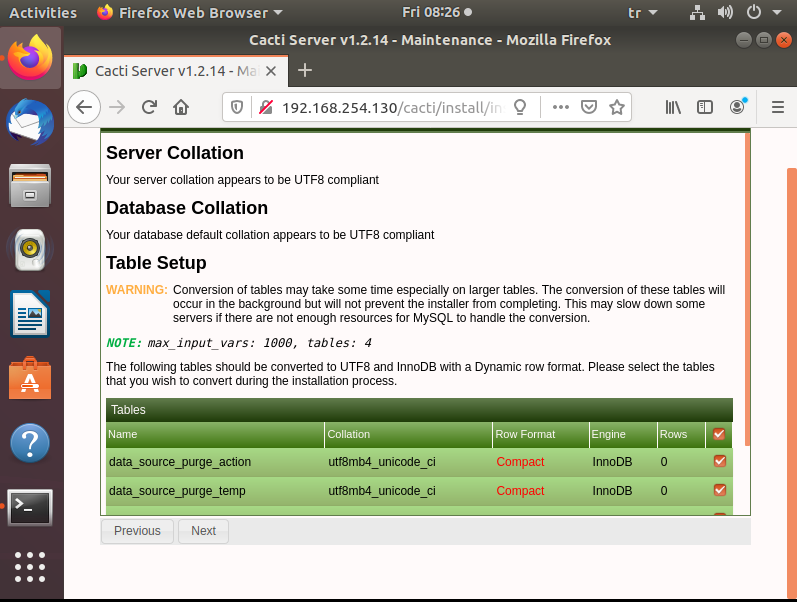
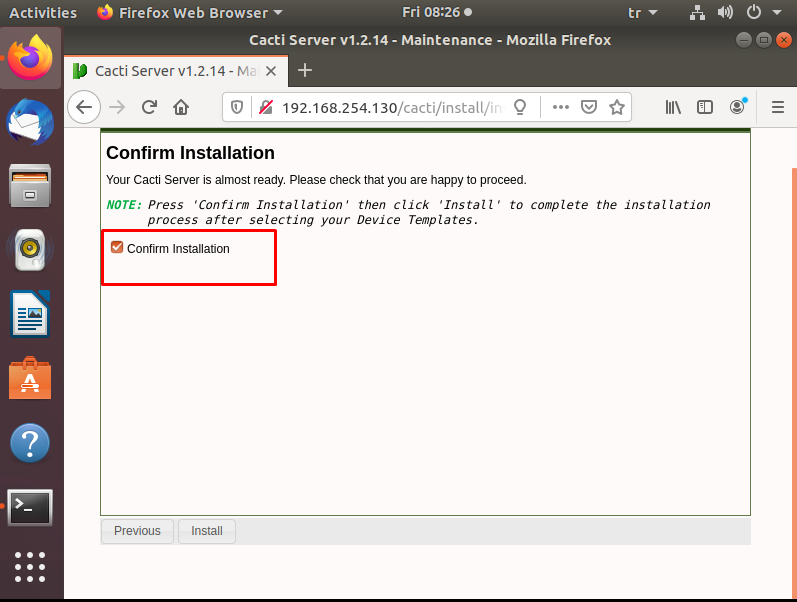
Now we open the web browser and write the server’s IP address. After opening it in the web browser, we make the necessary settings as follows.
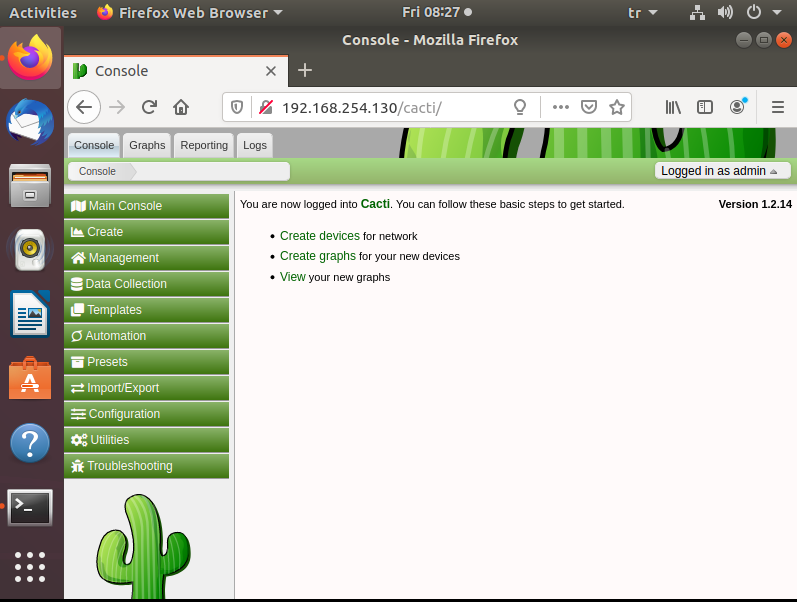
The default username and password: “admin/admin”
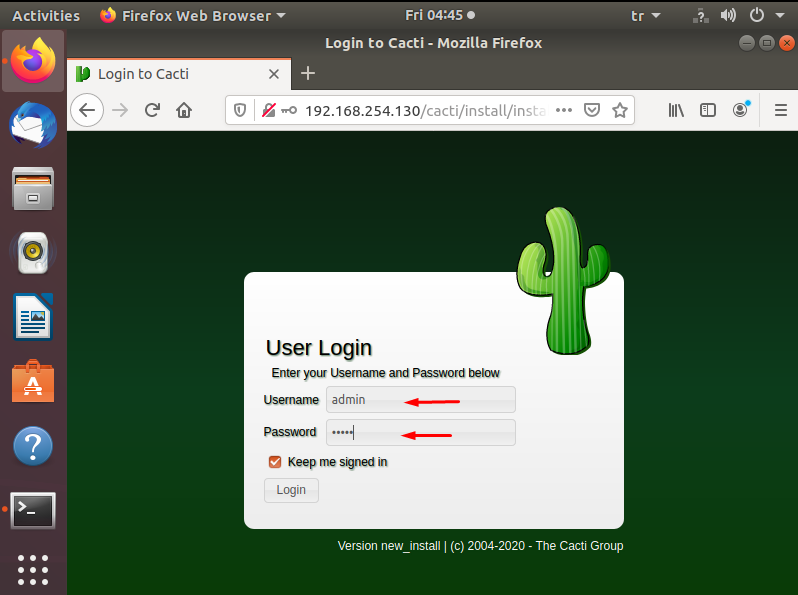

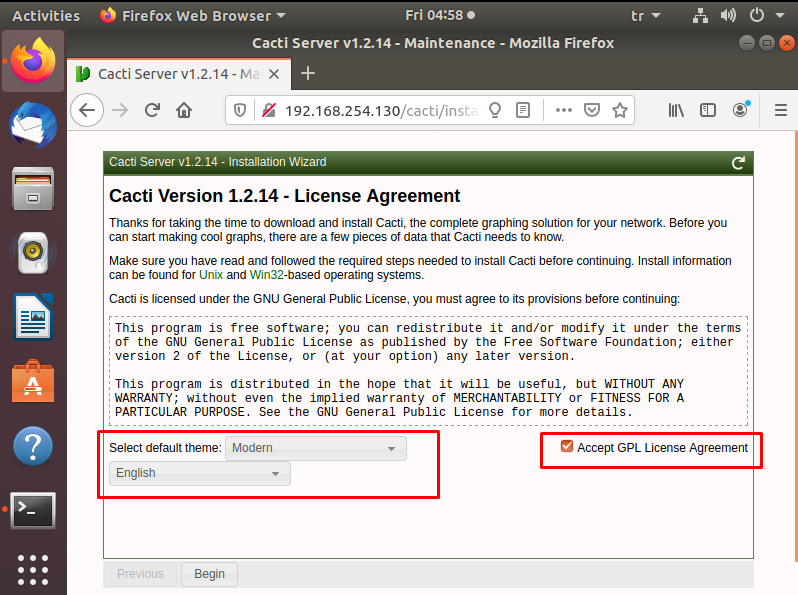

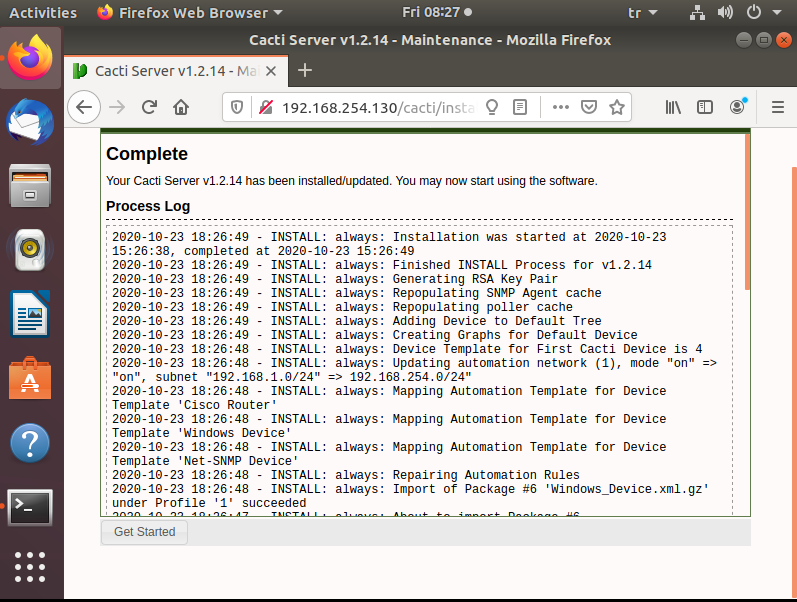
After the Cacti installation is completed, we log in and the screen below welcomes us.
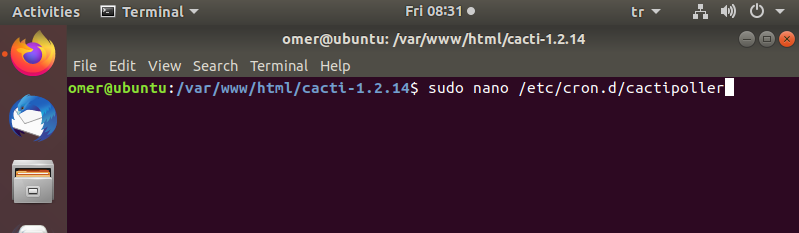
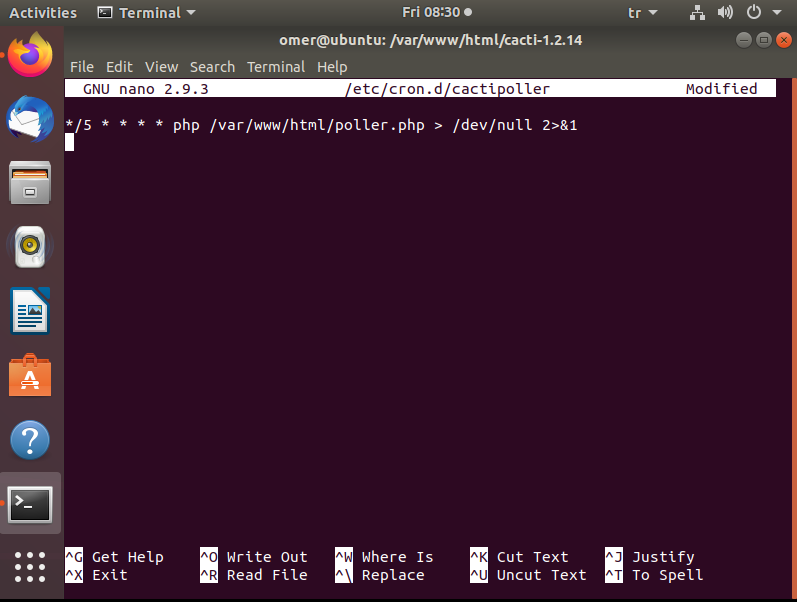
Finally, in the crontab, we create a schedule to refresh the data at certain intervals.