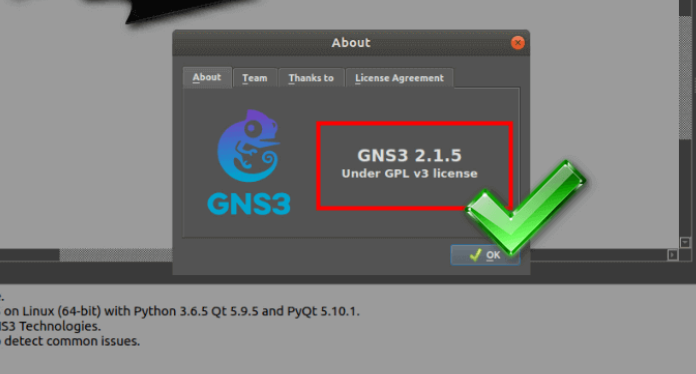
GNS3 network simulator program can be installed on Windows operating systems as well as on Linux systems.
How to Install GNS3 2.2.5 on Ubuntu?
With the GNS3 (Graphical Network Simulator 3) program, you can create more specific network topologies and operate and use these devices virtually on your computer with GNS3 without the need to purchase network products such as Cisco Router, Switch.
We have already installed the GNS3 network simulator program on the Windows operating system. While installing GNS3 on Windows platform, we proceed with graphical steps. On the Ubuntu operating system, applications are usually installed using the terminal. On Linux systems, you need to define the repo addresses of a program. And so, sometimes building a program can be time-consuming and complicated. GNS3 is more specific than the Cisco Packet Tracer program and therefore users prefer this simulator program more.
Installing and Using GNS3
Follow the steps below to install GNS3 step by step on your Linux computer.
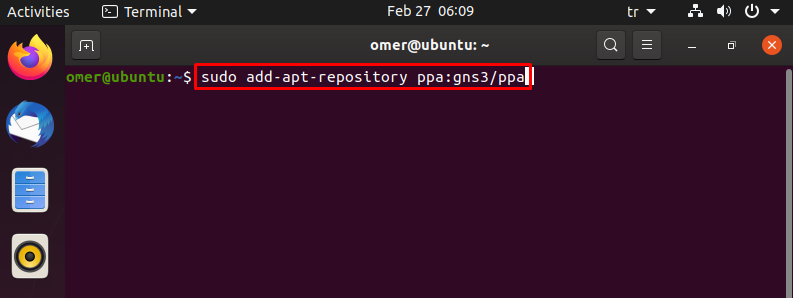
Open Terminal by pressing Ctrl + Alt + T keys on the Ubuntu desktop. To add GNS3 to Repository, type the following command in Terminal and press Enter.
sudo add-apt-repository ppa:gns3/ppa
Press Enter to continue the GNS3 installation.
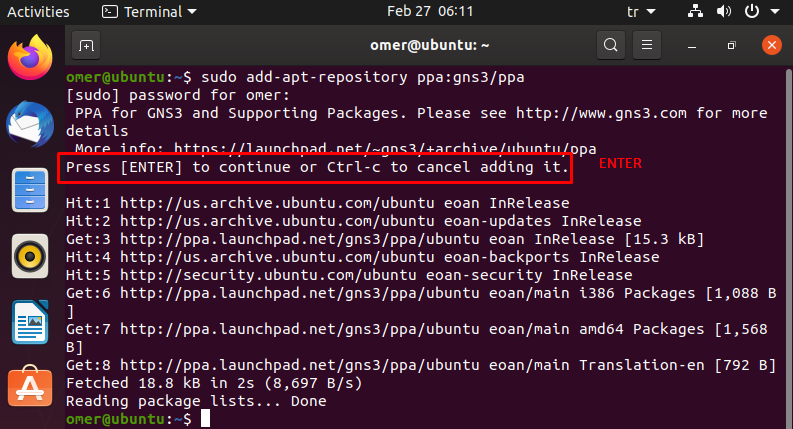
Type “sudo apt-get update” command to update the Ubuntu package list and press Enter.
sudo apt-get update

Apply “sudo apt-get install gns3-gui” command to start the installation.
sudo apt-get install gns3-gui

Press Y to confirm the installation of the dependent packages and then press Enter.

Press Enter on the Yes option to allow non-root users to use Ubridge.

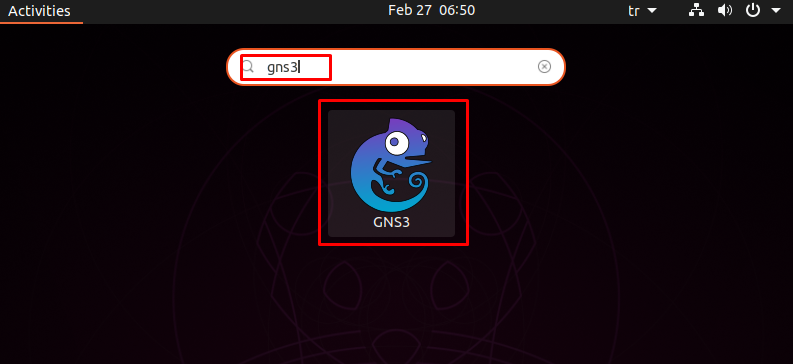
After the installation is completed, close Terminal and finds the program by typing GNS3 in the search box and run it.
Also, select the Yes option if you want to allow non-root users to capture packets using the Wireshark program on GNS3.

After the installation is completed, close Terminal and finds the program by typing GNS3 in the search box and run it.
You can check the version of GNS3 in Help / About.
