 by
by One of the programs that make our business life easier is Outlook. We will see Microsoft’s newly added e-mail scheduling feature. We will see how to schedule by following the steps below.
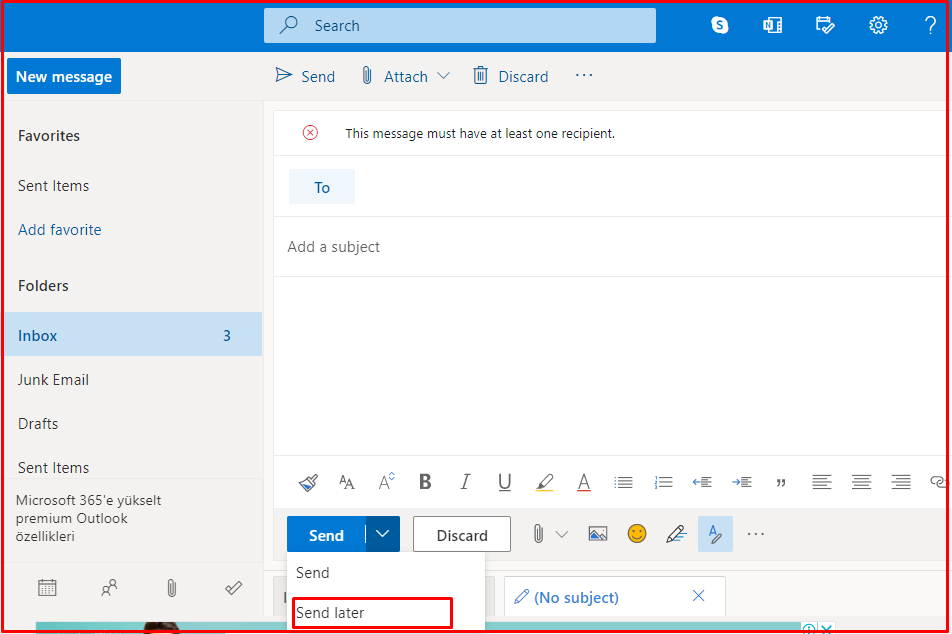
1. We log in to Outlook and create a new mail.
2. Before sending this mail, open the menu by pressing the arrow next to the Send button and click “Send later”.
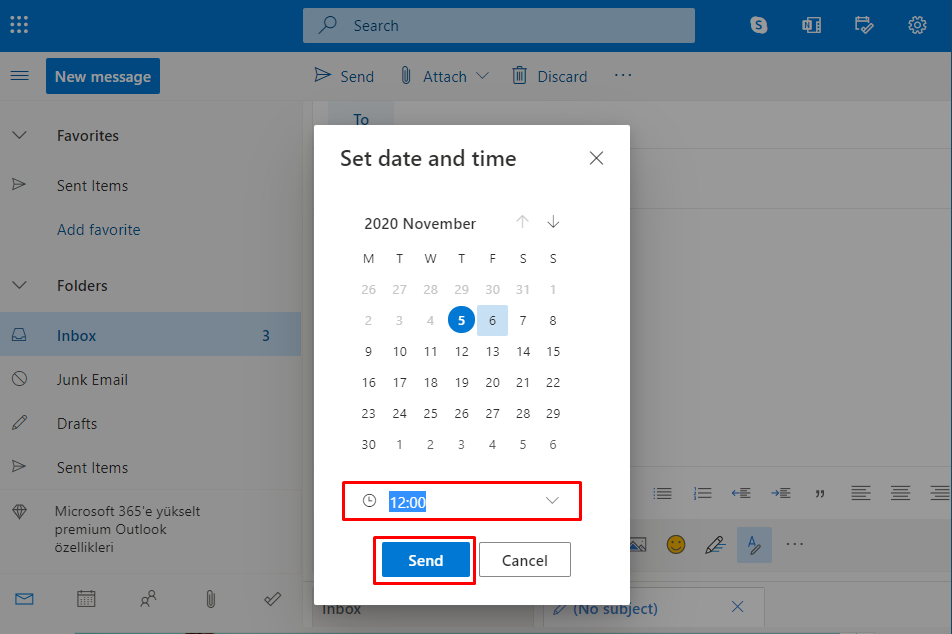
3. We set a calendar where you can choose the date and time you want to send the mail. After making the necessary setting, press the “Send” button.
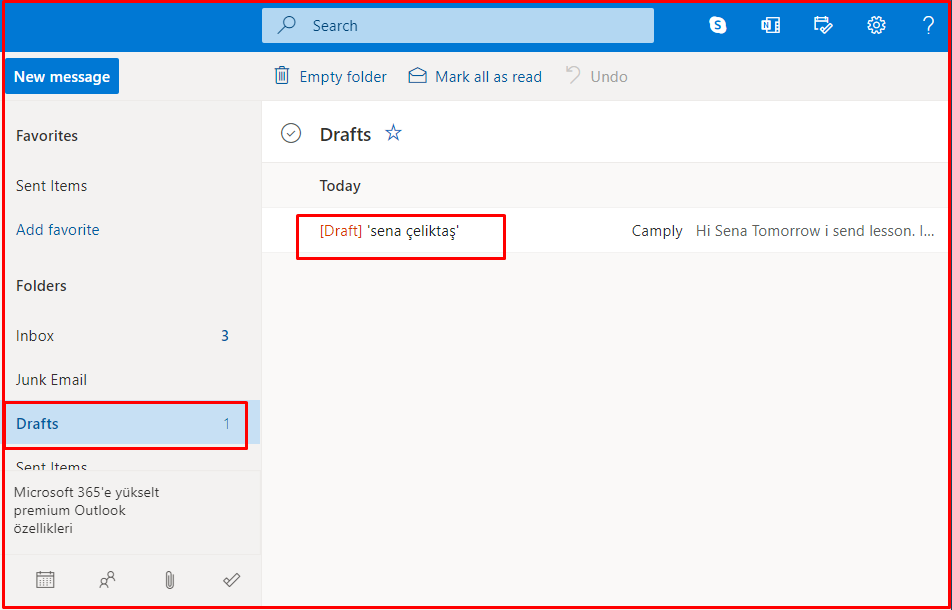
This file will now wait in the Drafts section until the time it should be posted.
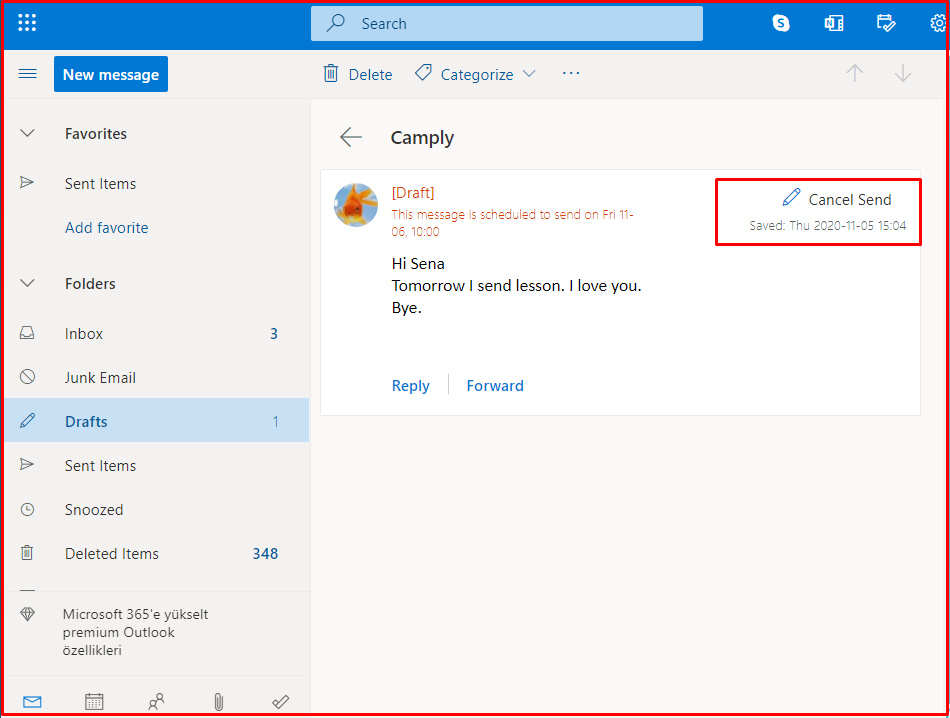
Cancellation or change of scheduled mail
To cancel or change a scheduled mail, you can follow the steps below from the Drafts file.
1. We find the scheduled mail in the “Drafts” file and open it.
2. When you open the mail, you will see a pencil symbol and an option next to it saying “Cancel Send“. In the same place, date and time information is also seen.
Click on the item to change the post date. If you want to cancel, click “Cancel Send“. This click will take you to the e-mail compose screen. So you can send or cancel the mail instantly.