It is a container technology used for hosting distributed application architectures developed for Docker application developers and IT Pros. In this article, we will install Docker on our Windows 10 machine.
To install docker, we need to download docker windows installation from “https://www.docker.com/get-docker” on the docker site.

We start the installation by double-clicking the downloaded Docker iso.
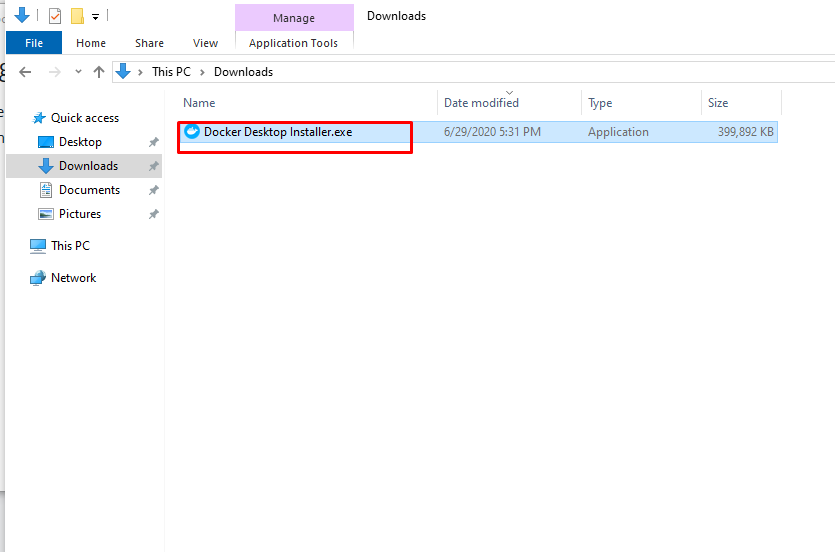
If the computer has user account control, the screen below appears. Let’s continue by clicking the “Yes” button on the screen.

After checking the settings in the “Configuration” screen, we click the “Ok” button.
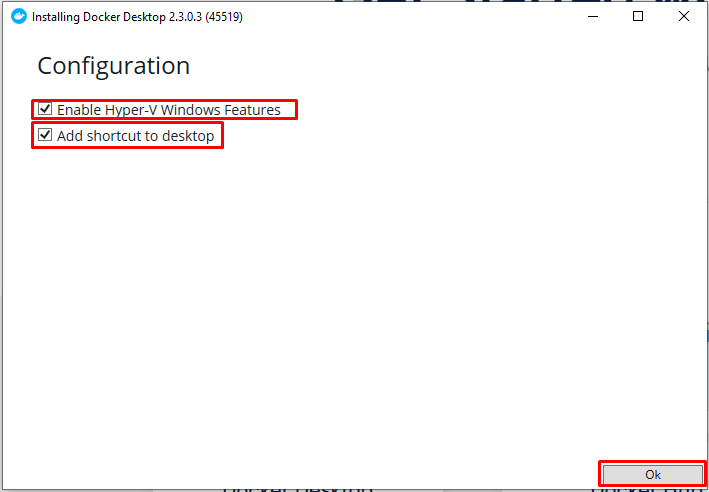
After pressing the “Ok” key. Our installation begins.

After the installation is finished, it asks us to close our current session.

We log out and log back into Windows.
If Hyper-V is not installed on your Windows machine, Docker opens the screen below to install it for you.

After choosing the “Ok” option, Docker starts installing Hyper-V. Windows will restart for Hyper-V installation.
If hardware virtualization is not open on your machine. You will receive the warning screen below.

To fix this error, you need to turn on “Hardware Assisted Virtualization” and Data Execution Protection “features in your BIOS settings.
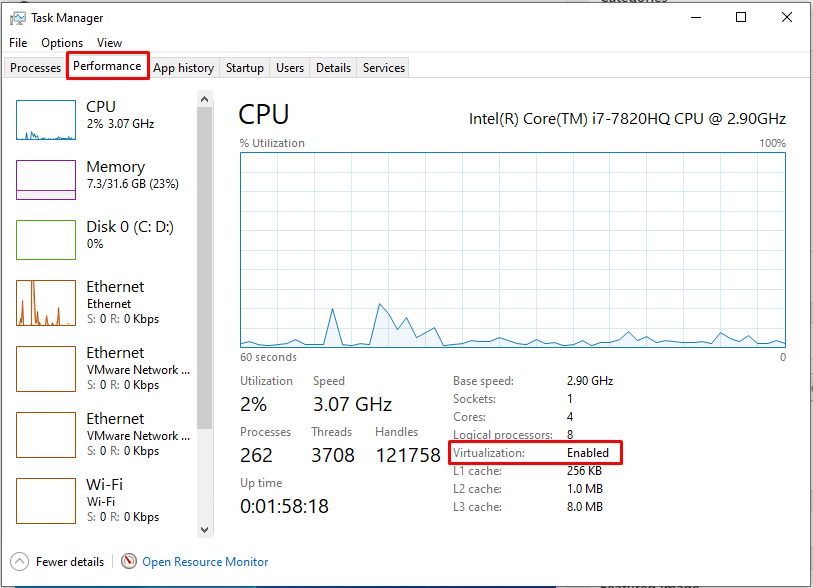
You can restart the machine and make these settings. Now let’s check if the “Hardware Assisted Virtualization” feature is enabled.
From the task manager, switch to the performance tab by pressing Ctrl + Shift + Esc. You will see virtualization at the bottom right. In this section, you can see if virtualization is active. If it is active, your installation will be completed.
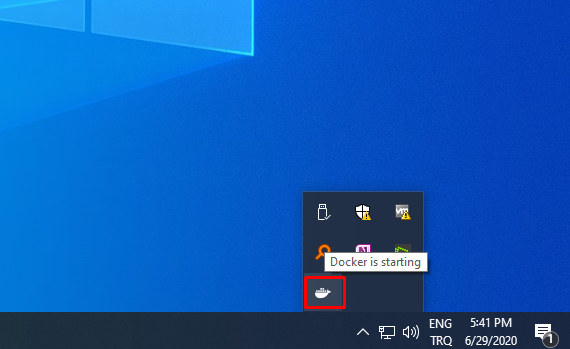
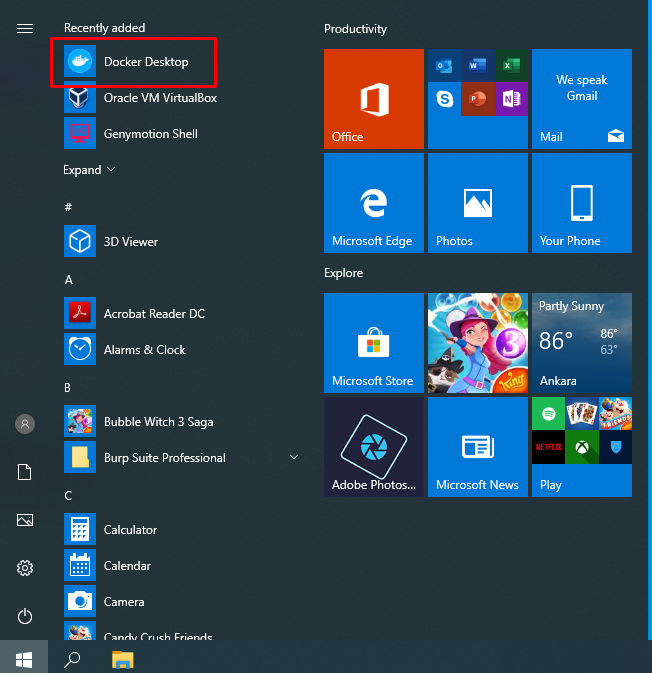
After the installation is finished, the Docker icon will appear in the Windows taskbar and will be launched.
After Docker works, we see the “Login” screen below.


