 by
by Cisco released the latest version of network simulator software 7.2.2 for its users on September 11, 2019. You can download this new version for both Windows and Linux systems from the Download section by logging into Netacad.

Cisco Packet Tracer Setup
The 7.2.2 version of Packet Tracer is the 2nd maintenance release for 7.2 and the build number is 7.2.2.0418. You can easily update/upgrade the PT installed on your computer to the new version.
The most striking feature of Packet Tracer 7.2 is its new visual theme. In this version, you can review after the installation that new workspace, enhancements and new devices have been added.
System requirements
Minimum requirement
- Processor: Intel Pentium 4, 2.53 GHz or equivalent
- Operating System: Microsoft Windows 7, Microsoft Windows 8.1, Microsoft Windows 10 or Ubuntu 16.04 LTS
- RAM: 2GB
- Storage: 1.4 GB of free disk space
- Screen Resolution: 1024 x 768
- Language fonts that support Unicode encoding
- Latest video card drivers and operating system updates
After explaining the minimum system requirements of Packet Tracer, let’s examine its installation step by step.
Using Cisco Network Simulator in Windows 10
Before proceeding with the installation steps, download the PT for your Windows computer by clicking here. Then follow the instructions below for step-by-step installation in order.
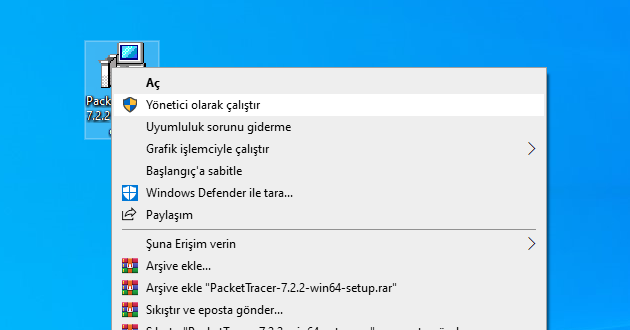
Click the Right Button on the Cisco PT setup file that you downloaded to your computer and click on the “Run as Administrator” option from the opened options.
When the Windows 10 file security warning window opens, click the “Run” button to run the setup file.
In the PT license agreement window, select the I accept the agreement option to accept the license and click the “Next” button.

In the “Select Destination Location” window, if you want to change the location you want to install, you can choose a different location by clicking the Browse button.
Click “Next” directly to continue with the location the Wizard has chosen by default.

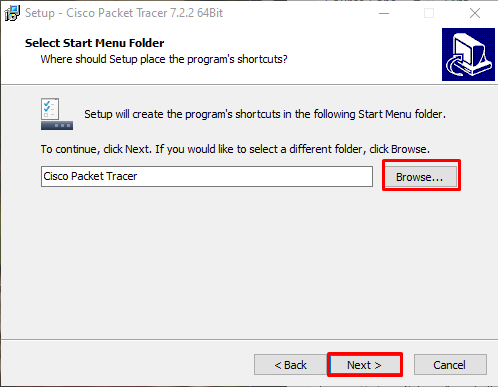
In the “Select Start Menu Folder” window, you can change the name of the folder for the start menu after installation, as the name suggests. Leave the default option here and continue with the installation.
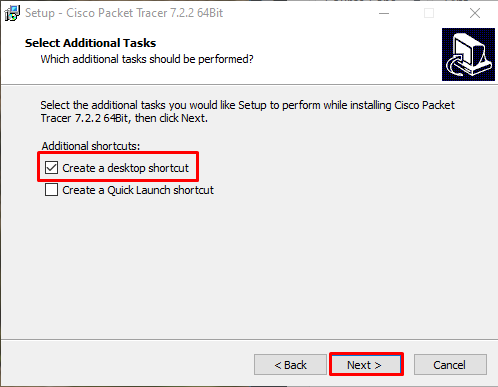
In the “Select Additional Tasks” window, you can create a desktop shortcut and a quick launch shortcut for Packet Tracer on your computer.
In this step, you can continue by simply creating a desktop shortcut.
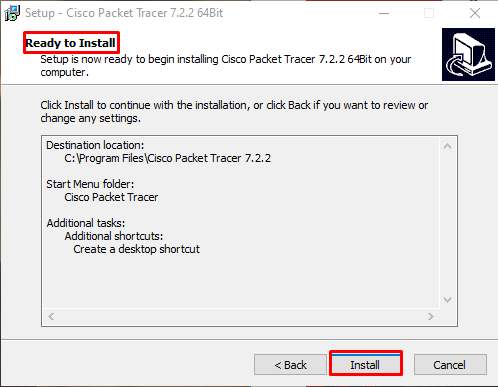
In the “Ready to Install” window, you can review the configurations required to install Packet Tracer from the image below. If you want to make a change, you can go back to the previous steps.
Click the “Install” button to start copying the files directly.
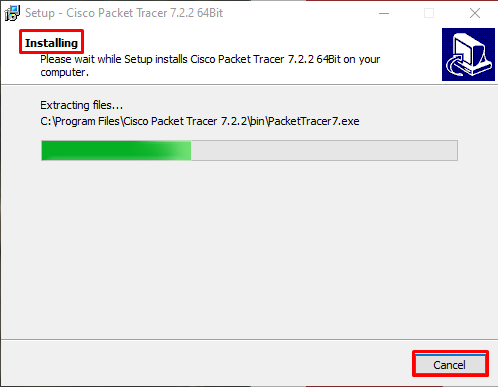
Wait while the files required for PT 64 Bit are copied to your system. This process will be completed in a few minutes.
After the necessary files have been copied, you will see a warning window asking you to restart your computer so that you can use PTSA (Packet Tracer Skills Based Assessment). Click the “OK” button in the Setup Info window.

After completing the CPT Setup Wizard, click the “Finish” button to run the simulator.

Wait while the Cisco network simulator opens.

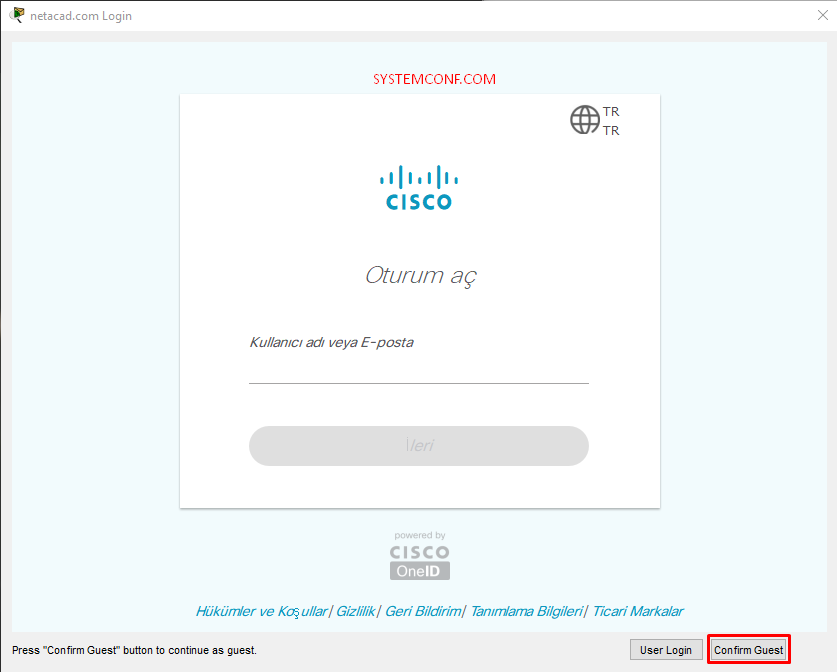
In this step, when you encounter the Cisco login screen, you can log in to the remote server by typing your Netacad account information. Otherwise, if you don’t have a Netacad account, just click on the Guest Login button to run the program.

After clicking the Guest Login button, a 15-second timer will start, and at the end of this time, you can run the simulator by clicking the Confirm Guest button.
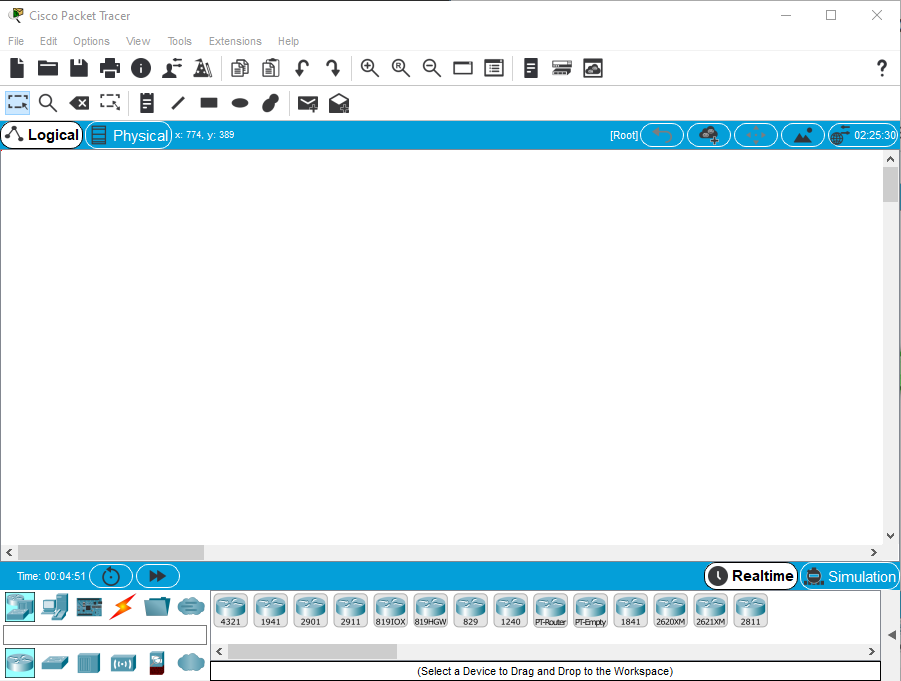
After the installation, you can examine the working environment of Packet Tracer as in the image below.