

 by
by In our previous article, we talked about what Wireshark is. In this article, we will examine how to install Wireshark. Before proceeding with the installation steps, download the program from its website from the link below.
https://www.wireshark.org/download.html

Installing Wireshark
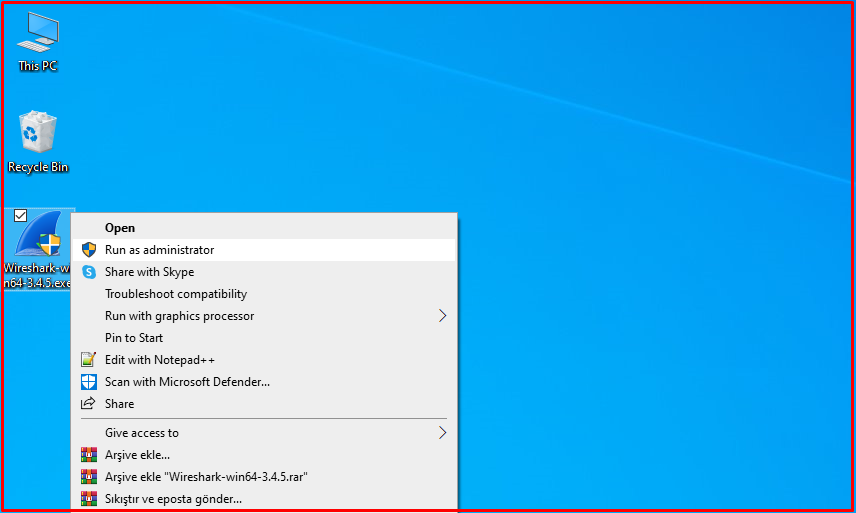
Step 1
Run the downloaded installation file as an administrator.
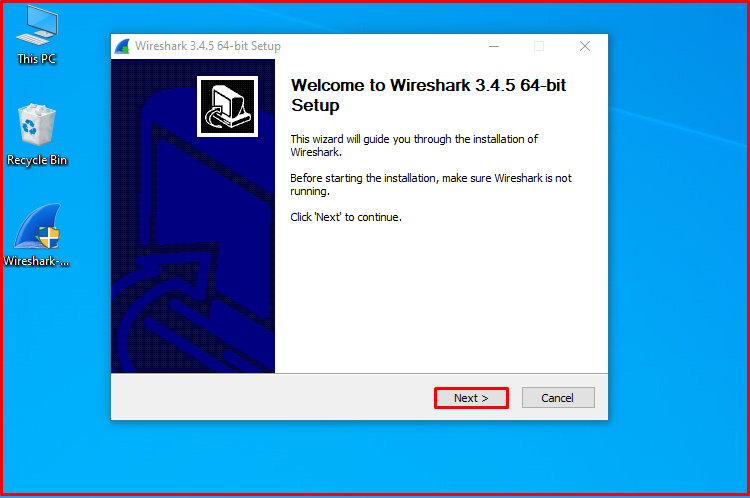
Step 2
Continue by clicking the “Next” button in the installation wizard.
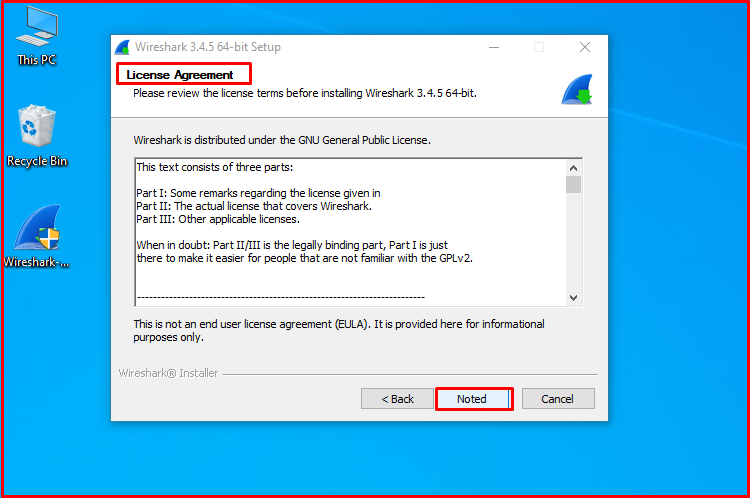
Step 3
Click the “Noted” button to accept the license agreement.
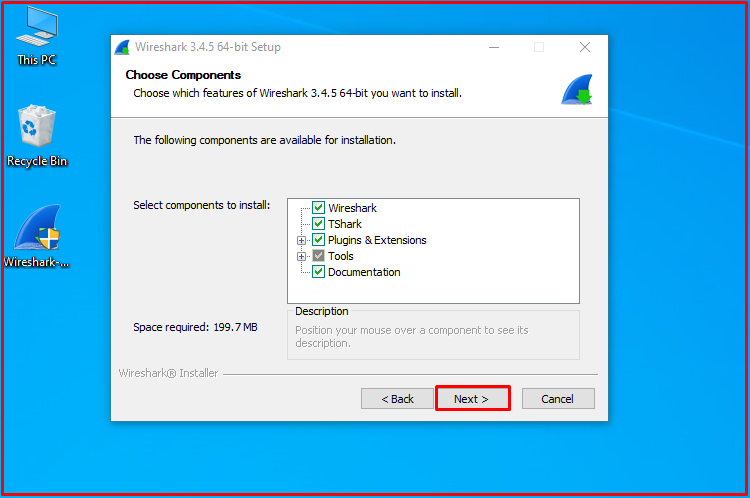
Step 4
Continue leaving the components as default.
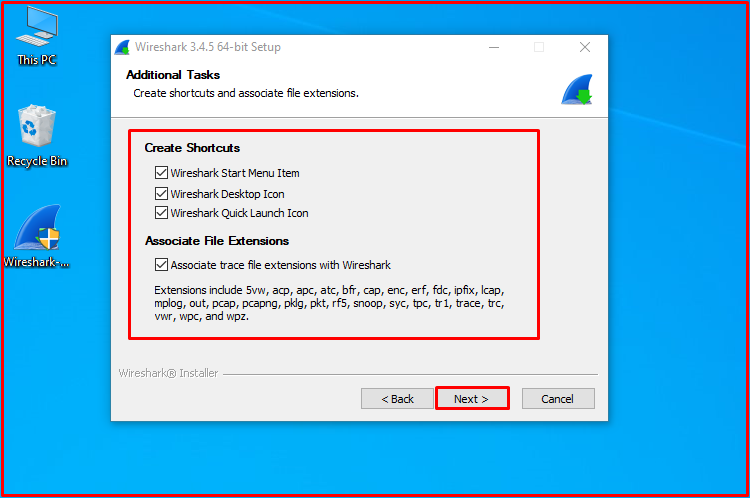
Step 5
In the Select additional tasks window, continue by selecting the “Wireshark Desktop Icon” option.
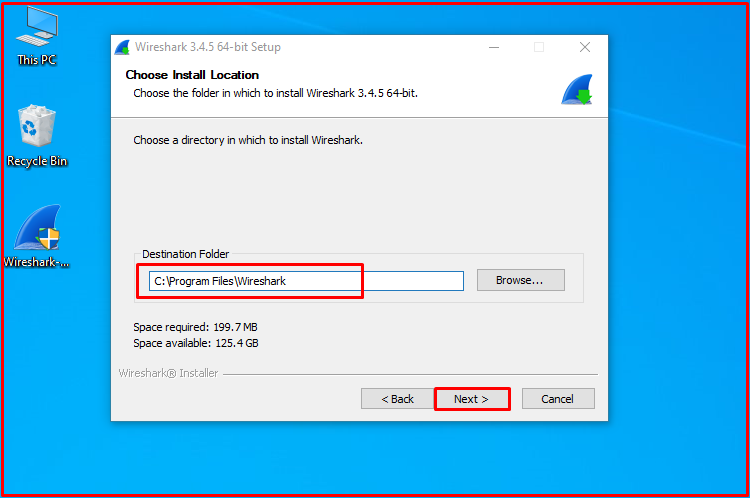
Step 6
Leave the installation location as default and continue by clicking the “Next” button.
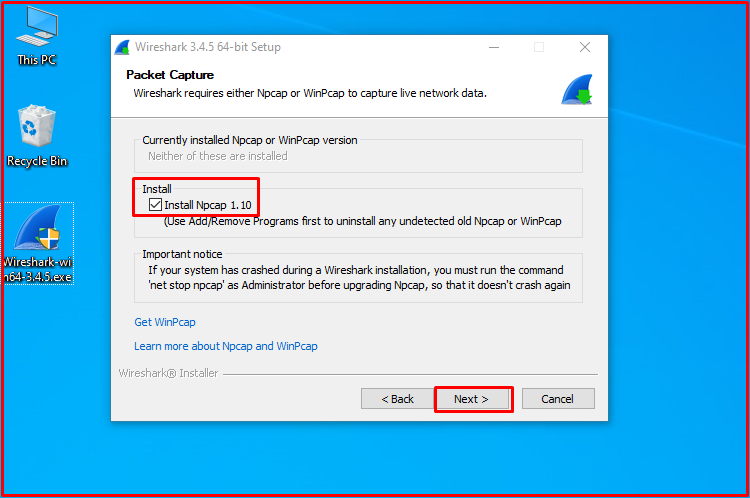
Step 7
The most important auxiliary program of Wireshark software is the “WinPcap” program. Select the “Install WinPcap” option and click the “Next” button.
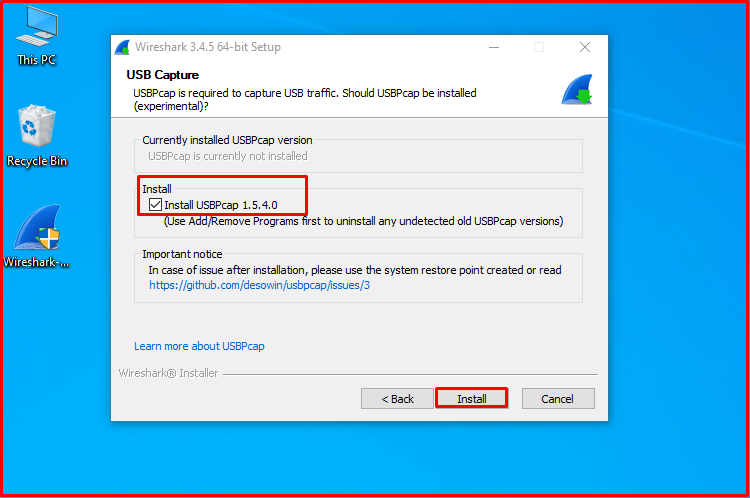
Step 8
The “USBPcap” program is required to capture USB devices. If you want to install the “USBPcap” program, we continue by selecting the “Install USBPcap” option.
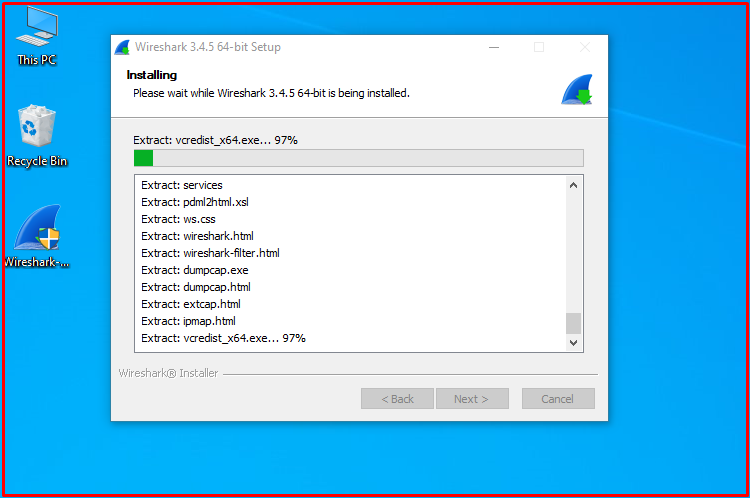
Step 9
Wait while the necessary files are extracted and the installation starts.
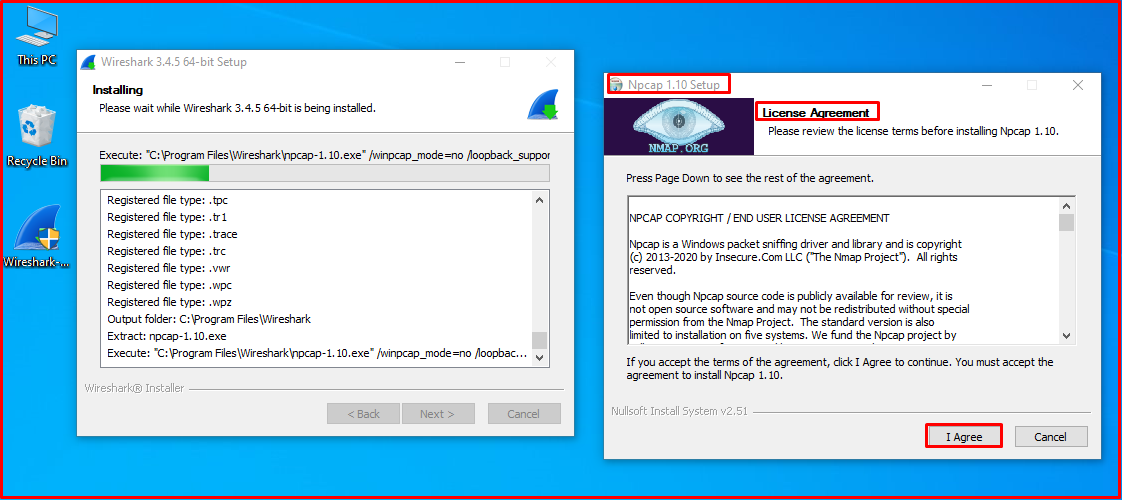
Step 10
Click the “Next” button to install the Npcap program. Accept the license agreement of the WinPcap program.
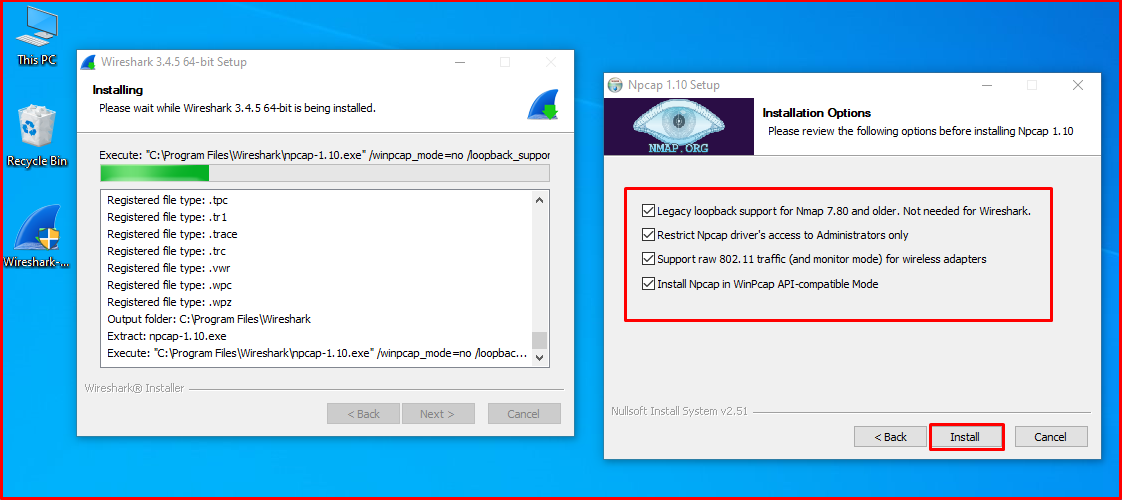
Step 11
To automatically start the “Npcap” driver while your computer is booting, select the option below and click the “Next” button.
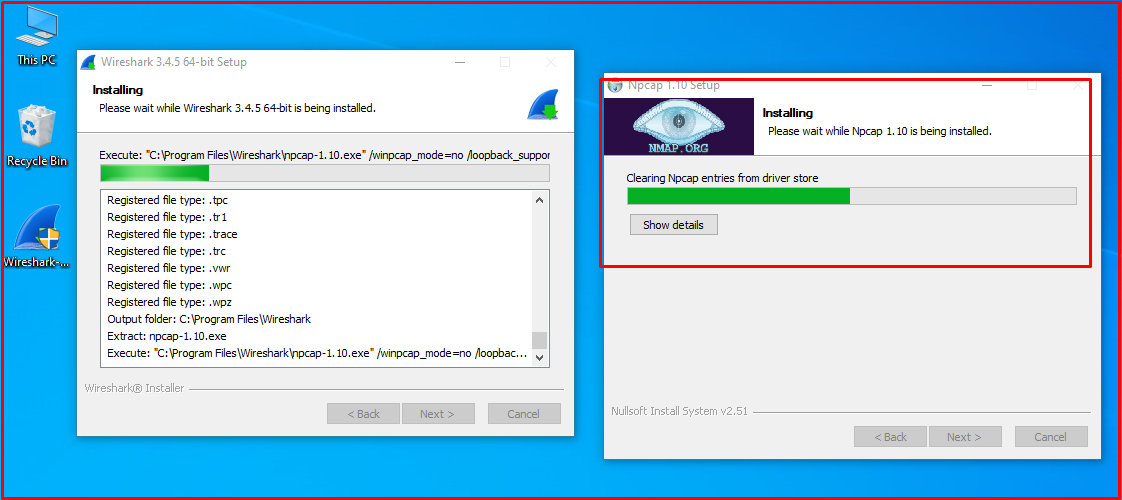
Step 12
The installation of the Npcap program continues.
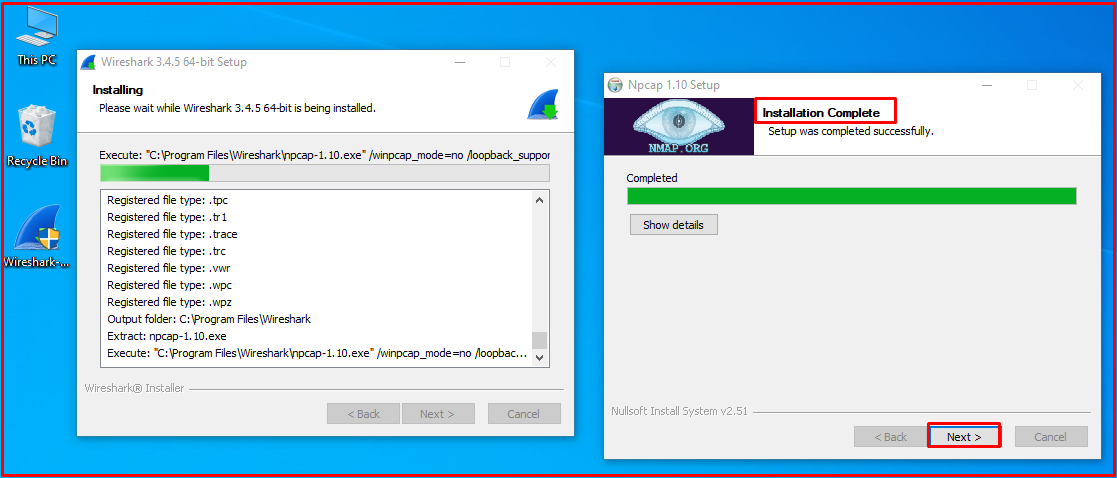
Step 13
The installation of the Npcap program has been completed.
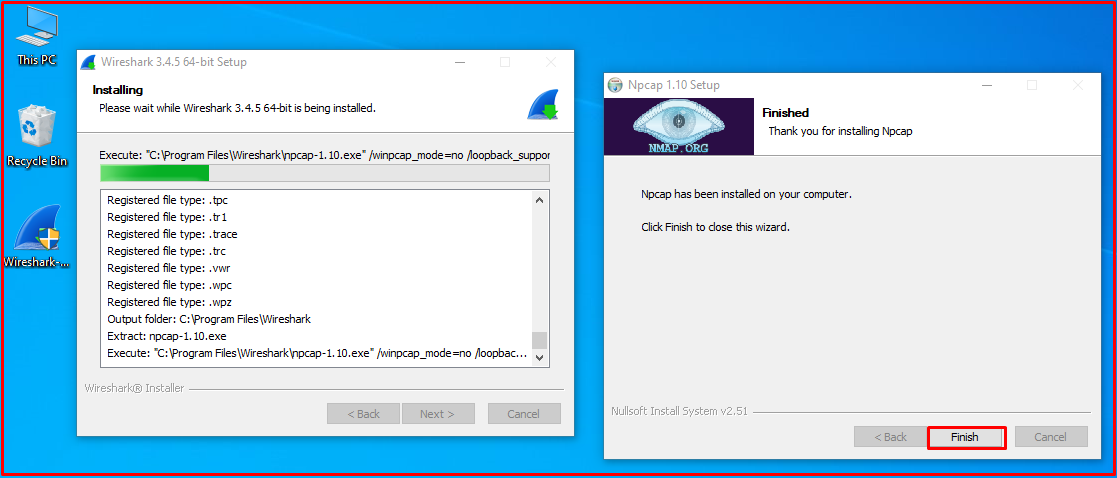
Step 14 – “Npcap” has completed
“Npcap” has completed the program and click the “Finish” button to start the “USBPcap” installation.
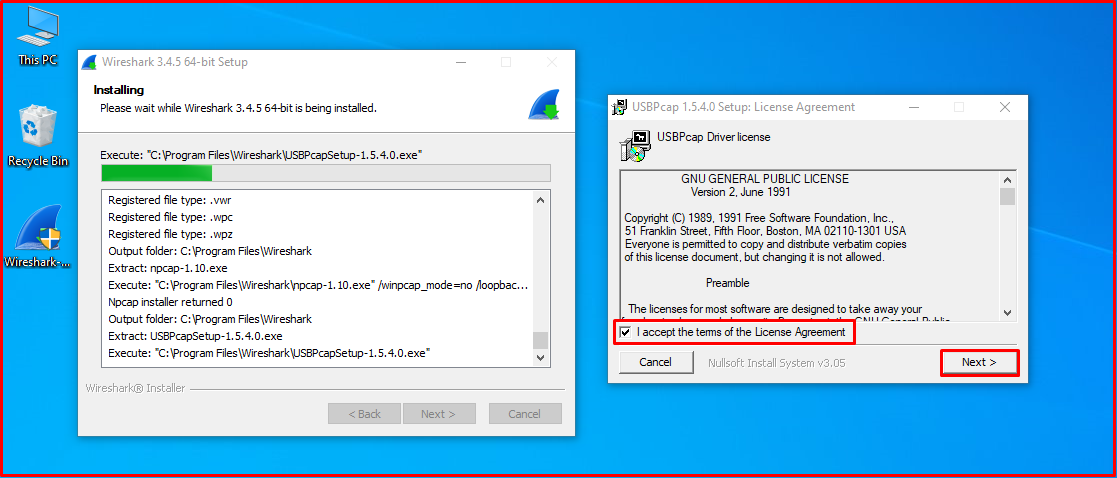
Step 15 – “USBPcap” driver license agreement
Accept the “USBPcap” driver license agreement and click the “Next” button.
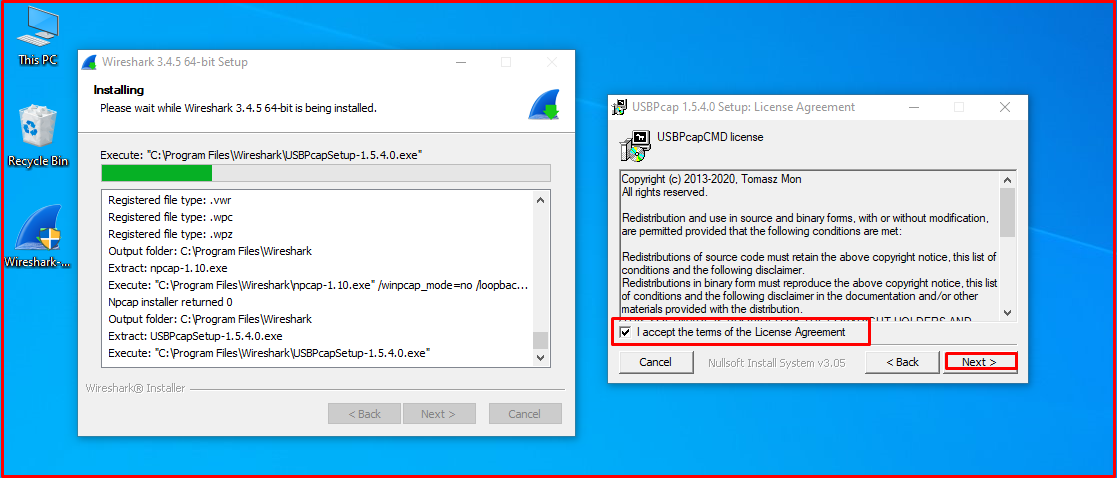
Step 16 – USBPcapCMD
We accept the “USBPcapCMD” license and start the installation.
Step 17 – “USBPcap” installation type options
Leave the “USBPcap” installation type options as default and click the “Next” button to continue the installation.
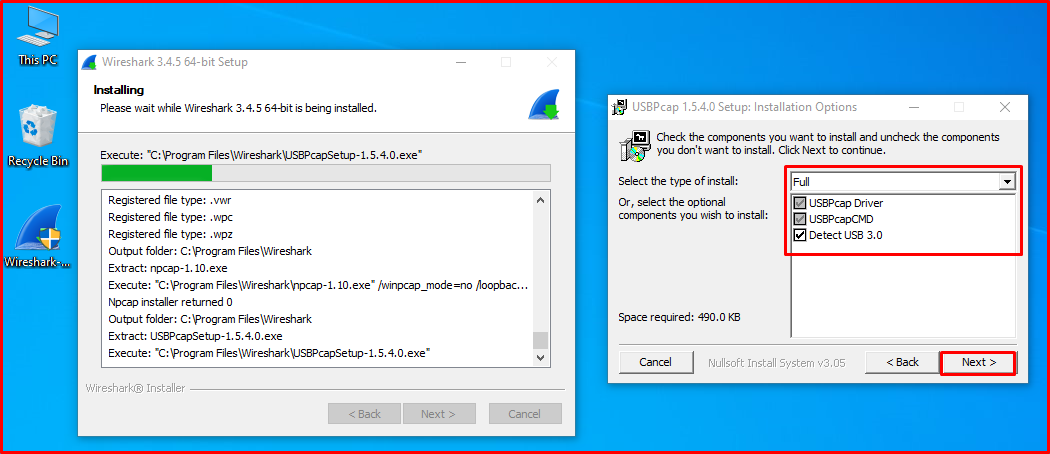
Step 18 – “USBPcap” installation
Leave the location setting as default and click the “Next” button to continue the “USBPcap” installation.

Step 19
After the “USBPcap” installation is completed, the Wireshark wizard will continue for installation.

Step 20
Wireshark program installation continues.

Step 21
After the installation steps are completed, click the “Next” button to continue.
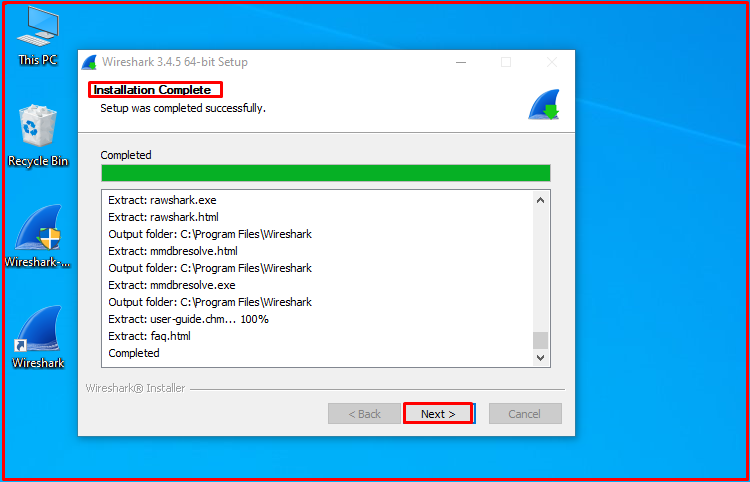
Step 22
Wireshark program installation is completed. Restart your computer for the changes to take effect. To restart, select the “Reboot now” option and click the “Finish” button.
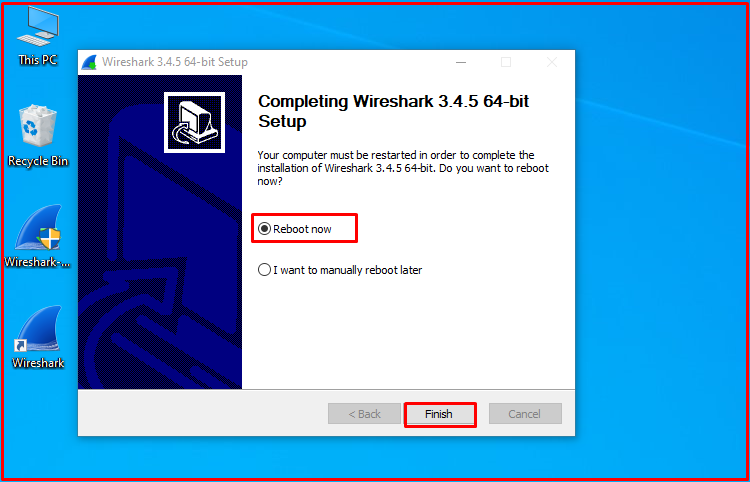
Step 23
After your computer restarts, open the program. The first opening image of the Wireshark program is as follows. In order to analyze the network traffic, you need to select the network card you are connected to on the internet. If you are using a Wifi adapter to connect to the internet, double click on your “Wi-fi” adapter.

Step 24
While your computer is accessing the internet, the program will analyze the IP packets and report them as follows.
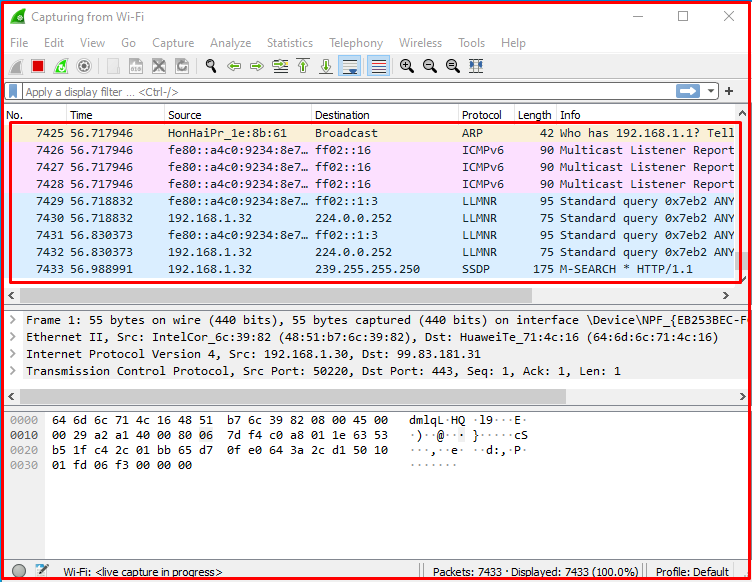
Step 25
You can check the version of the Wireshark program you have installed on your computer from the “Help/About Wireshark” section.


