by
by You do not have an Android processor, but you want to try some applications or because you are an Application Developer, you want to try the Mobile applications you wrote. Since there is no tablet or any other Device in hand, you can try using a Virtual Android operating system, Genymotion Emulator, on your computer. Genymotion Emulator gives you the chance to try Android processors on Virtual Tablet via VirtualBox Virtual Machine.
Genymotion Downloads
First of all, we go to the official website of Genymotion. We click on the “Solutions” section in the upper left corner. There will be two options. Since we will install Genymotion on our computer, we click the “Genymotion Desktop” button.

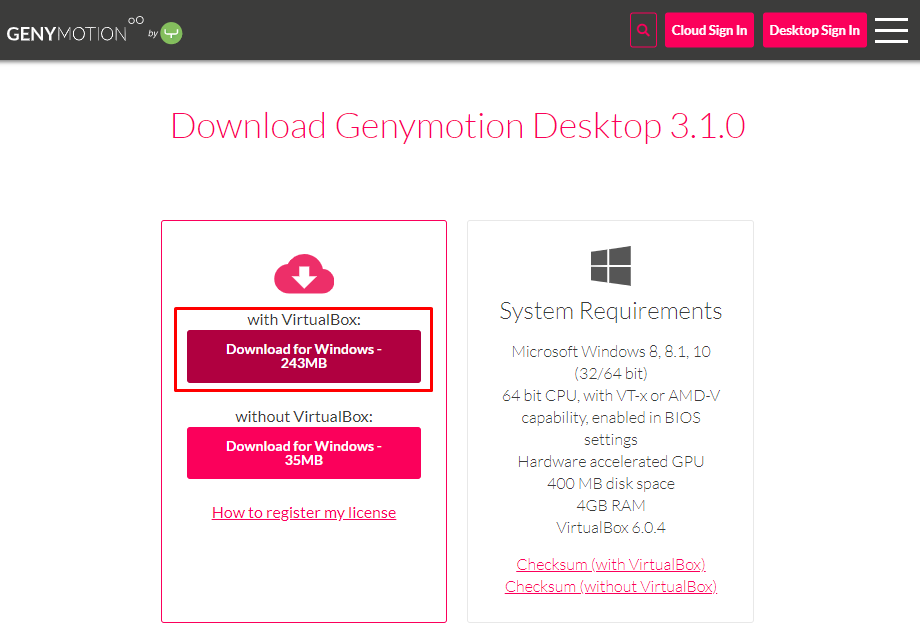
We click the “Download” button on the screen.

If there is no Virtualbox on your page, we click the “with VirtualBox:” button. If you have Virtualbox on your computer, we click the “without VirtualBox:” button. We will enter our membership information after installation. After being a member, we send us an e-mail and activate it. I have mentioned VirtualBox setup before. You can install VirtualBox by looking here.
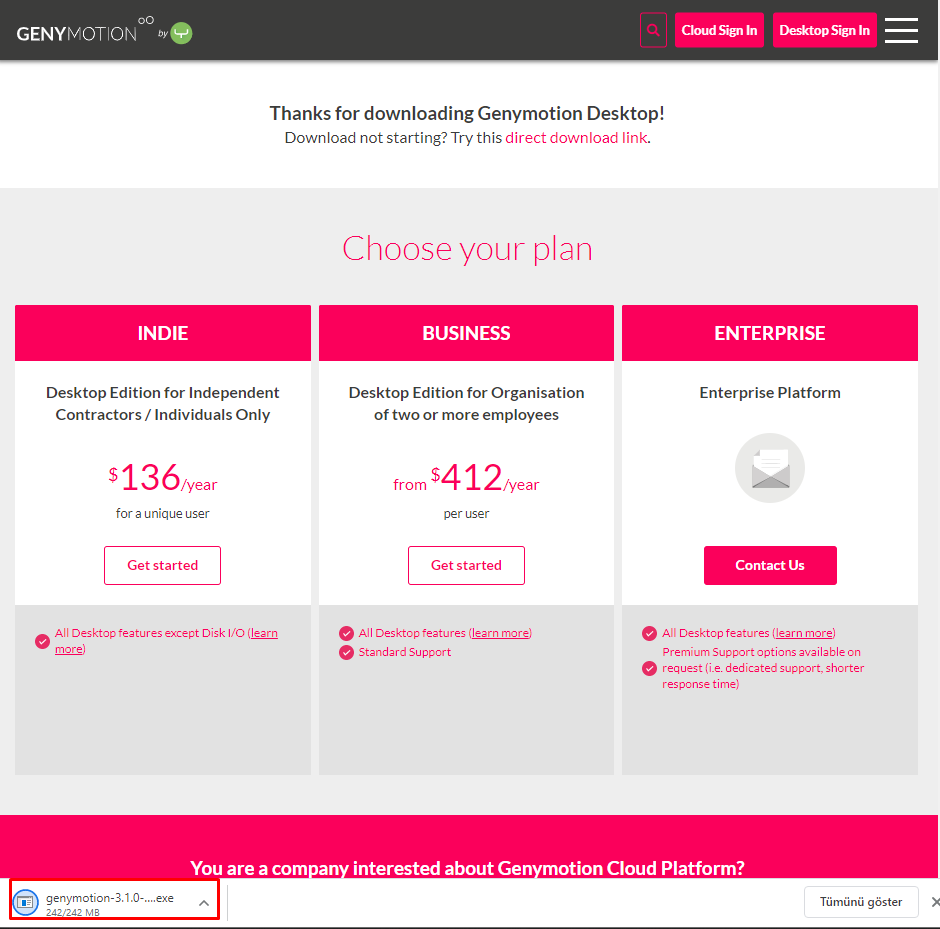
On the screen here, we see that the Genymotion Emulator is down.
Installing Genymotion Emulator
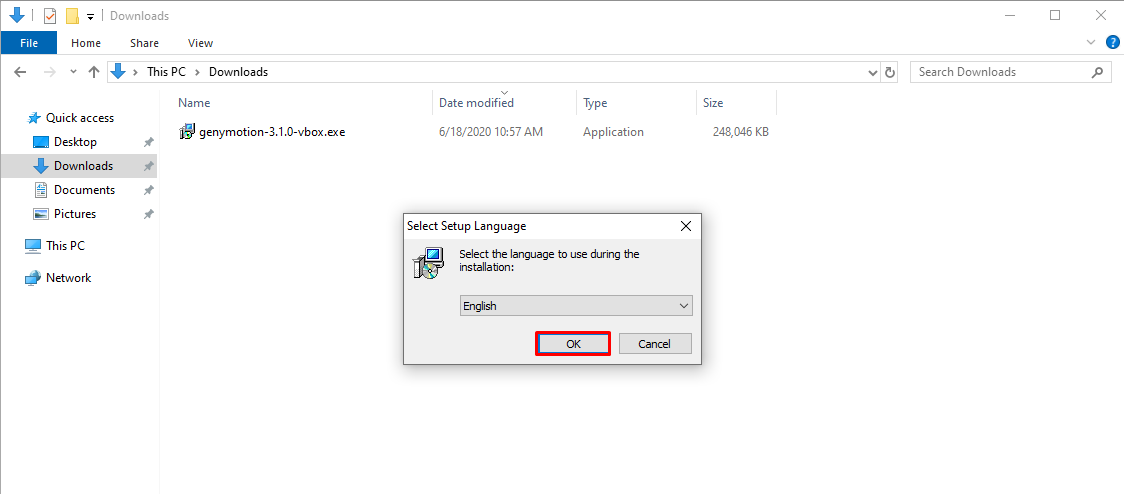
We start the installation by double-clicking the exe file we downloaded. On the screen, we select the Language and click the “OK” button.
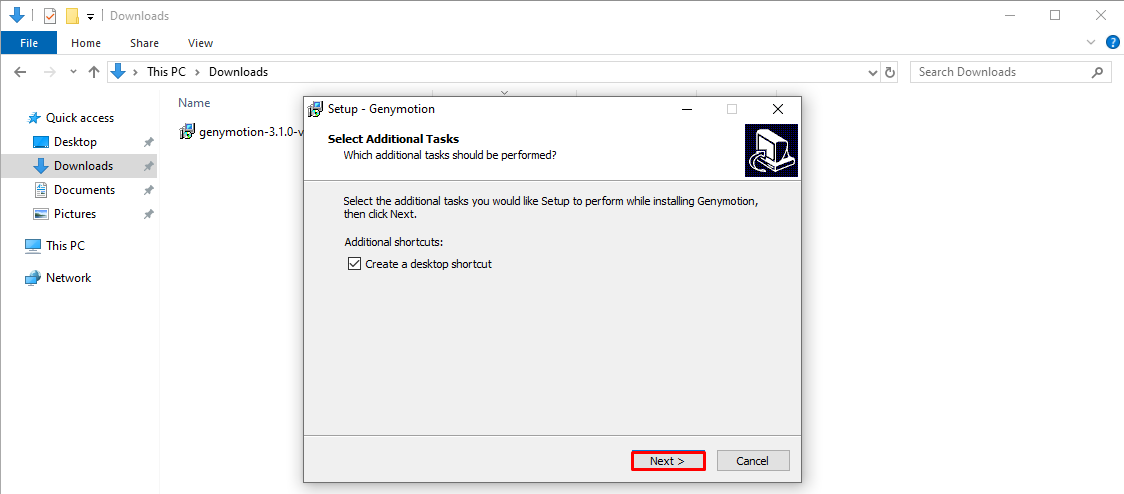
On the “Select Additional Tasks” page, we bring the button for creating the shortcut of Genymotion to the computer desktop with a tick, so we leave it and click the “Next” button.
On the “Ready to Install” page we click on the “Install” button to start the installation of Genymotion.

Installation continues on this page, the installation takes 1-2 minutes. Finally, if the VirtualBox program is not installed, it will wait for us to install it. If it is not installed, you can start installing.
We run the Genymotion program.

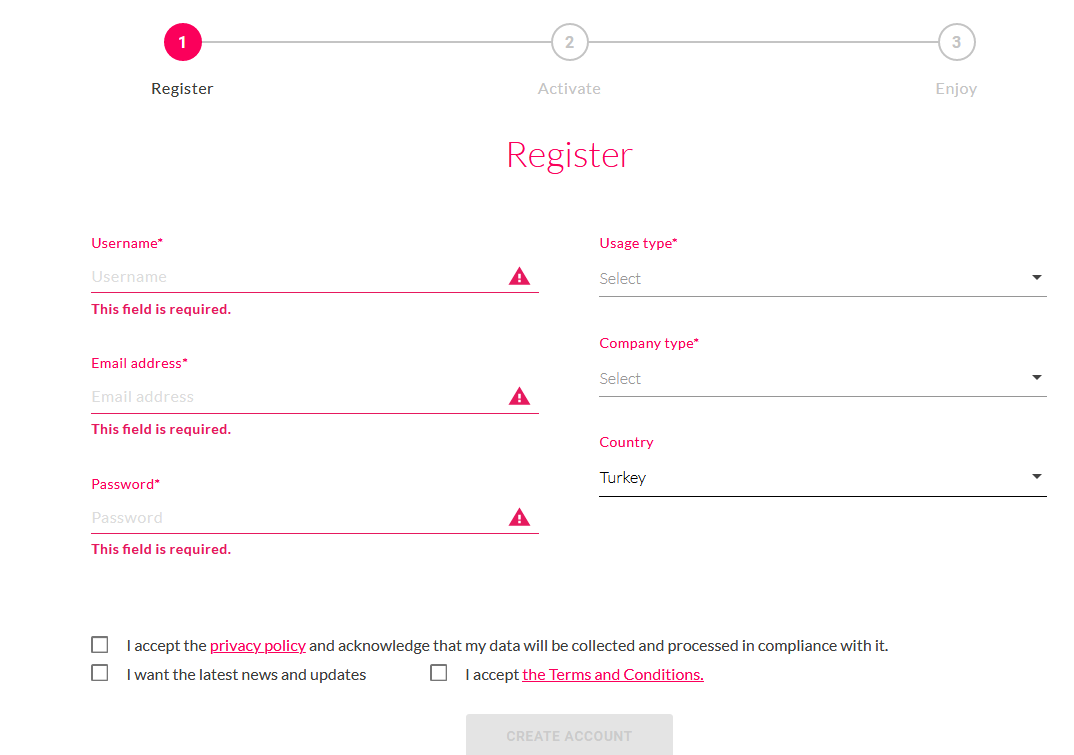
In the next screen, we click the “CREATE ACCOUNT” button at the bottom right and we make the membership process.

After completing the membership process, we receive a confirmation e-mail from Genymotion. After confirming the incoming mail, we log in to Genymotion.
We continue by selecting the “Personal Use” option on the page and clicking “Next”
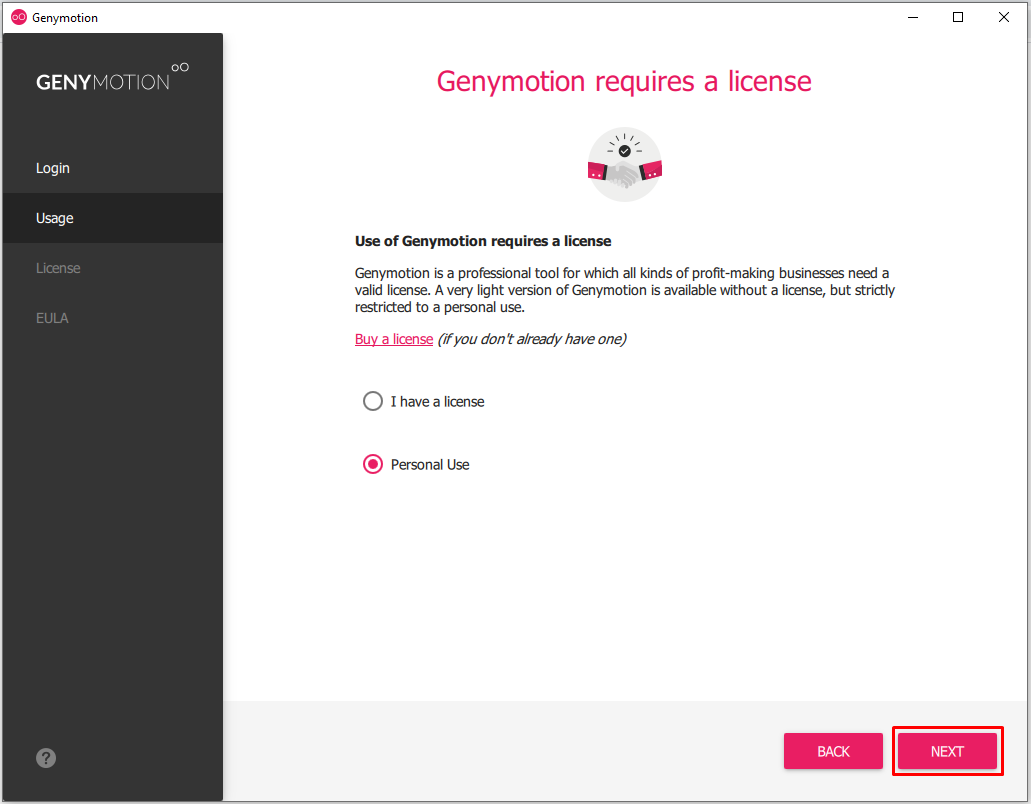
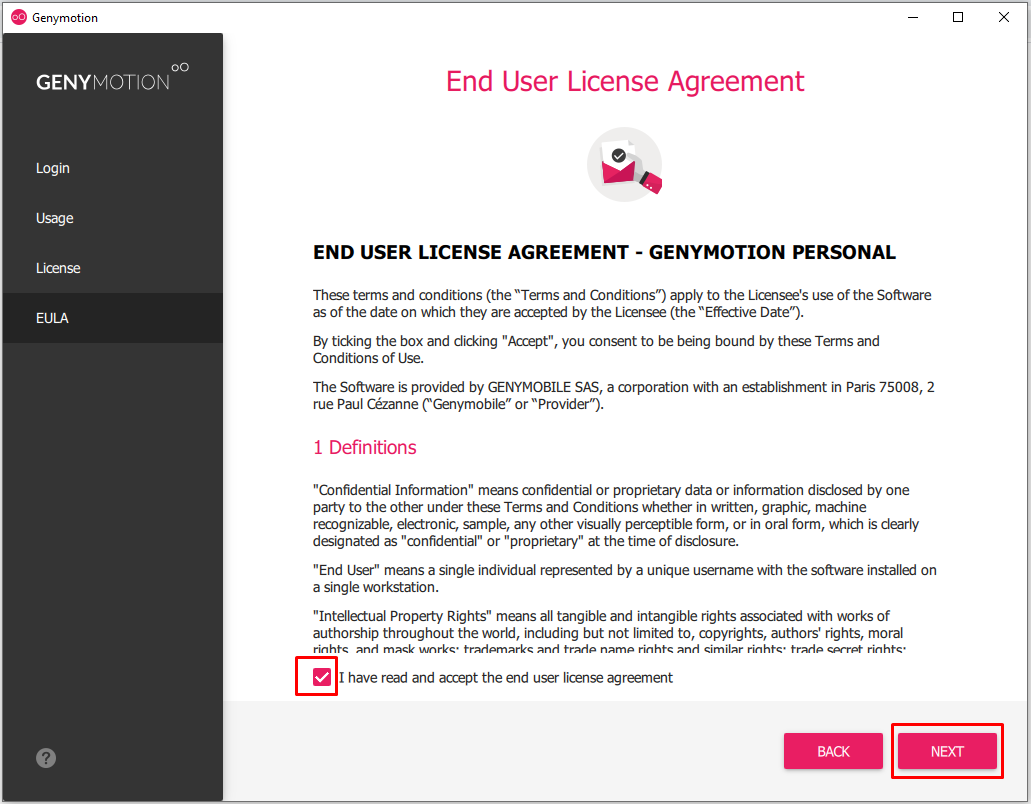
We continue this page by accepting the license and clicking the “Next” button.
Finally, the installation has been completed.
How to Prepare a Genymotion Emulator?
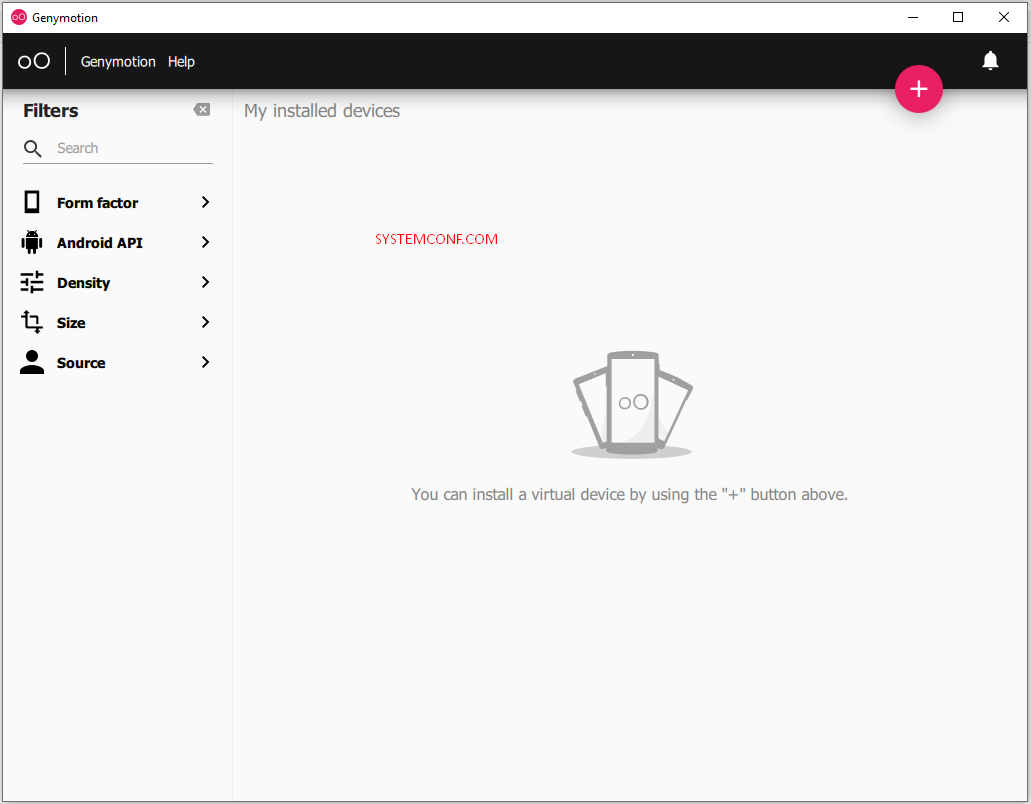
After installing, we will see how to configure the GenyMotion program.
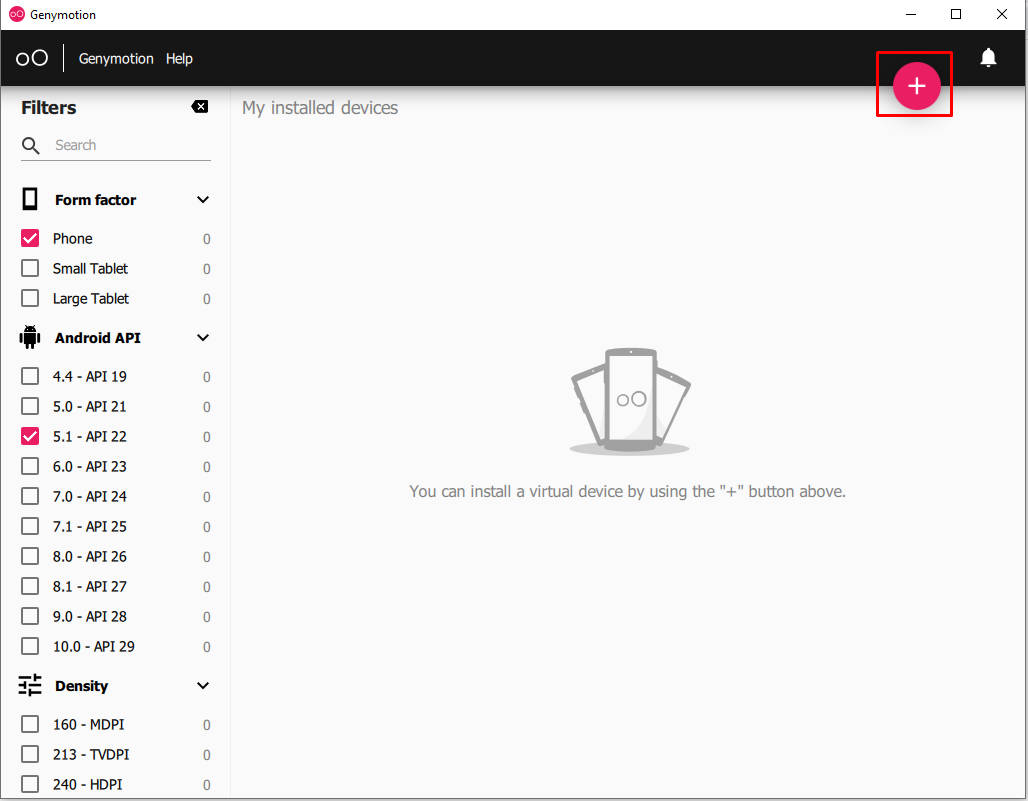
After running the program, we select the “Phone” tab in the “Form factor” tab. In the “Android API” tab, in which version you will install the android phone, we select it and click on the button with the + sign on top.

You can make the settings you want on the following page I left it the same and you can continue by clicking the “INSTALL” button.

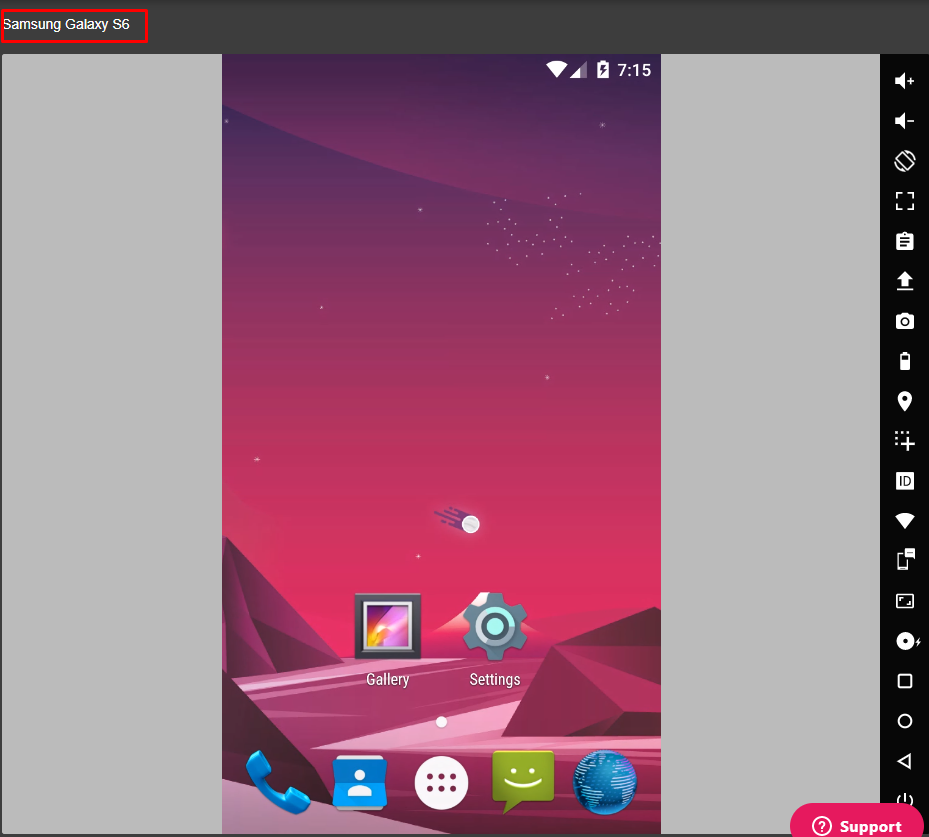
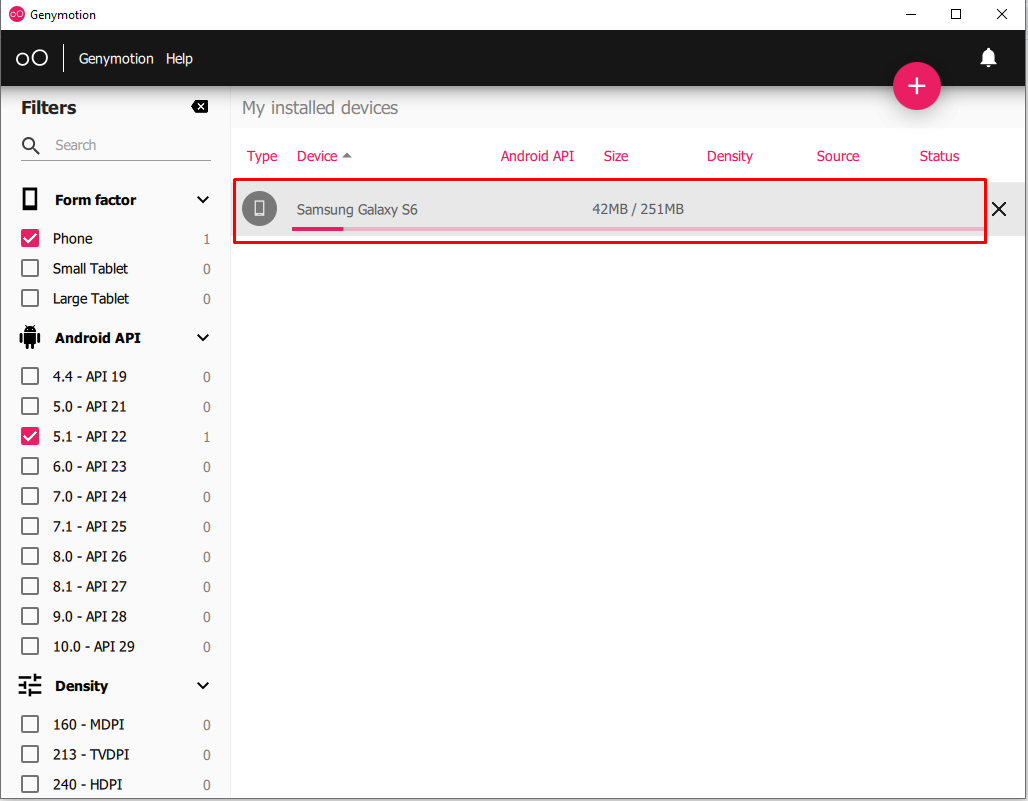
I chose Samsun Galaxy S6 phone and it is installed. Depending on the speed of your system, installation is completed after 1-2 minutes.
The installation is complete and we can start our Emulator by pressing the “START” button.

Finally, we successfully installed our system, our system is working.