
 by
by Oracle VirtualBox is a successful virtualization application. After installing this application on your computer, you can install as many different operating systems as you want on your existing system. For example, your operating system.
For detailed information about VirtualBox, you can access the article I wrote earlier from this link.
There are 4 different options to download here. You have to download which operating system (Windows, OS X, Linux, Solaris) you use accordingly.
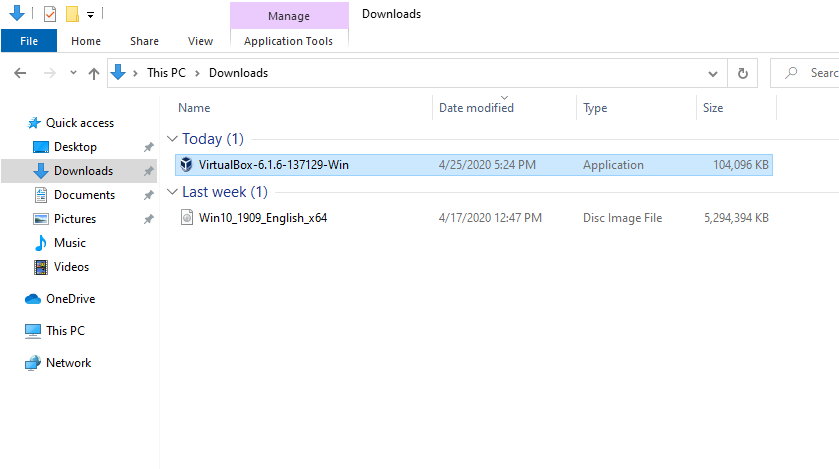
Since I use Windows 10, I click on the “Windows hosts” link and start the download process. The program is approximately 105 MB in size.
To be able to install, let’s download the VirtualBox program first. Click to download the VirtualBox program.

About the guest plugin
Second, we will download the guest plugin for VirtualBox. I start the download process by clicking the All supported platforms link from VirtualBox 6.0.8 Oracle VM VirtualBox Extension Pack on the same page. It is approximately 11 MB in size.

The guest plug-in is a plug-in we need to install in order to perform some operations on the virtual computer. With this software, additional features are added to virtual machines. For example,
- Making remote desktop connections to virtual computers.
- To be able to connect USB devices directly to the virtual computer.
- To be able to transfer files with drag and drop. In other words, to be able to transfer files from a physical computer to a virtual computer, from a virtual computer to a physical computer.
- To be able to use the virtual computer in full screen or Seamless mode etc.
- Now that we have downloaded the VirtualBox program and the guest plugin, we can now start the VirtualBox installation.
Let’s follow the steps below to install VirtualBox. The file, double click on it to install it.
As in the screenshot below, let’s click on “Next” in the first window.

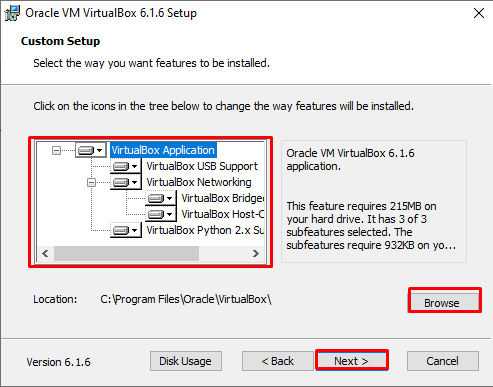
In the next step, we will see the window where the files of this program will be located on our computer, we can change the target location by clicking the ‘Browse’ button. Next, let’s continue by clicking “Next”.
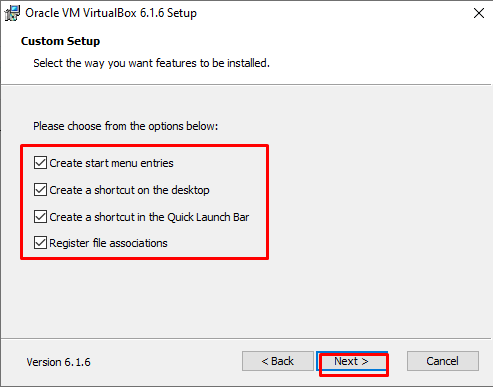
In the next step, as seen in the screenshot below, we see in which areas the program shortcuts will be located in ‘Windows’, we have ticked all of them, you can customize it as you wish. Next, let’s continue by clicking “Next”.
In this step, if we continue, we get the warning that “Oracle VirtualBox Network Interface” installation can reset our computer’s network adapters and temporarily disconnect, let’s continue by clicking “Yes”.

On this screen, the screen that indicates that you are ready to start the installation process comes, let’s start the installation process by clicking the “Install” button.

The installation has started! We are waiting for the next step.

In the next step, “Windows” warns about whether the software source is safe, and asks for confirmation to continue with the installation, as we see the screen below, asking for confirmation to continue the installation, let’s continue by clicking the “Install” button.

In the last step, let’s complete the installation by clicking the “Finish” button.

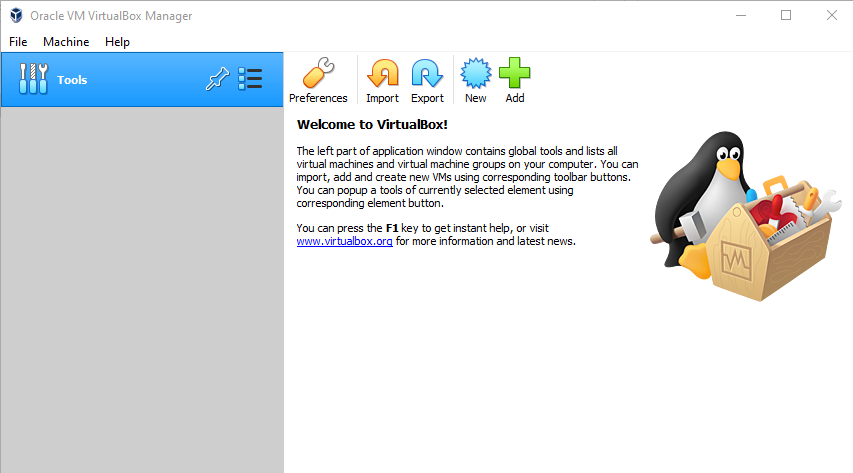
Upload complete. Everything is ready now! You can install and use a virtual operating system on your computer.
Let’s install the guest plugin. First of all, we run it by double-clicking on the guest plugin we just downloaded. We proceed by clicking the “Install” button on the screen that opens.

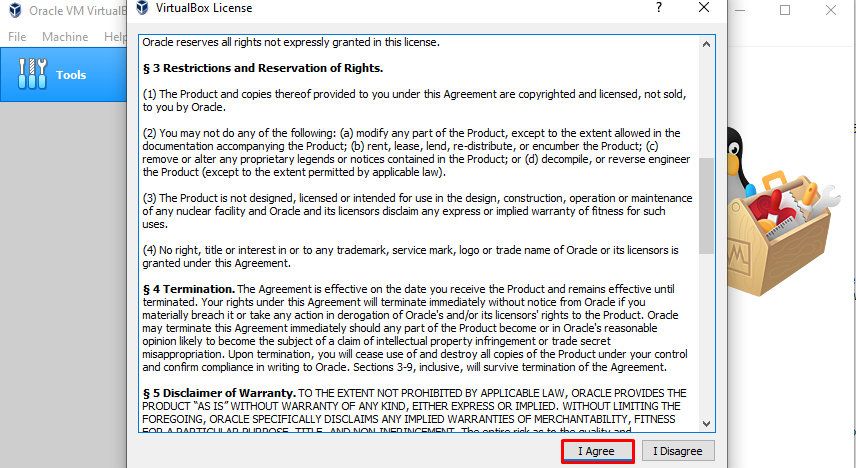
After reading the license on the screen that opens, we proceed by clicking the “I Accept” button.
We also successfully installed the VirtualBox guest plugin. We complete the screen by clicking the “OK” button.

To test whether the guest plugin is installed, we follow the path “File -> Preferences”.

In the screen that opens, we click on the “Extensions” tab. As you can see, there is a green tick mark to the left of the “Oracle VM VirtualBox Extension Pack” article. So the guest plugin was successfully installed.
In order to use a virtual computer, after the installation of VirtualBox, we need to make the necessary settings and install the operating system we want.


