

 by
by When we make a remote connection via SSH or a similar way, there may be some commands in Linux terminals that we do not want to stop working even if the connection is terminated or terminated. We can use the Screen tool for this. In addition, more than one person can connect to a server, thanks to the screen, we can work in isolation from each other.
How to Install Linux Screen?
The screen comes loaded with many Linux distributions. If it is not installed, you can easily install it to the system with the commands below.
Debian, Ubuntu, Kali or Linux Mint and its variants
sudo apt install screen
CentOS and its variants
sudo yum install screen
Session Management on Linux Systems with Screen command
Now we will examine how session management is done on Linux systems with the Screen command.
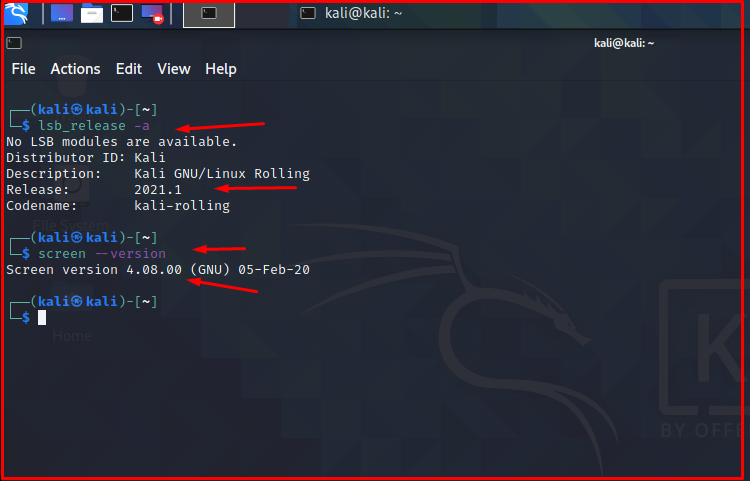
Linux system administrators run many scripts and commands while managing Linux-based systems, especially those that do not contain gui. These scripts run have to work for days. In such cases, you can use the Screen tool to run and manage existing scripts, commands and other processes. The system we will use is Kali 2021. Screen Tool comes pre-installed on it.
lsb_release -a
screen --version
General Commands for Screen Tool
- man screen -> To get more commands
- screen -> Starts new screen session.
- screen -S -> Gives the session a name and starts it as such.
- ctrl a+n -> Move forward in Session
- ctrl a+p -> Goes back in Session
- ctrl a+d -> Detach Session.
- ctrl a+c -> Opens a new window in Session.
- ctrl-a+k -> Turns off the screen in Screen.
Example with Screen Tool
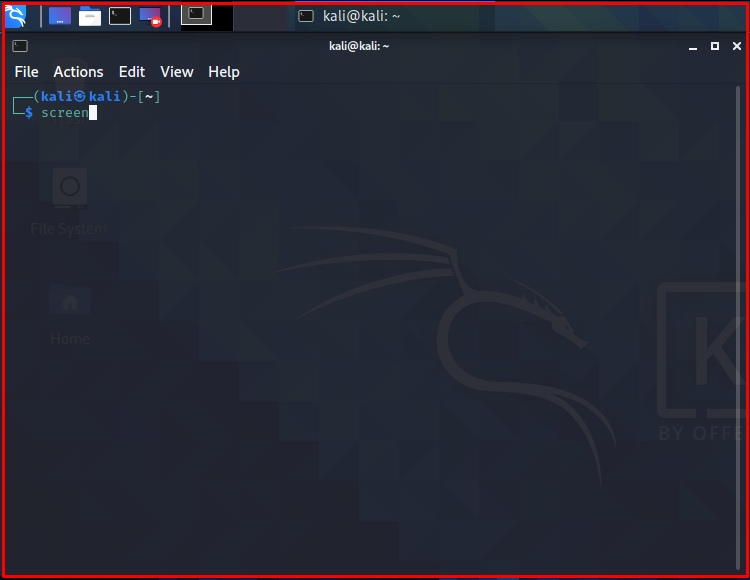
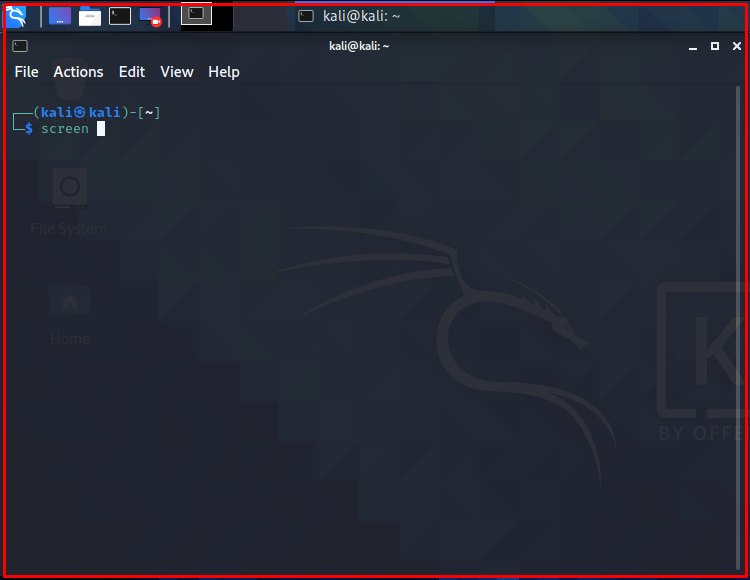
First, we create our first screen using the screen command.
screen

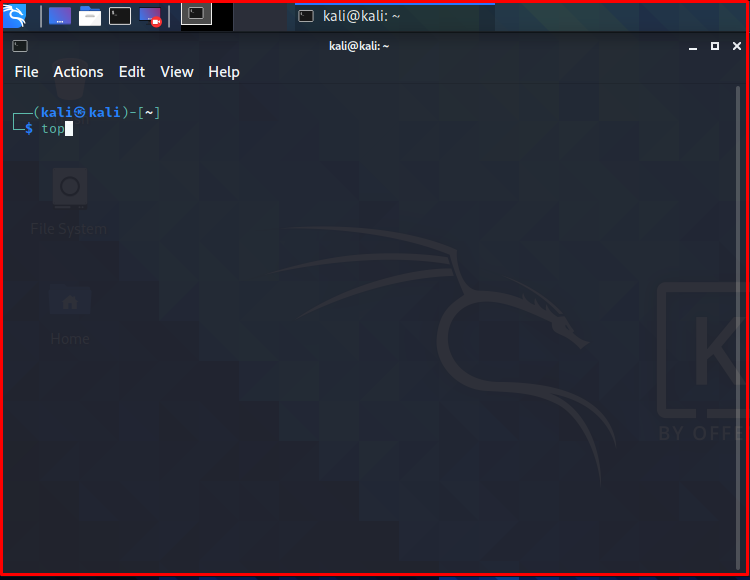
We are running the “top” application.

Now we open a new screen in the same screen session with the “ctrl a+c” command.
ctrl a+c
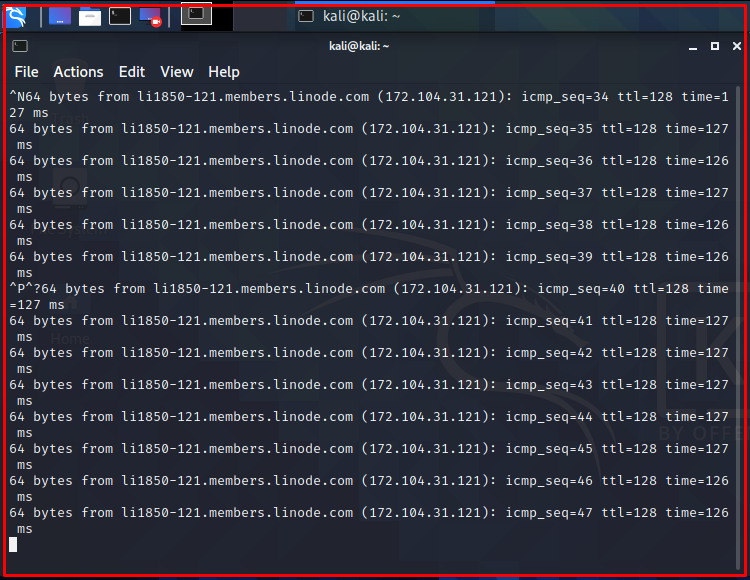
We are pinging systemconf on the new screen in the same screen session we just opened.
ping systemconf.com

Then we use the “ctrl a+p” key combination to return to the previous screen.
ctrl-a+p

We use the “ctrl a+n” key combination to go to the next screen.
ctrl a+n
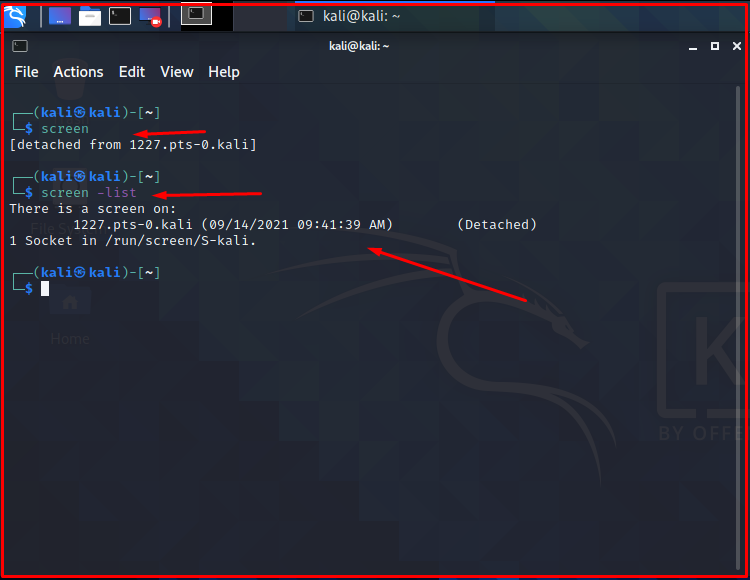
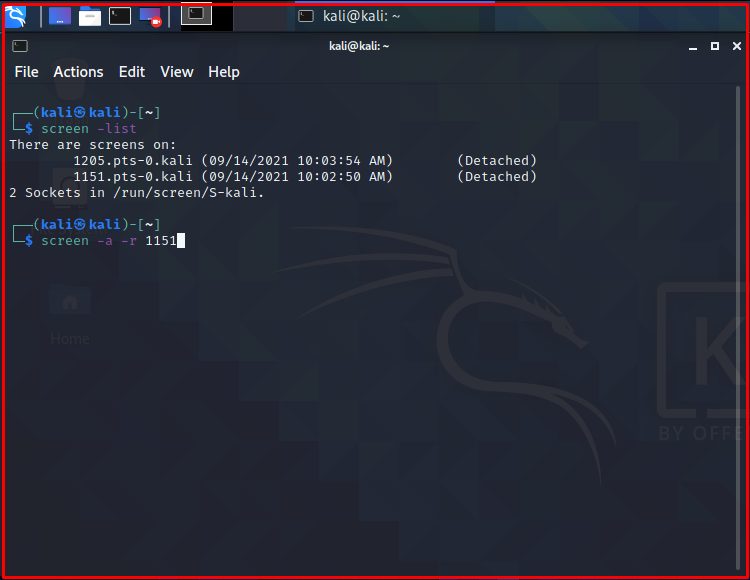
Now we “detached” the sessions I opened from the screen with the “ctrl a+d” key combination, and we can list the screen sessions that we have opened with the “screen -list” command.
Now we will open a second screen. So now we will have two independent sessions.
screen
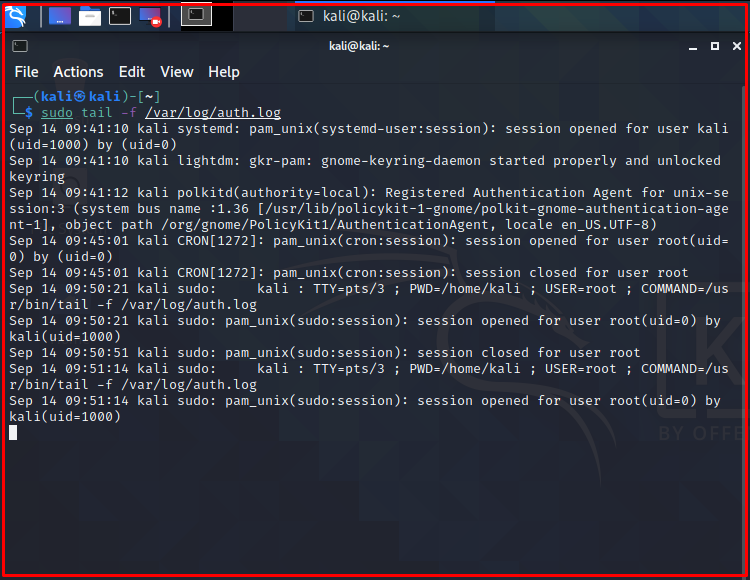
Now we will enter a different command. We will look at the authentication logs with the tail command.
sudo tail -f /var/log/auth.log
Now we are detached screen sessions with “ctrl-a+d” again.
ctrl-a+d
screen -list
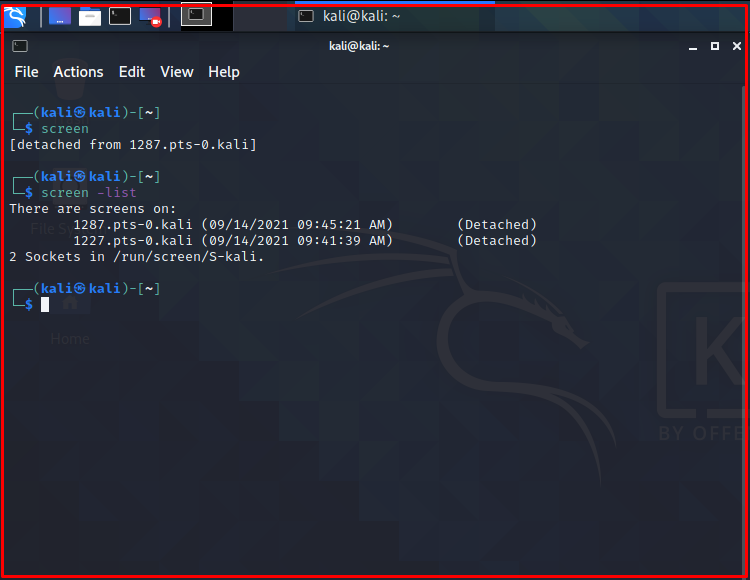
Above, we see that 2 different screens are opened. With the “screen -a -r screen id” command, we can reconnect the detached screen and continue working without interruption. The session in the detached location continues to run on its own.
screen -a -r 1227

ctrl-a+n

Turning Off the Screen Inside the Screen
Now we want to close the screen inside the current screen. For this, you can close the current screen with “ctrl-a+k“. You can do this command until all screens are closed. If there is no screen left in the session opened at the end, that session will be deleted. Another method to delete the screen session is to use the “exit” command inside the session.
ctrl-a+k
exit


