by
by Kali Linux is a Debian-based Linux distribution developed for penetration testing. Kali Linux, which contains a lot of software, is a continuation of the Backtrack Linux operating system. It is a test platform for professionals working in many areas including network administrators, IT security experts and software developers. It is an indispensable operating system in forensic informatics studies. This means that it is an open and completely free Linux operating system that allows both personal and professional use.
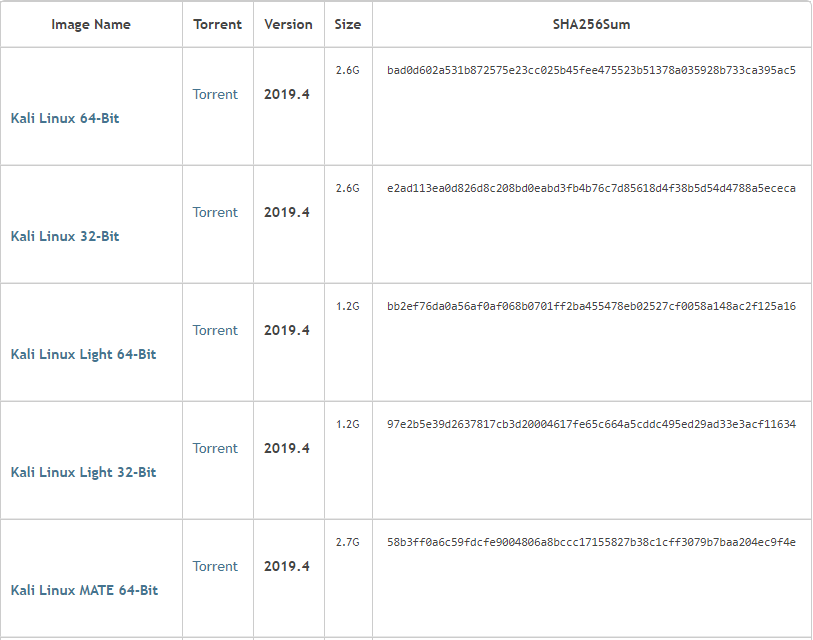
Linux-based operation system virtual machine (VMware Workstation) will explain the installation process. You can downland the ISO file https://www.kali.org/downloads/ to the appropriate ISO file for your system.
Installing Kali Linux
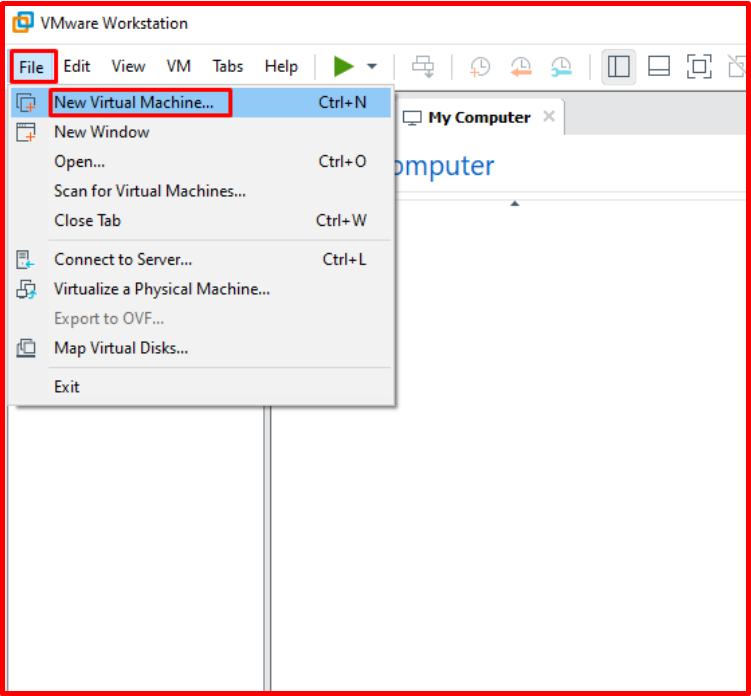
Use have downloaded the appropriate ISO file and let’s start the installation. Click on “File > Create a New Virtual Machine” from VMware Workstation.
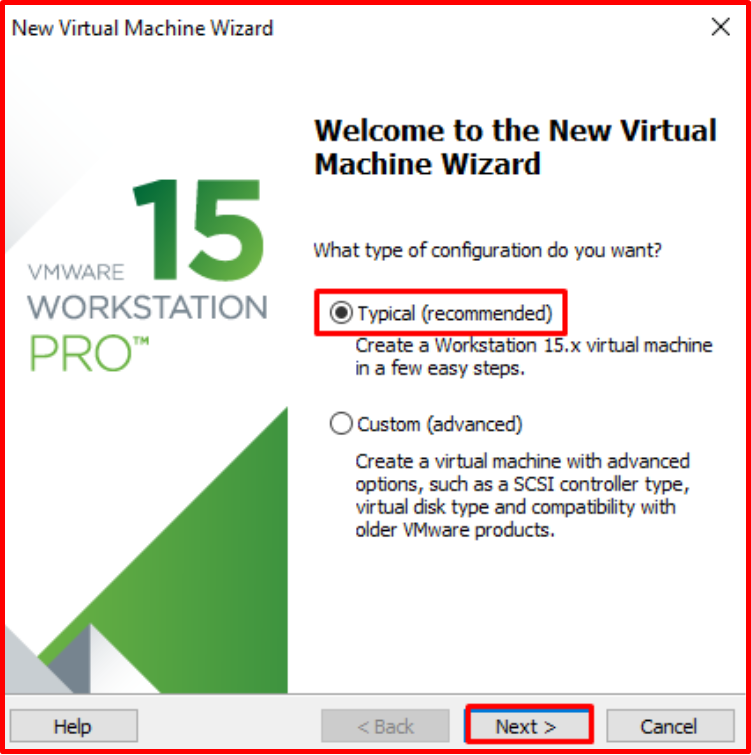
What type of configuration do you want? In the answer to the question type and continue with the next option.
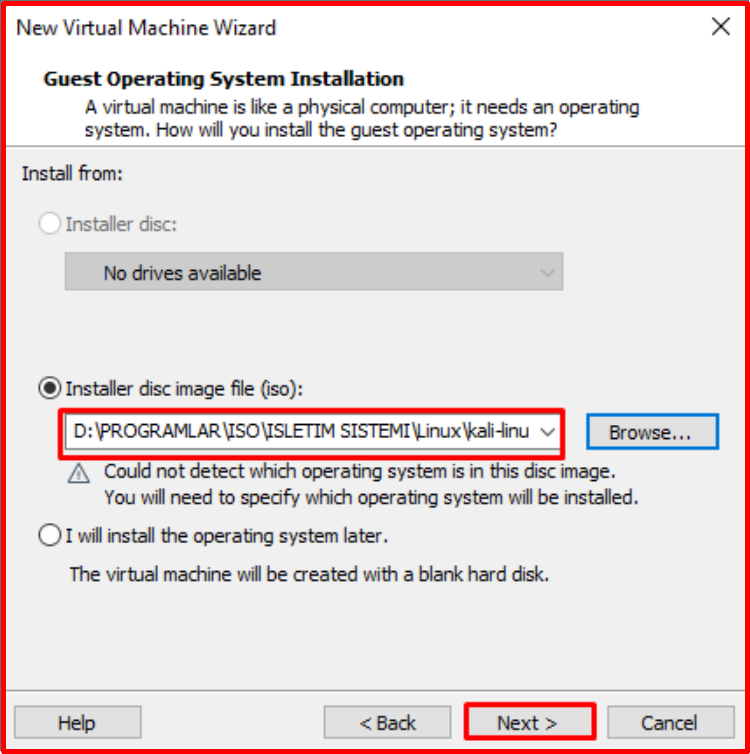
We select the “Installer disc image file(iso):” tab, select the ISO file we downloaded from “Browse“. Then click next to continue.

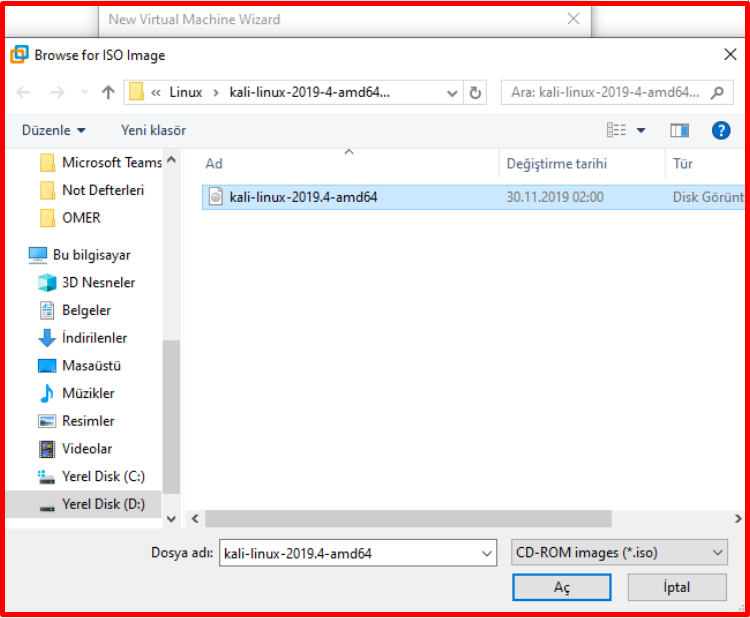
After selecting the ISO file, click Next to continue.
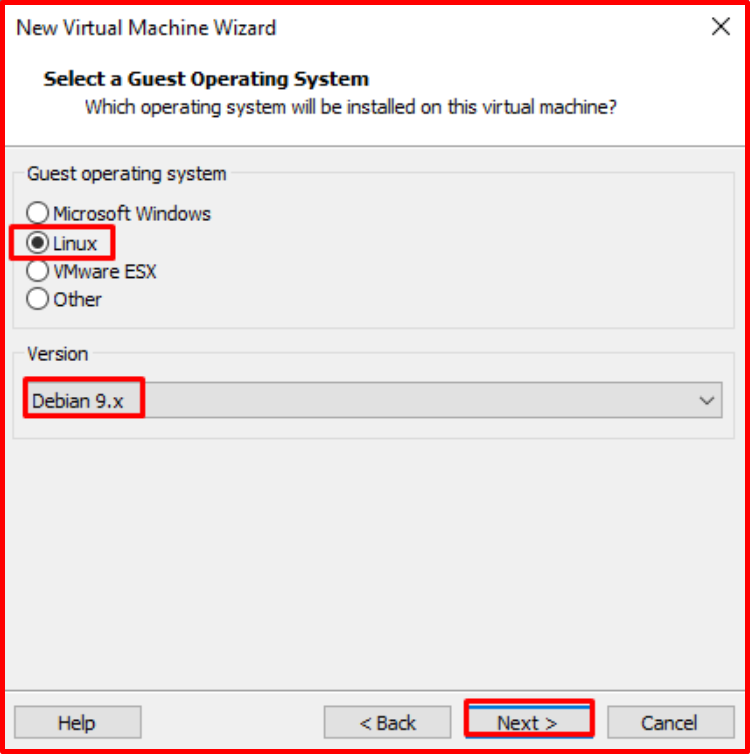
We select the operating system and version to be installed. (Linux), version (Debian 9.x)
We specify the name and directory of the virtual machine. You can install it to the default location if you want.

Here we specify the disk size of our virtual machine and the type of storage of our files. I choose the disk size of 20 Gb and the storage type of our file as “Split virtual disk into multiple files“. The test machine may not need to over-size the disc.

In the “Customize Hardware” section, we can check the hardware information of our system or make any corrections from this area. With the “Finish” button, we finish the adjustments.

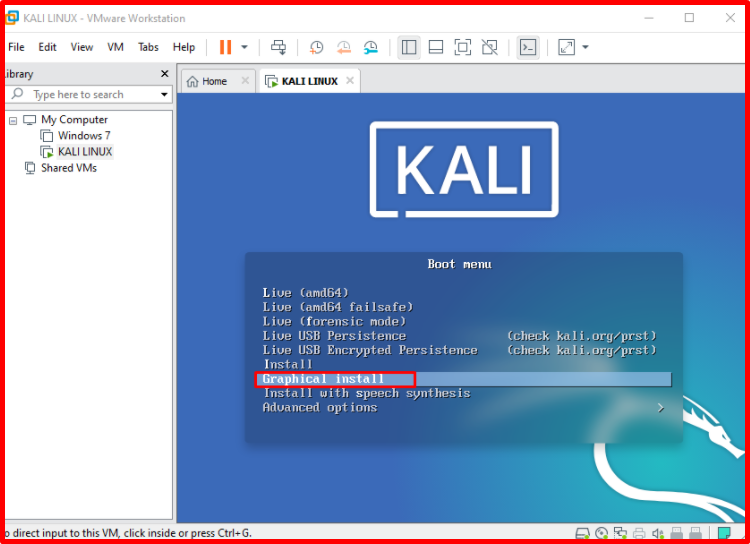
We can proceed to the installation stage. We start the installation from “Power on this virtual machine“.

“Bipp” sound will sound, then we will install the interface with the “Graphical Install” option is selected.
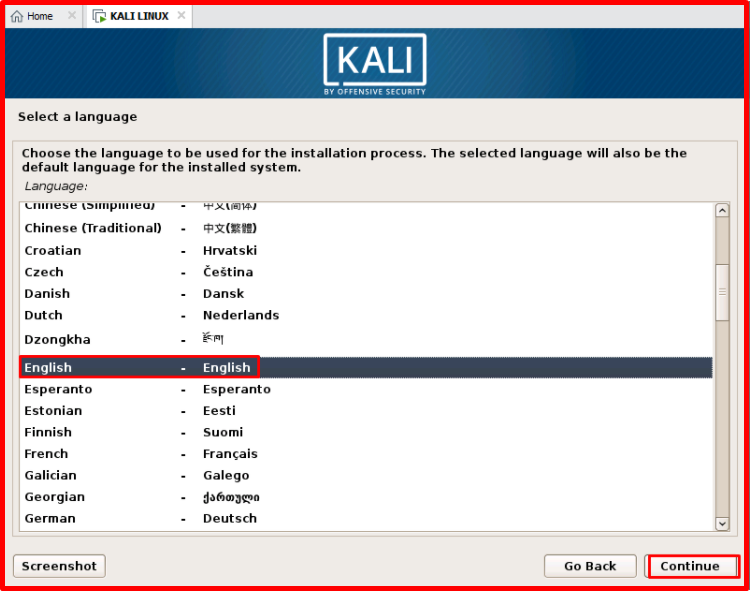
We continue by selecting which language to use during the installation process and clicking “Continue“.
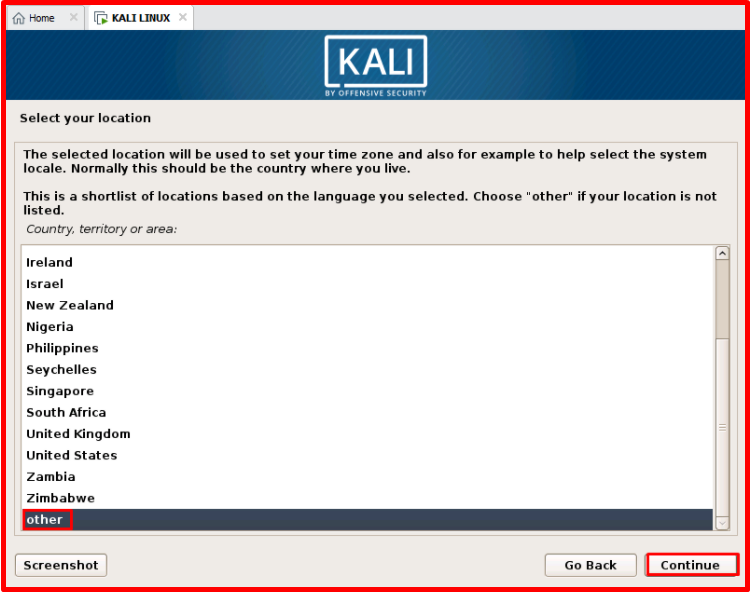
From the “Select your location” part, we’re choosing the location (Country, region) we belong to. Continue by selecting “Other“. Click the “Continue” button to continue.
Continuing by selecting the continent. I chose my own location like Asia. Click the “Continue” button to continue.

We continue with county selection. I chose Turkey. Click the “Continue” button to continue.

We continue by selecting the keyboard type you are using from the keyboard settings section. I selected my keyboard type “Turkish(Q layout)”. Click the “Continue” button to continue.

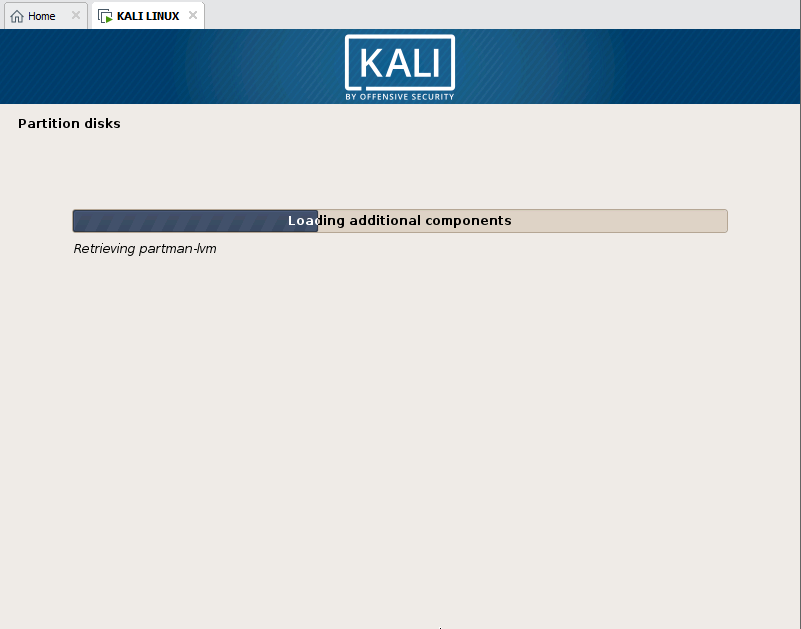
Here comes the screen where the components related to our settings are installed.

We enter the Hostname of our machine (optional). Click the “Continue” button to continue.

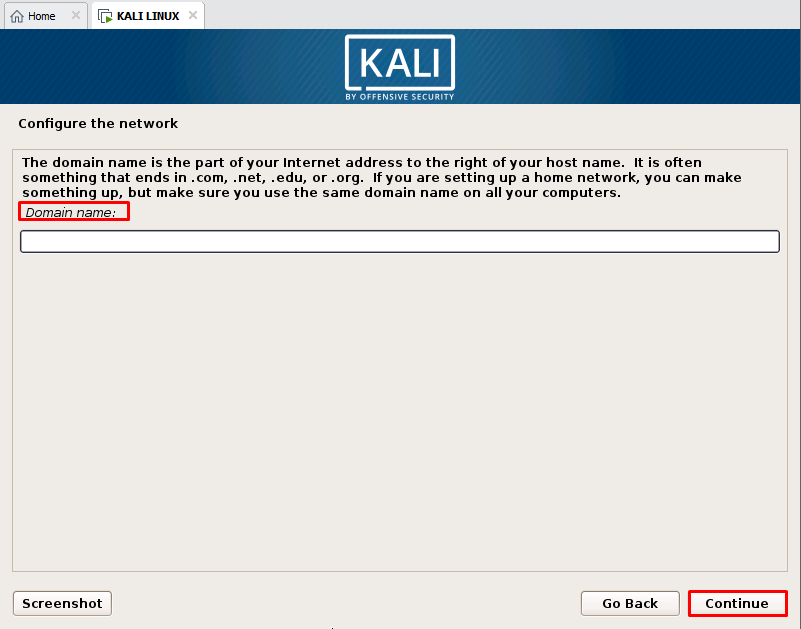
If you have any Domain environment, you can enter the Domain name. I’m empty because it’s not mine. Click the “Continue” button to continue.
We need to set a password for the user “Root“. The root password should be preferred to be difficult. Click the “Continue” button to continue.

Setup is in progress.
The partitions are set. In this section, we ask how to configure our drive and if you use it as one piece, we continue with the first option.

Select the disk on which the operating system will be installed and click “Continue” button to continue.

Home, usr, tmp, such as areas can be installed on different partitions, he says. here we will keep them all on one disk partition and click “Continue” button to continue.

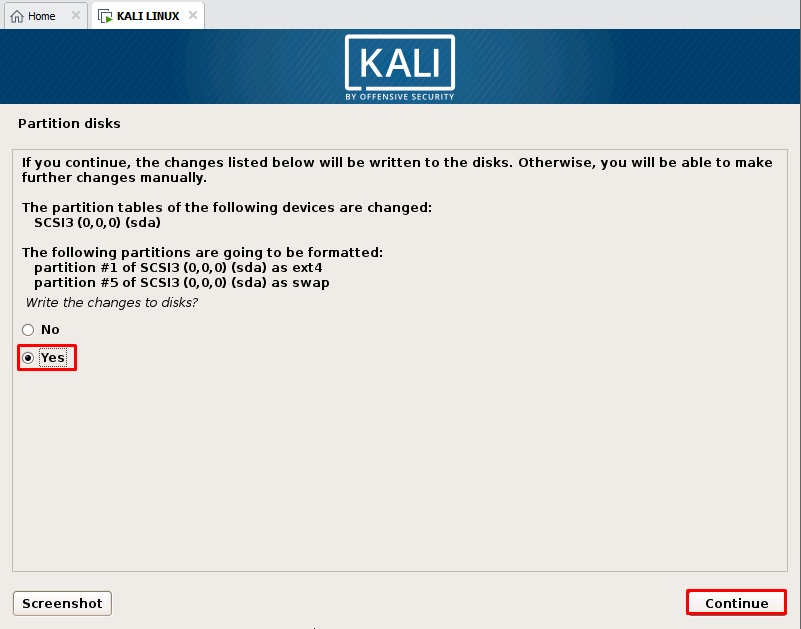
Here is a summary of our disk settings and warns that data on the disk will be erased. Click the “Continue” button to continue.

We continue in the disk configuration phase, To write the changes to disk, select the “yes” tab and click “Continue” button to continue.
The installation files are copied to disk and our settings are loaded.

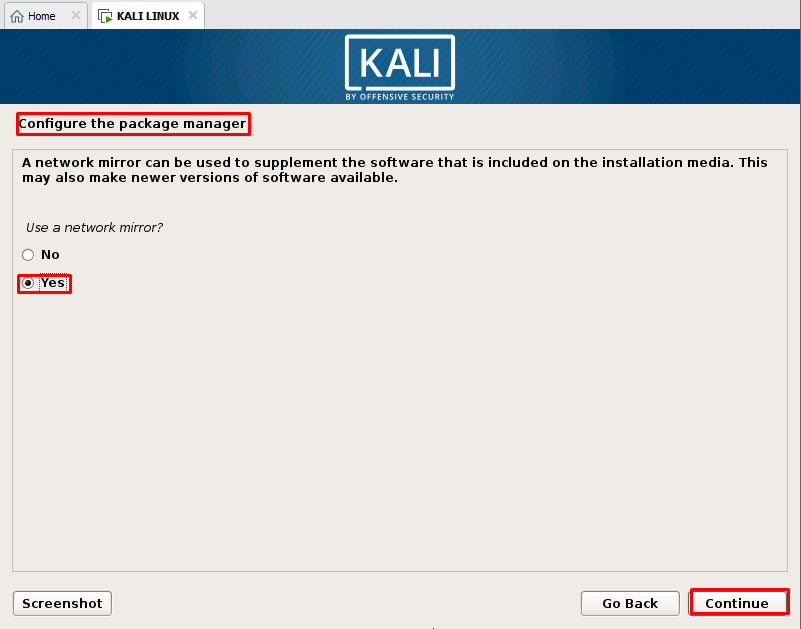
You are asked how to manage the package. It’s important for us to get current programs. Select the “yes” tab and click “Continue” button to continue.
If you have a proxy on the screen where you are asked for the proxy settings, you can add it. We continue because we do not have any proxy.

The package continues to install applications.


In the last step, we continue with “Continue” and complete the installation process.

After the installation is completed we enter the system by typing the user name and password as specified.


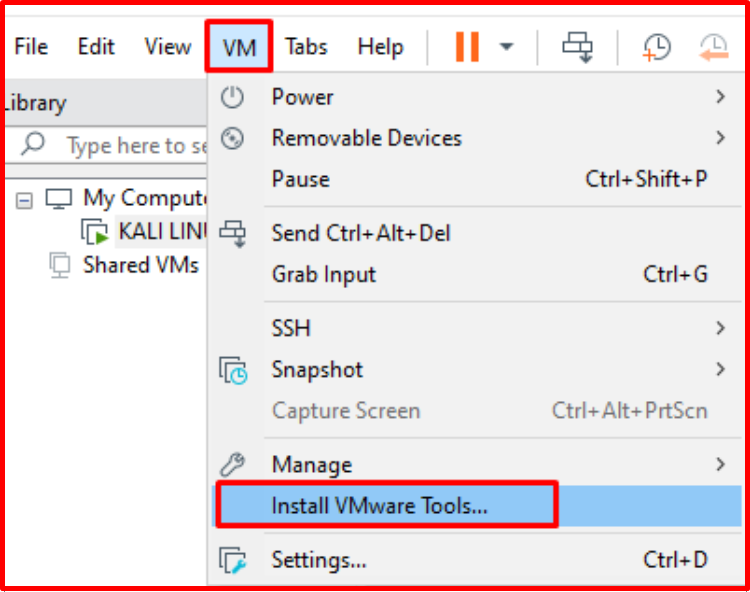
Install VMware Tools
After installing the virtual machine, I recommend the first installation of VMware Tools. VMware Tools have an impact on virtual machine performance. Network drivers, keyboard-mouse and display drivers will be installed in a more performance environment will be possible to work. For VMware Tools installation, we select “Install VMware Tools” from the VM menu. Click on the “Yes” button on the screen.