
 by
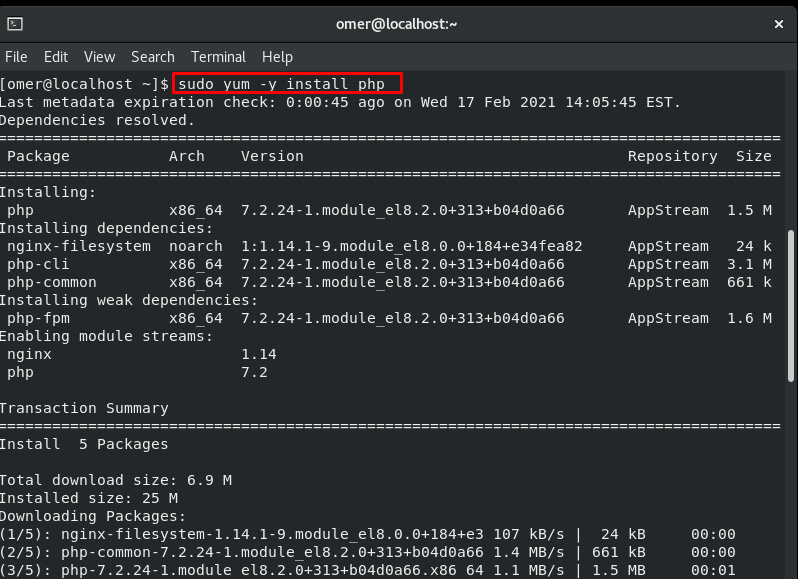
by In this article, we will talk about apache, mysql and PHP installations on Centos. After logging in as root, we enter the following commands on the terminal screen in order. We can install with a single command or with a separate command. We will install apache, mysql and PHP with yum command at a time. When we type -y after yum in the command, it means that we approve the download of the required files.
yum -y install httpd php mysql mysql-server php-mysql

You can install PHP, MySQL and Apache separately as follows, as it is installed with a single command.
sudo yum -y install mysql mysql-server

sudo yum -y install httpd

sudo yum -y install PHP
Config file
We add the following lines to the config files in order for the services to start automatically when the system restarts.
/sbin/ chkconfig httpd on
/sbin/ chkconfig mysqld on

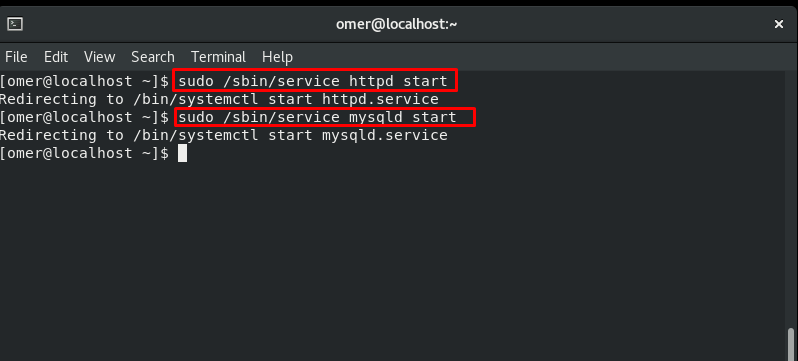
Running services
We enter the commands that run Apache and mysql respectively.
sudo /sbin/service httpd start
sudo /sbin/service mysqld start
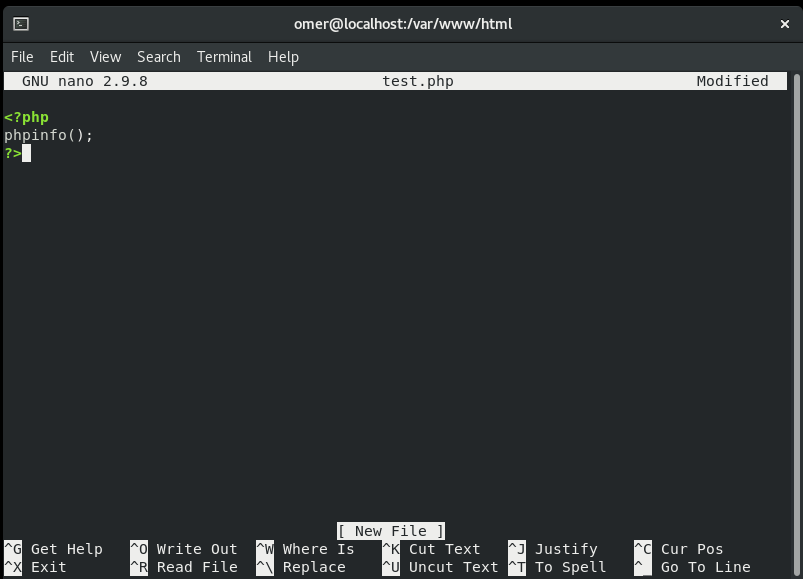
Testing that PHP is Working
Apache’s default folder in Centos systems is /var/www/html. We will go into this folder and create the test.php file. We enter the test.php file and enter the following code, press CTRL+X, click y, save and exit.
cd /var/www/html
sudo nano test.php

Now we write “http://youraddress/test.php” to our browser and see if PHP is working. As you can see on the screen below, php is working.