 by
by In this article, we will talk about creating a DNS Zone in Azure and adding a DNS record in detail. You can use Azure DNS to host a custom domain name. You can create a DNS Zone in Azure Active Directory as well as in Active Directory. For a private domain name owned by DNS Zone, you can do name resolution with Azure DNS. To create a DNS Zone on Azure DNS, we follow the steps below in order.
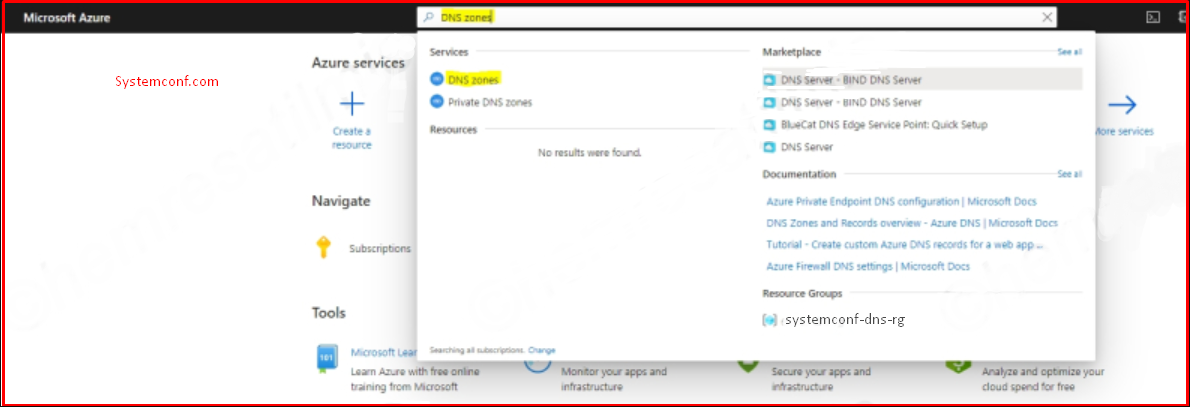
Type DNS zones and select DNS zones from the Services section.
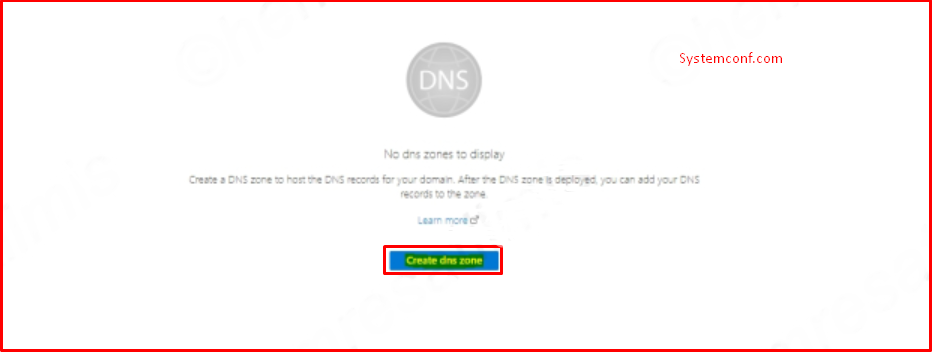
We choose “Create dns zone” to create a new DNS Zone on Azure DNS.
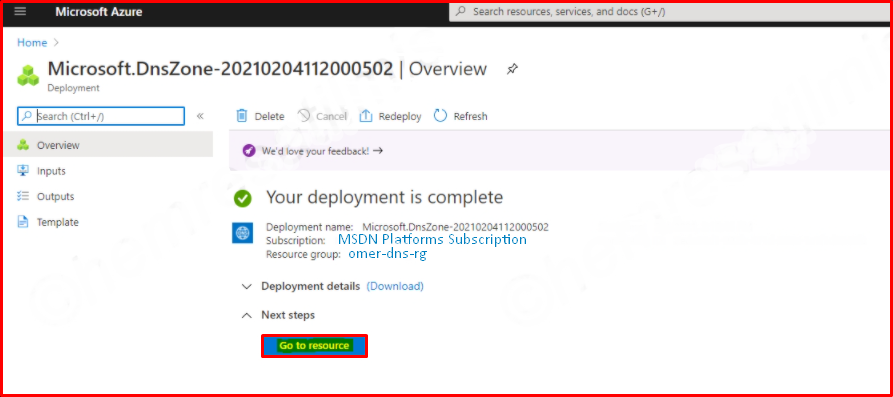
We make the following definitions for DNS Zone. We choose a subscription, Resource Group, Zone Name, Resource Group Location and review + create. With the “Validation Passed” notification, the verification is completed. With the “Create” button, we start the DNS Zone creation process.
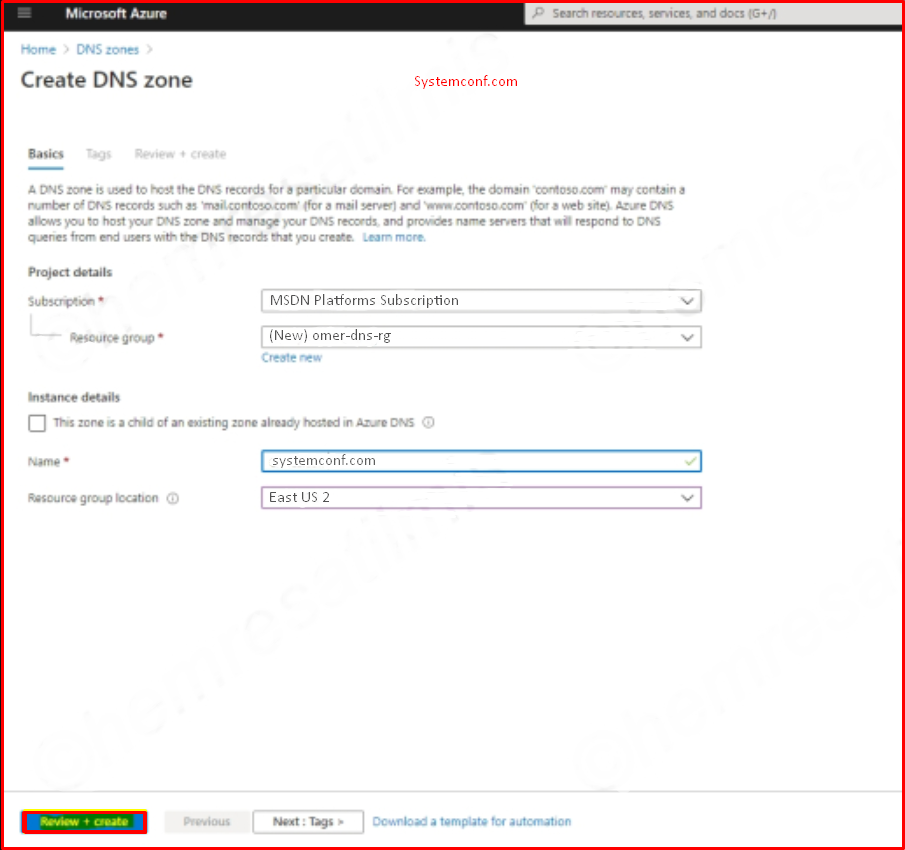
With the “Validation Passed” notification, the verification is completed. With the “Create” button, we start the DNS Zone creation process.
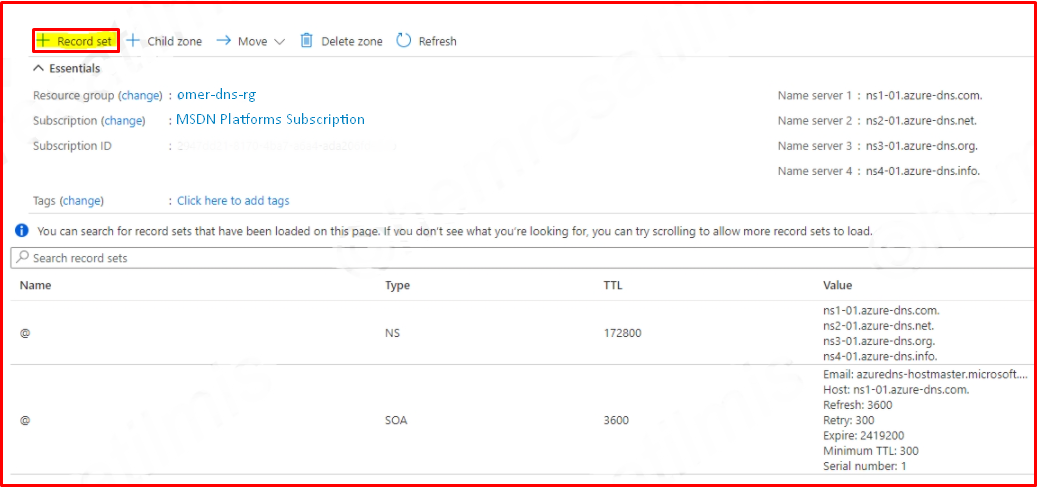
We choose “Record set” to add a DNS record to the created DNS Zone.
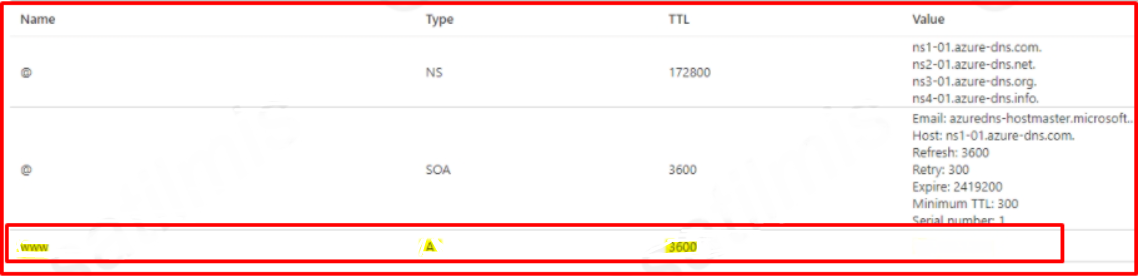
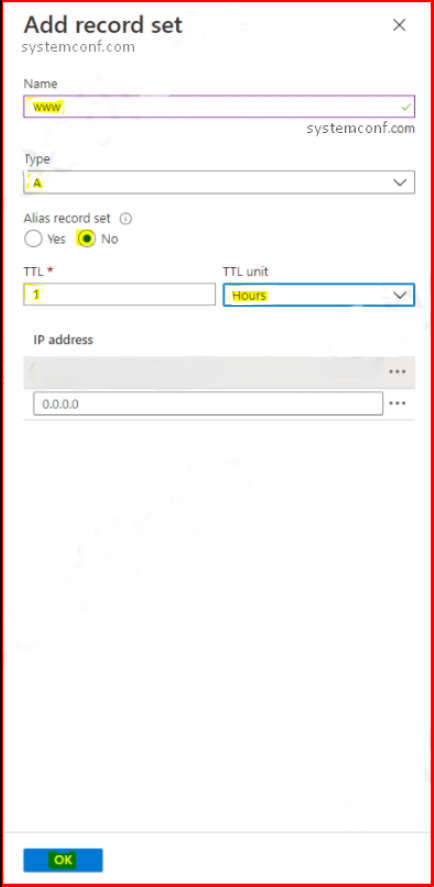
In the “Add record set” section, we determine the record name, record type, Alias status, TTL values and IP address values and finish with the “OK” button. In the example, we create a https://www.systemconf.com record. We set the record type A, the TTL value to 1 hour and set the IP address.
The record created is as follows.