by
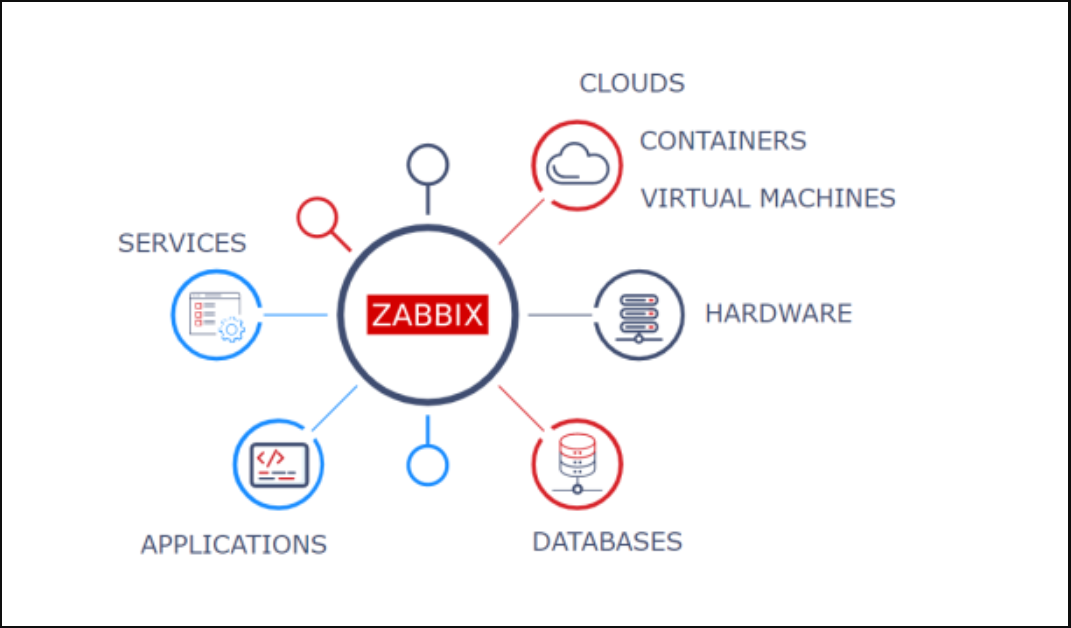
by Zabbix is an enterprise-grade monitoring tool for C and PHP based servers, network devices and other components of your infrastructure. Zabbix was developed by Alexei Vladishev to monitor Server-Client platforms through the Zabbix Agent to collect data. It can also monitor standard services such as e-mail, web service, without installing a client on monitored devices. With Zabbix, you can monitor almost everything in your infrastructure. Because Zabbix is enterprise-ready, you can use Zabbix on small or large networks. It is released free under the Zabbix GPL license, so it is commercial and non-commercial use.
Features of Zabbix
Zabbix facilitates the work of IT experts who manage and monitor the system, thanks to the following features and the Dash Boards it offers, configurable alerts.
- It monitors metrics such as CPU, memory, disk space, network and server operations with the Zabbix Agent.
- VMware vCeneter provides monitoring of VMware hypervisor and virtual machines.
- Automatically discovers VMware hypervisors and virtual machines using low-level discovery.
- It provides monitoring of MySQL, PostgreSQL, Oracle and Microsoft SQL Server.
- Zabbix has built-in Java application server monitoring.
- It provides monitoring of the network device (Router, Switch… etc) with SNMP.
- It keeps track of web services.
- It allows it to monitor hardware such as temperature, fan speed, and disk status.
System requirements
- Apache Server installation.
- Addition of Zabbix repo.
- Installation of MySQL on Zabbix server.
- Zabbix DB creation processes.
- MariaDB secure configuration.
- Editing the Zabbix config file.
- SELinux and Firewall configuration.
- Zabbix Web configuration.
Installing Zabbix on Ubuntu
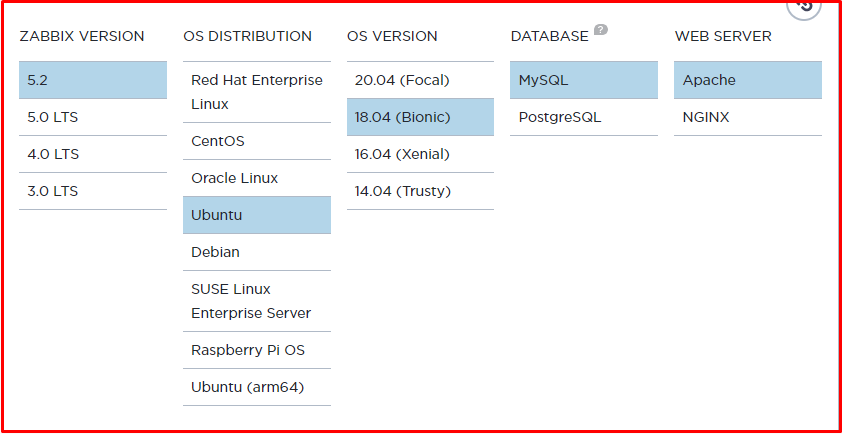
Let’s specify the Zabbix version, OS version, DB and Web Server options we want to install. We chose flocks. You can choose yourself from the link below.
https://www.zabbix.com/download
We will install Zabbix on ubuntu. First of all, we make updates on Ubuntu Server.
Note: It is better to switch to the superuser (root).
sudo apt update && apt-get upgrade

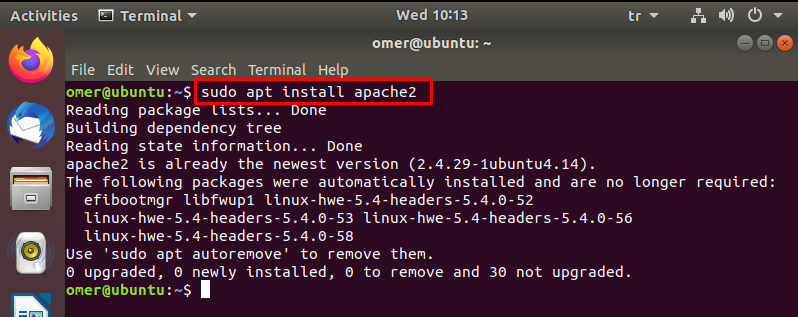
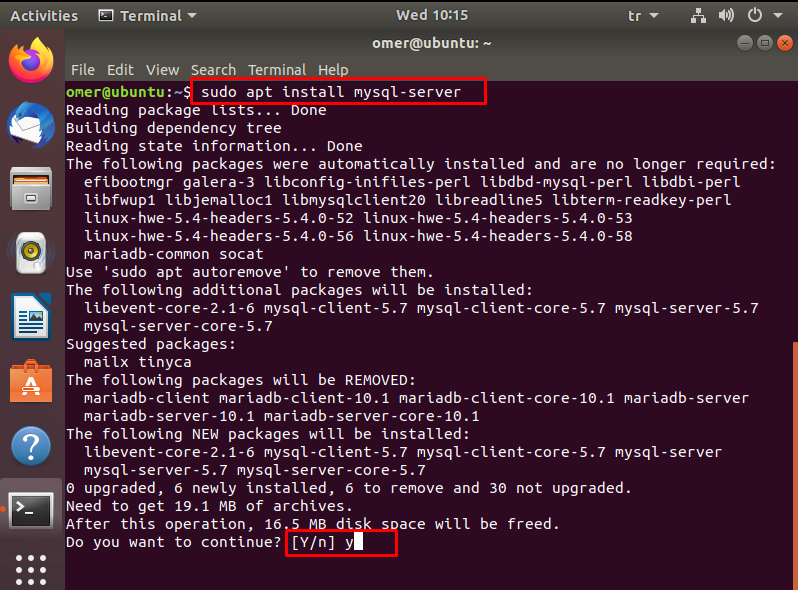
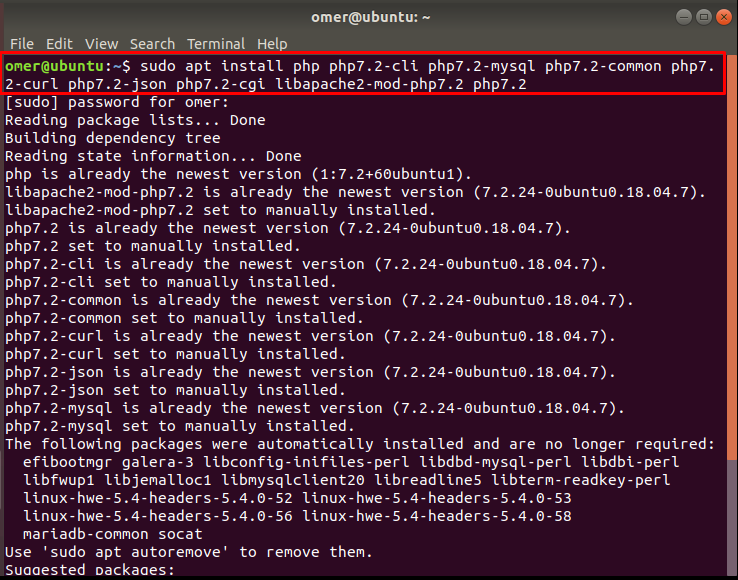
Installing Apache-MySQL-PHP
sudo apt install apache2
sudo apt install mysql-server
sudo apt install php php7.2-cli php7.2-mysql php7.2-common php7.2-curl php7.2-json php7.2-cgi libapache2-mod-php7.2 php7.2
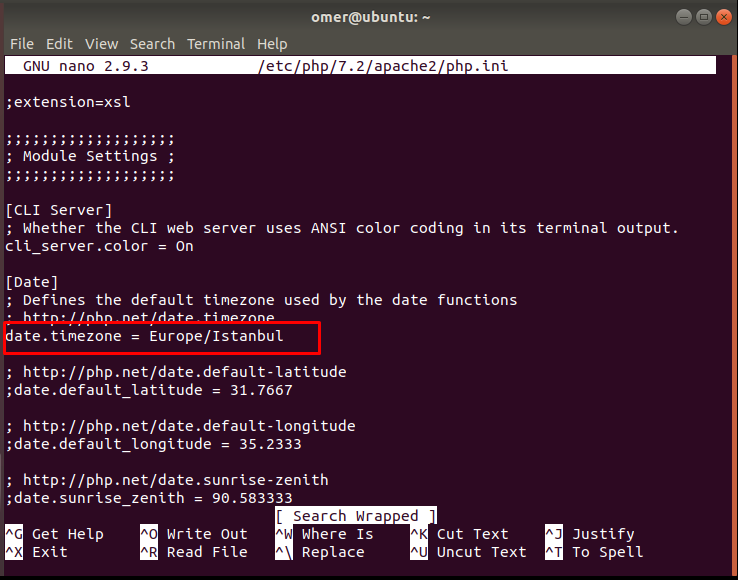
To update the time zone in the PHP configuration file, enter the following command and remove the # sign at the beginning of the php_value date.timezone field and add the time zone that suits you.
sudo nano /etc/php/7.2/apache2/php.ini

Here we start the apache web server.

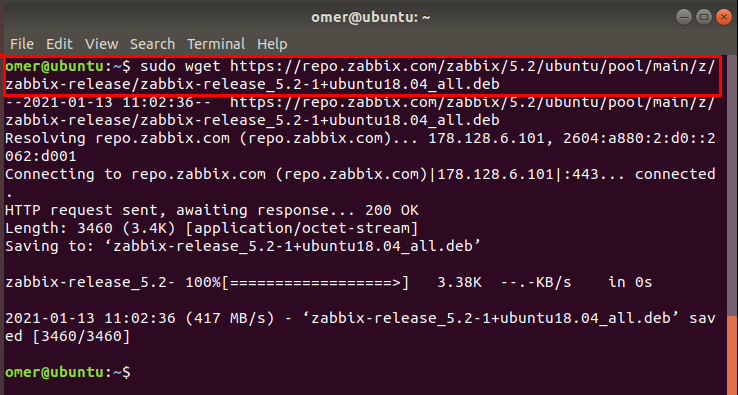
You can now download the Zabbix deb package using the command below.
sudo wget https://repo.zabbix.com/zabbix/5.2/ubuntu/pool/main/z/zabbix-release/zabbix-release_5.2-1+ubuntu18.04_all.deb
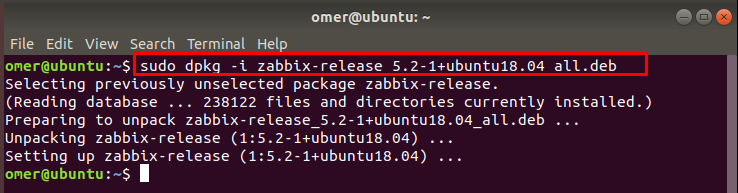
After downloading, we install our deb package and then update for the Zabbix server.
omer@ubuntu:~$ sudo dpkg -i zabbix-release_5.2-1+ubuntu18.04_all.deb
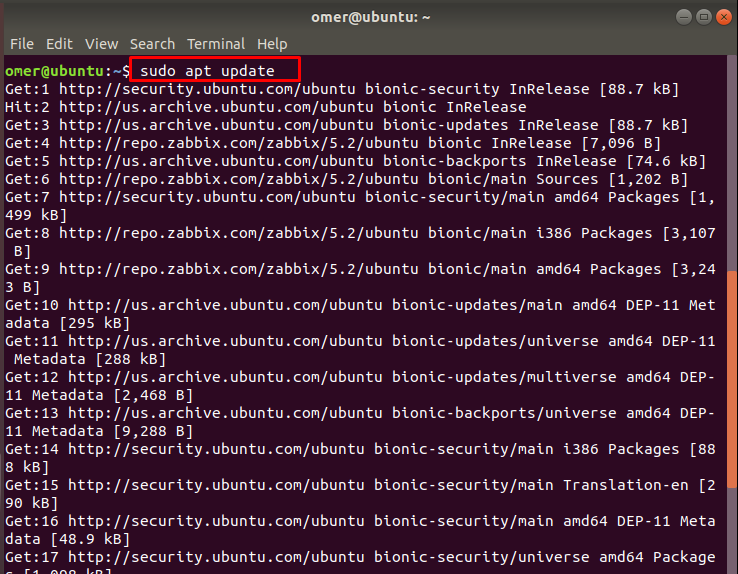
After installing, we update the Zabbix server.
omer@ubuntu:~$ sudo apt update
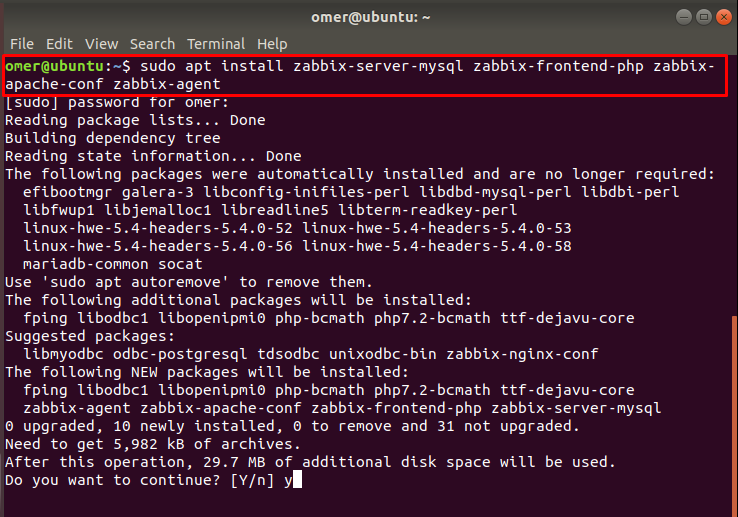
After adding the Zabbix apt repository to our system, we install the Zabbix Server.
sudo apt install zabbix-server-mysql zabbix-frontend-php zabbix-apache-conf zabbix-agent
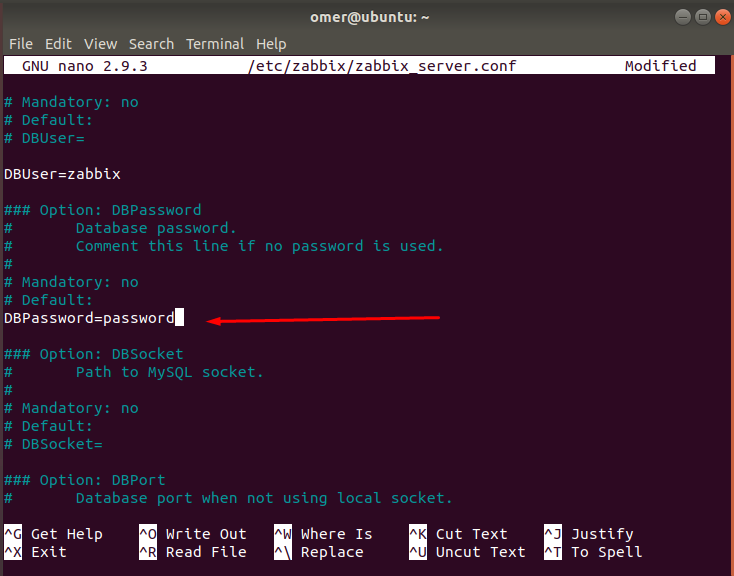
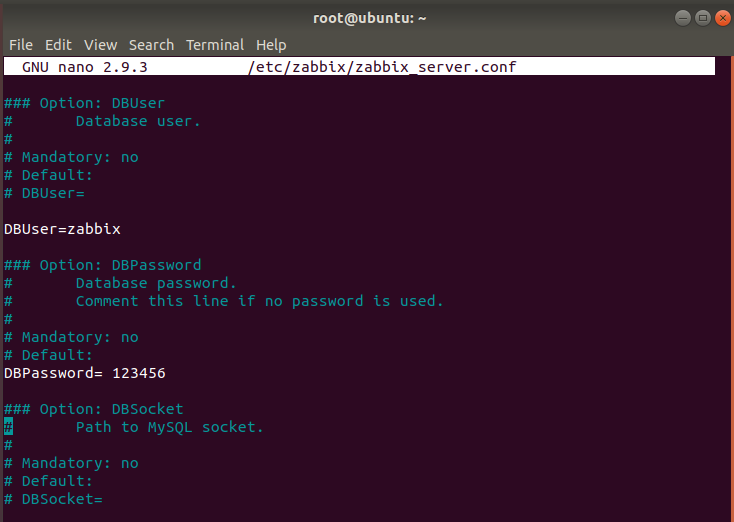
First, open our /etc/zabbix/zabbix_server.conf file and add the DBPassword = equivalent to the Zabbix database access password.
sudo nano /etc/zabbix/zabbix_server.conf
DBPassword=password

Create a MySQL database and user for the Zabbix server.
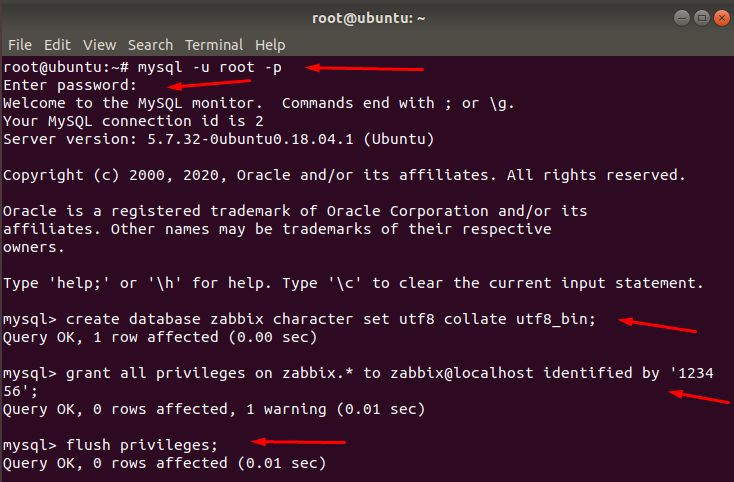
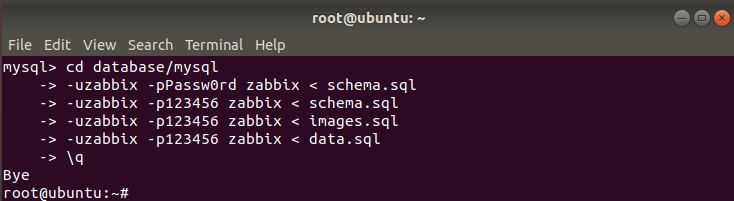
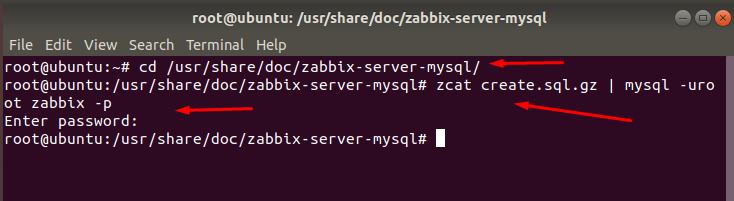
Now upload the Zabbix database schema we have created to the database you have created above. It will then ask us for entering a password. At this stage, type the Mysql password and wait.
After entering the password, edit the Zabbix configuration file.
nano /etc/zabbix/zabbix_server.conf
DBHost = localhost
DBName = Zabbix
Dbuser = Zabbix
Dbpassword = 123456

After editing the Zabbix configuration file, restart the Apache service and the Zabbix Server.
root@ubuntu:~# service apache2 restart
root@ubuntu:~# service zabbix-server start

Zabbix Web İnstaller
After passing all these steps, we can now move on to the Zabbix web installer. Login to our browser by typing as below.
http://ipadres/zabbix/
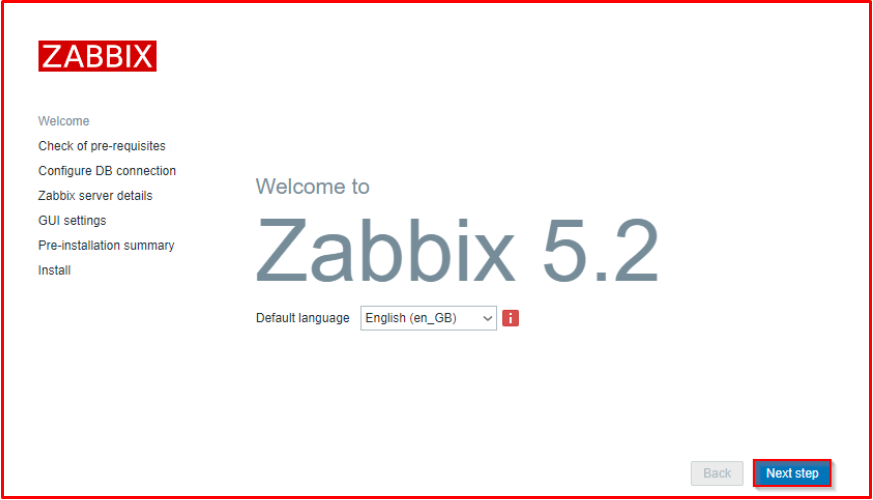
We continue by selecting your language option and clicking the “Next Step” button.
Check of pre-requisites
All prerequisites are checked on the “Check of pre-requisites” page. If there is no problem, we continue by clicking the “Next Step” button.

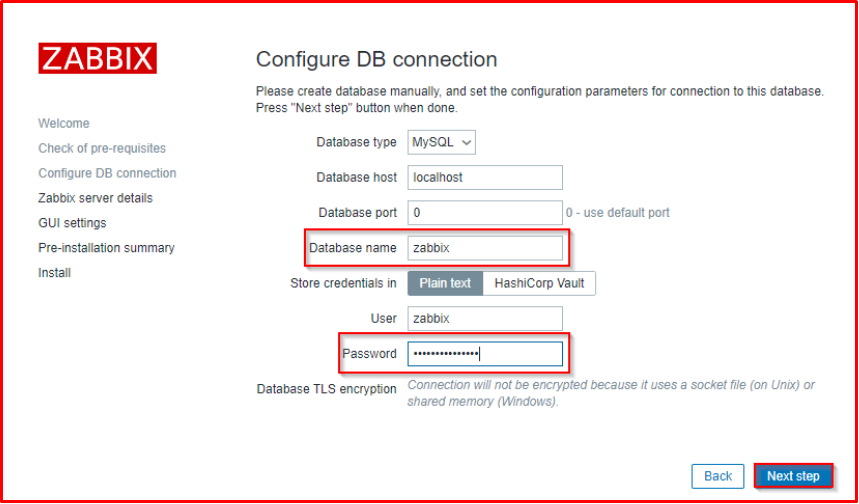
Configure DB connection
On the “Configure DB connection” page, we enter our database name and password. We continue by clicking the “Next Step” button.
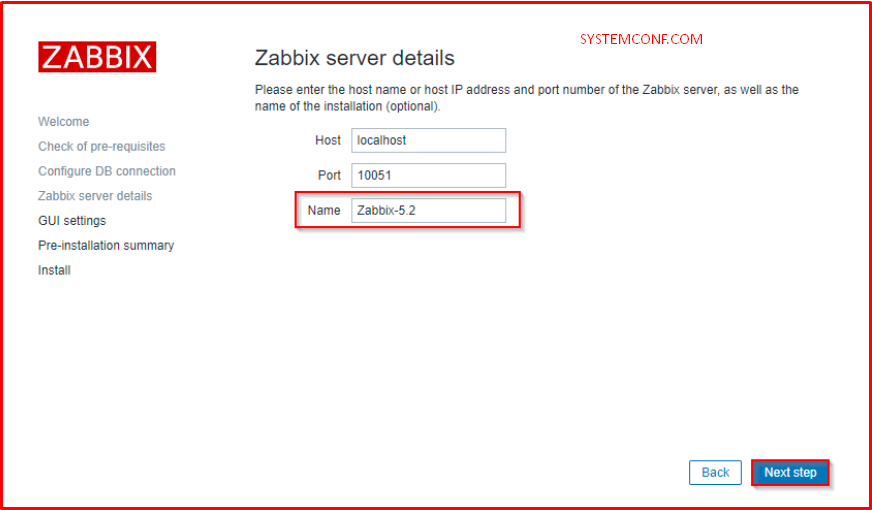
Zabbix server details
On the “Zabbix server details” page, we set an optional installation name for our Zabbix server and continue by clicking the “Next Step” button.
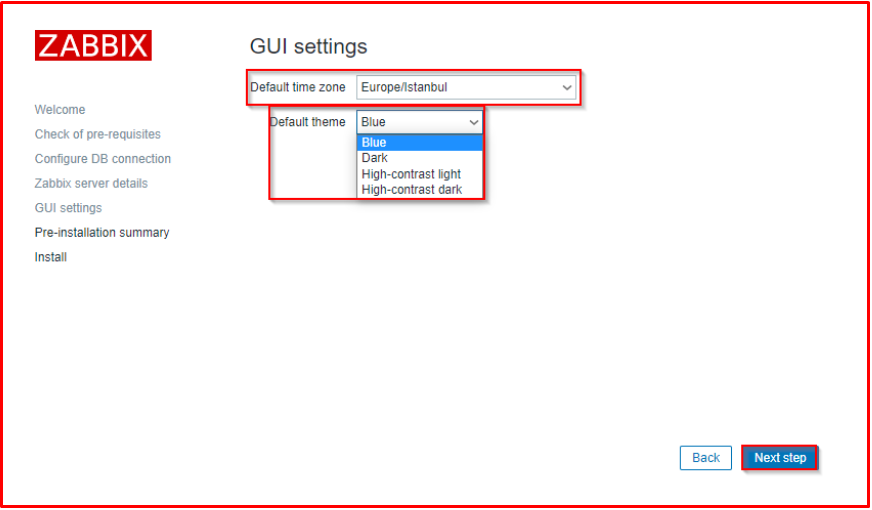
GUI settings
Select according to your location on the “GUI settings” page. There are a few options as a theme, we leave it as default and continue by clicking the “Next Step” button.
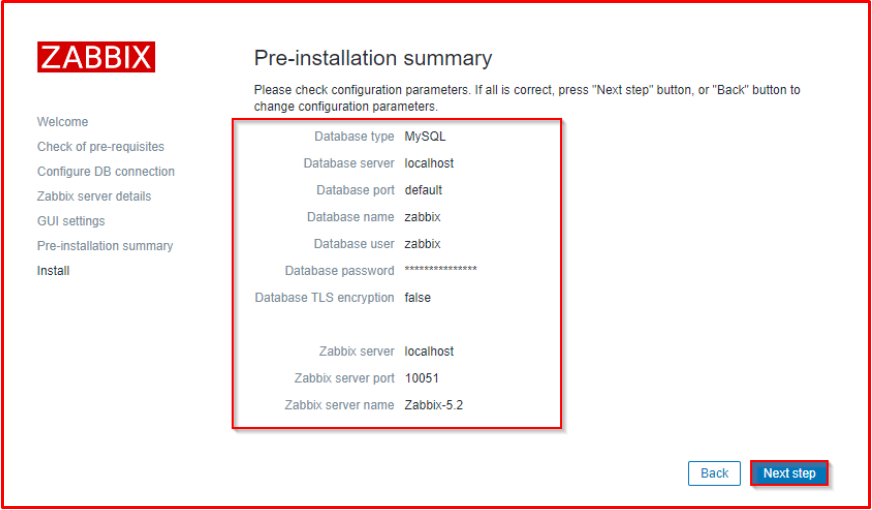
Pre-installation summary
We are reviewing the final checks on the “Pre-installation summary” page and click the “Next Step” button to continue.
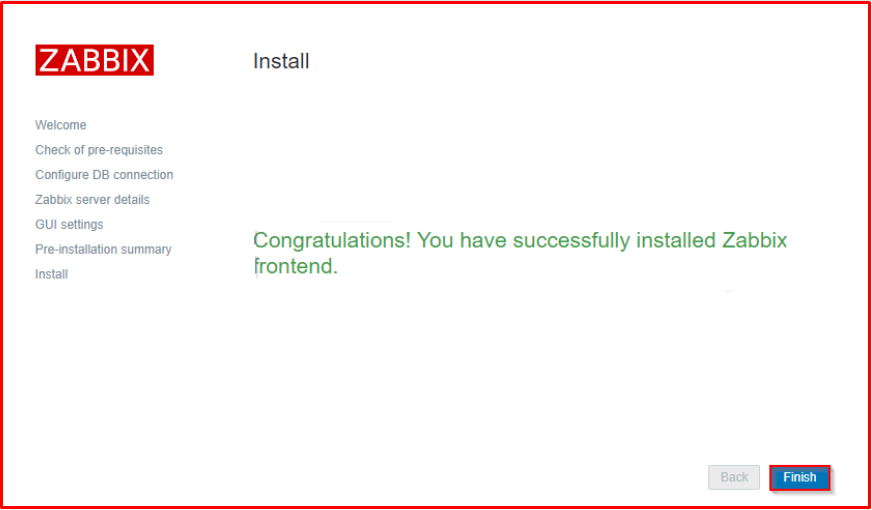
Install page
Zabbix frontend has been successfully installed on the “Install” page. We click on the “Finish” button.
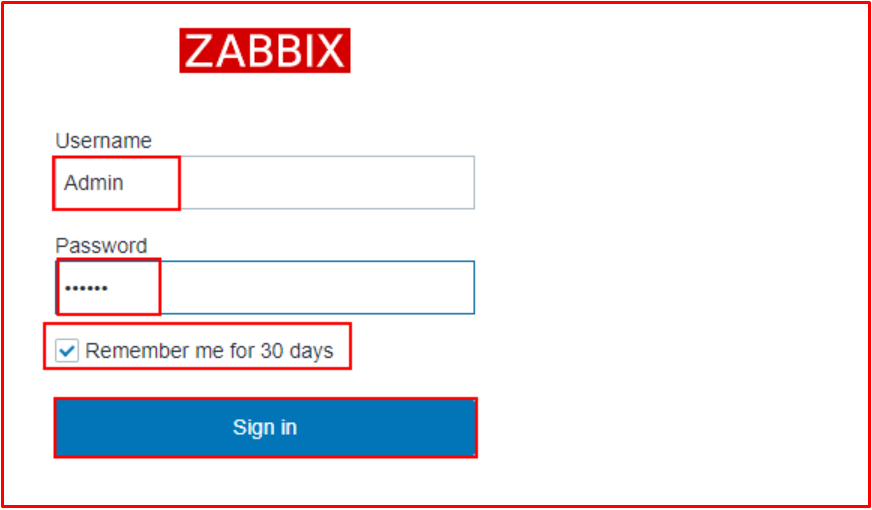
Login to Zabbix
Let’s login to Zabbix using default credentials. Default Username: Admin (“A” must be uppercase). Password: zabbix
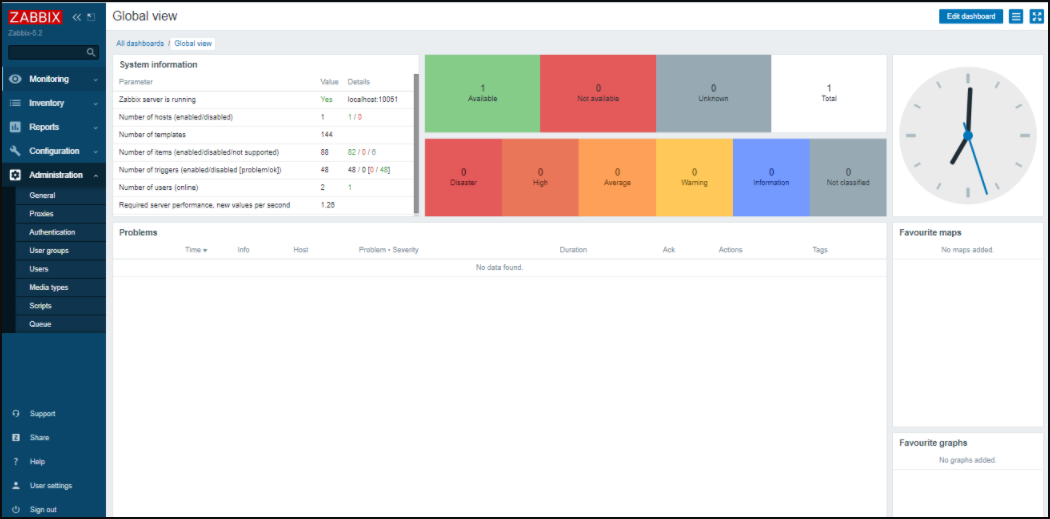
Zabbix dashboard
Finally, when we log into Zabbix, the following screen appears.