 by
by SQL Server is a relational database management system developed by Microsoft. In the relational database system, data are kept in tables and these tables can be related to each other in relation to each other. SQL Server Express is a free application provided by Microsoft. First, we will install SQL Server 2014 Express before installing Kaspersky Security Center 12.
Download Microsoft SQL Server 2014 Express from the Microsoft official site. You can download Microsoft SQL Server 2014 Express from the link below by clicking the “Download” button.
https://www.microsoft.com/en-US/download/details.aspx?id=42299
Select “ExpressAdv 64BIT \SQLEXPRADV_x64_ENU.exe”. The reason we chose this option is that it covers all of the advanced setup options and MS SQL Express requirements.

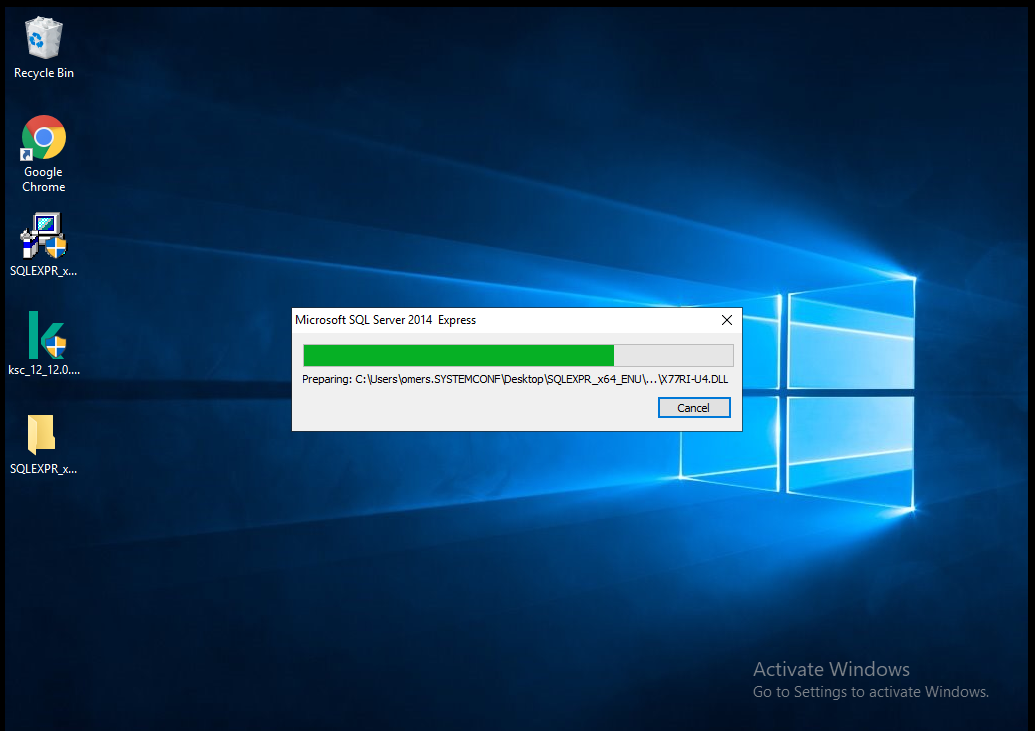
After the download is complete, you can double click on “SQLEXPRADV_x64_ENU.exe” to start its installation.
Note: If you did not change the download path when you started your download. You can access the files you have downloaded through the “C: \ Users \ Administrator \ Downloads” directory. It will specify the directory for decompressing files. Click the “Ok” button to decompress the compressed files. The extraction process will begin.
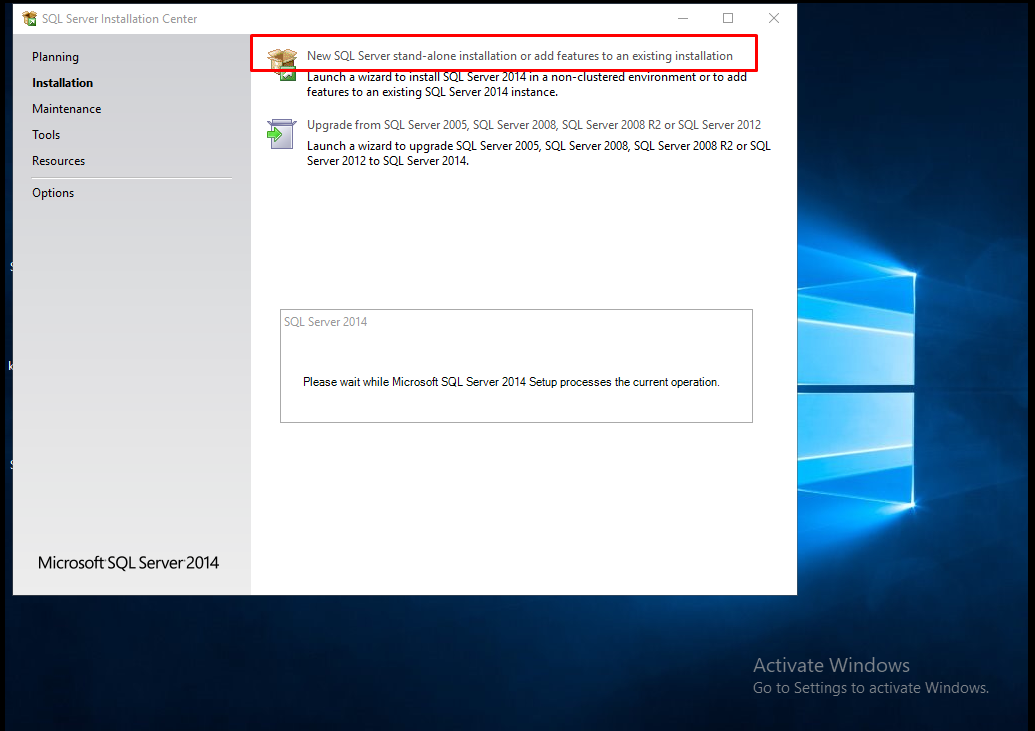
After the process is over, the “SQL Server Installation Center” window will appear. We choose the “Installation” tab from the left section. Select “New SQL Server stand-alone installation or add features to an existing installation” and wait for the installation window to appear.
In the first coming “SQL Server 2014 Setup” window, we tick the “I accept the license terms” option and the option below. We press the “Next” button.

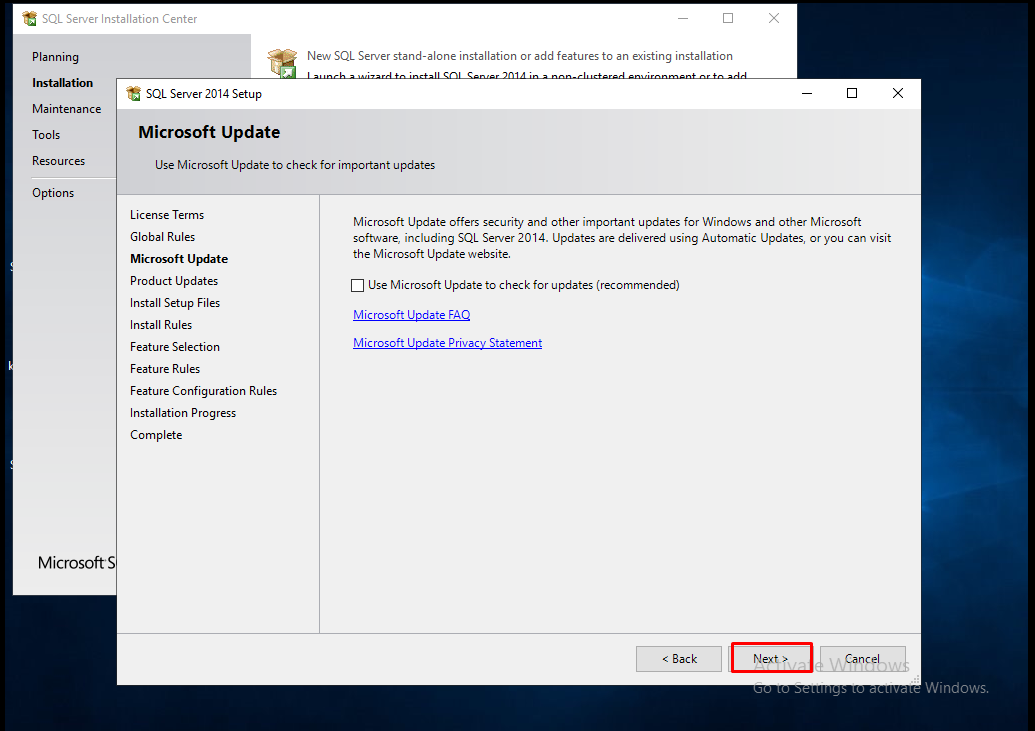
Do not waste time for updates in the “Microsoft Update” tab, you can do this later. We continue by pressing the “Next” button.
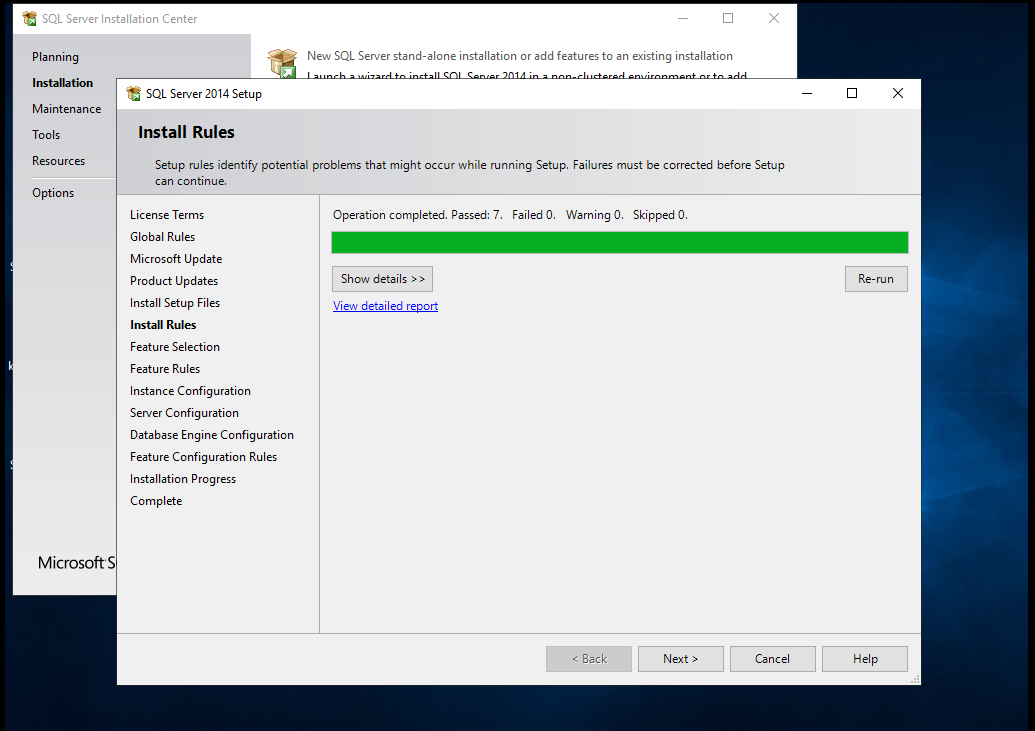
Wait for a while in the “Install Rules” and “Install Setup Files” tab. Transactions will be completed automatically. After the process is completed, the installation process will come to the “Feature Selection” tab.
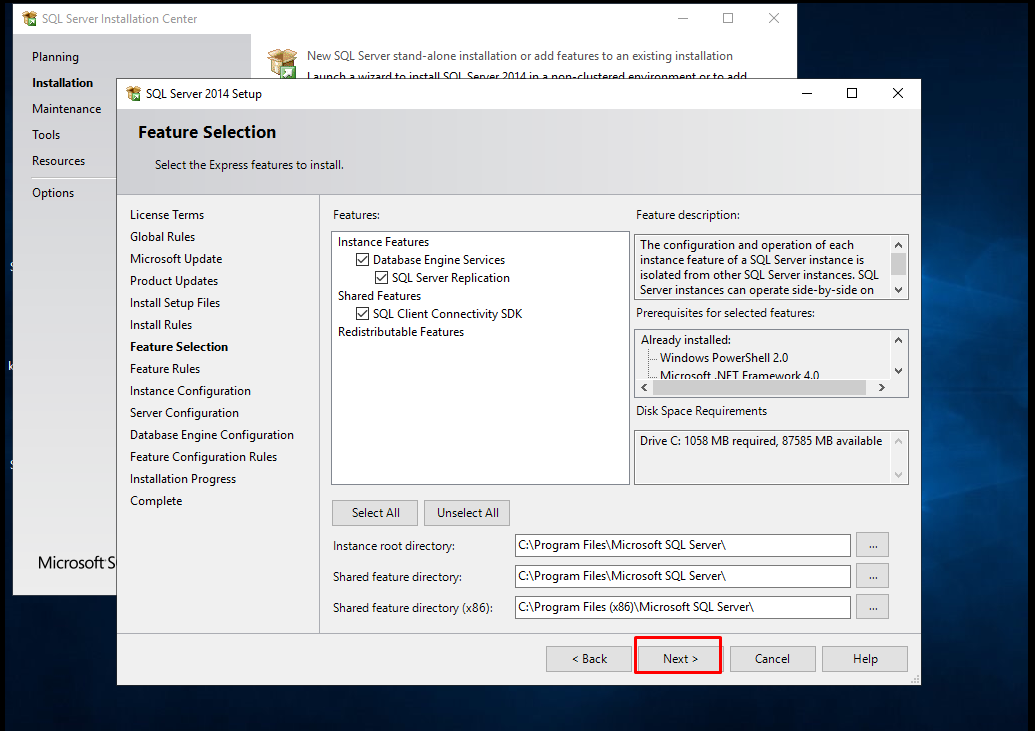
You can select the features you want to install from the “Feature Selection” screen. For a standard installation, simply select the following features. We continue the installation by pressing the “Next” button.
Instance Features> Database Engine Services> SQL Server Replication and Shared Features> SQL Client Connectivity SDK
Note: If you need it later, you can install the other features by restarting the installation and selecting from the “Feature Selection” tab.
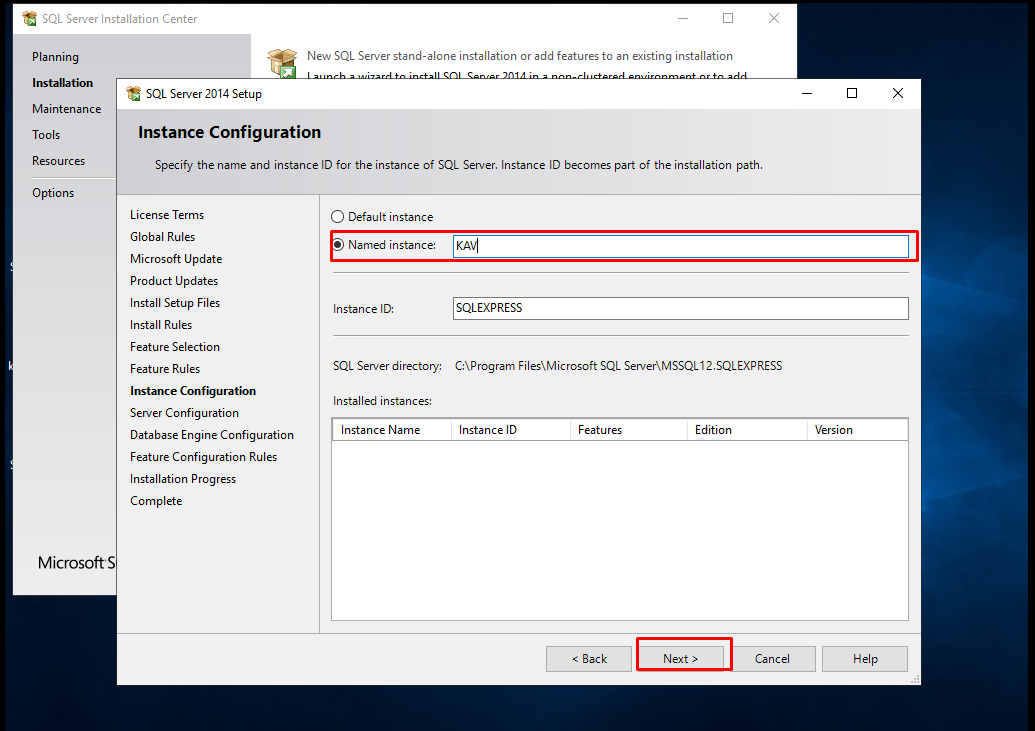
In the “Instance Configuration” tab, we selected “Named instance” and named it “KAV“. Press the “Next” button to continue.
Note: In this section, you can continue by making the relevant definition from the “Named instance” option to make special arrangements for your applications. For standard setup, it is recommended to choose “Default instance“.
In the “Server Configuration” tab, we configure the operation types of the Services. We continue by pressing the “Next” button.

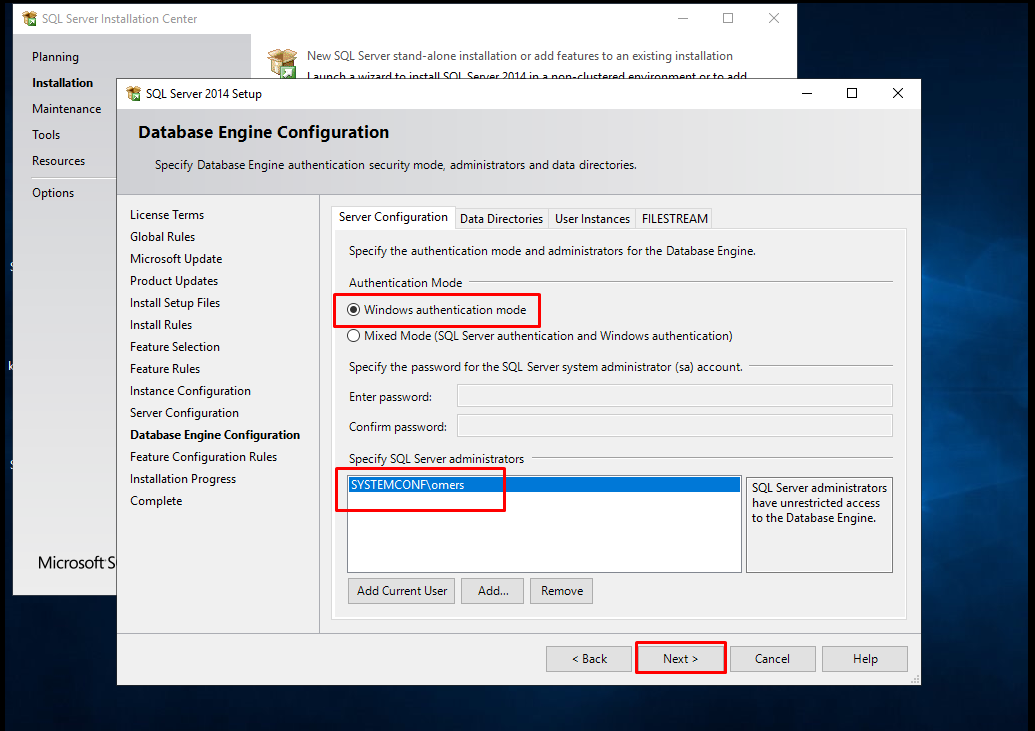
In the “Database Engine Configuration” tab, we configure our MS SQL login options. This option can be preferred as it is possible to login with “SA (super admin)” and Windows login information with “Mixed Mode” option. You can set a password for “SA” from the Password section. This password is a password that will be needed when you operate on MS SQL with admin authority. Please write down the password. Here we are proceeding with the “Windows authentication mode” option. We continue by selecting the user and clicking the “Next” button.
Note: If there is no user in the “Specify SQL Server administrators” section, you can add a user by clicking “Add” or you can add the user you have uploaded by selecting the “Add Current User” option.
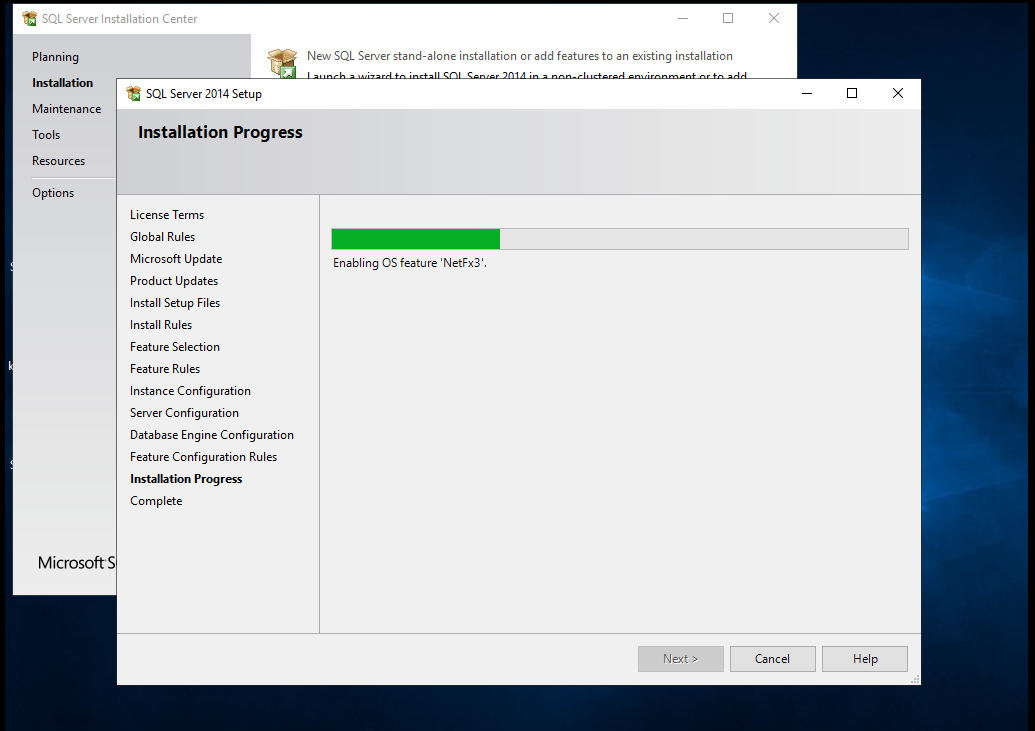
We will have advanced uploading to the “Installation Progress” tab. We have finished the necessary configurations and the installation process has started to take place.
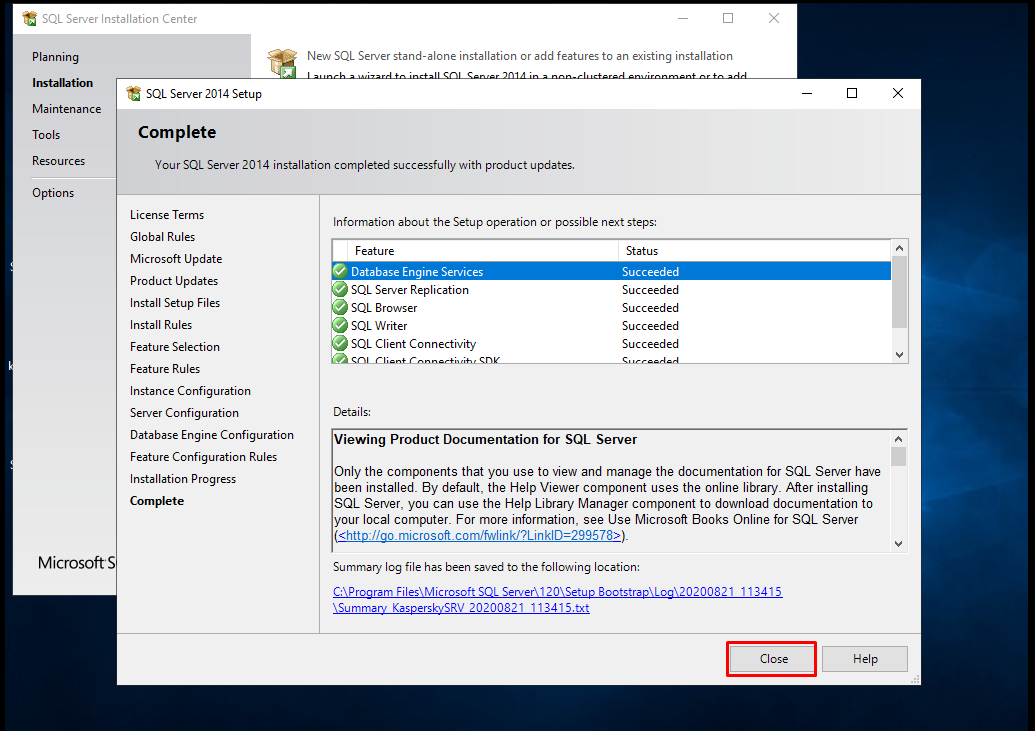
Our installation process is completed in the “Complete” tab. We check for errors in the information section. If all the features are in the form of “Succeeded“, our installation process has been successfully completed. You can close the “SQL Server 2014 Setup” screen by clicking the “Close” button.
Kaspersky Security Center 12 Installation
As your business grows, so does the amount of data you need to protect and the software and hardware systems you need to manage. You need the right tools to detect vulnerabilities, stop threats instantly, and simplify system administration tasks. For this reason, we will install Kaspersky Security Center 12 on Windows Server, which is a security solution. First of all, if there is a different anti-virus software on the server, you should uninstall this software and restart the server. After you have done the controls, you can download the installation package from the link below.
https://www.kaspersky.com.tr/small-to-medium-business-security/downloads/security-center

If the user you will install Kaspersky Security Center is authorized, there will be no problems. If it happens in the Domain Admins group, we will complete the event without any problems.

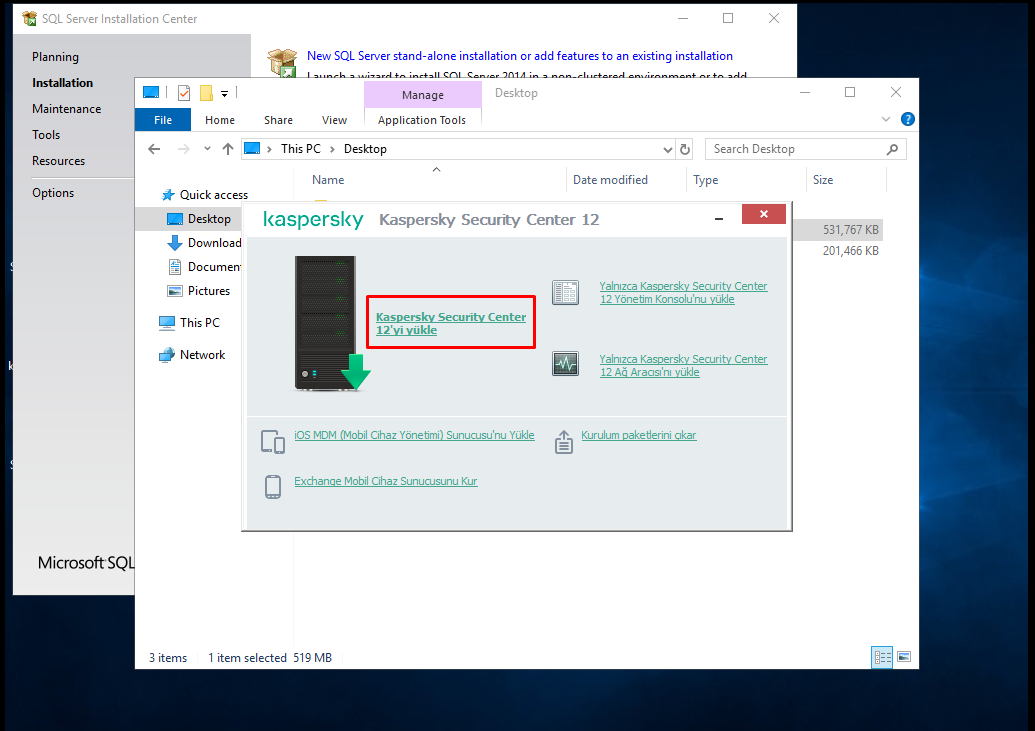
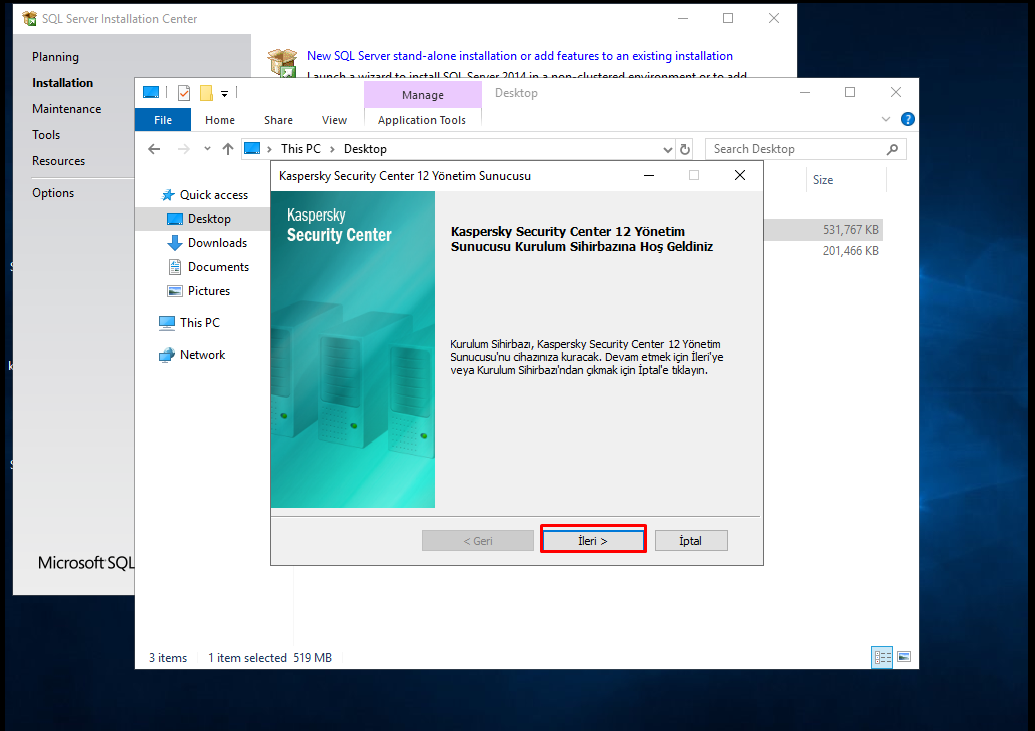
After downloading and running the setup, we see a screen like this. Let’s start the installation with the option to install Kaspersky Security Center 12.
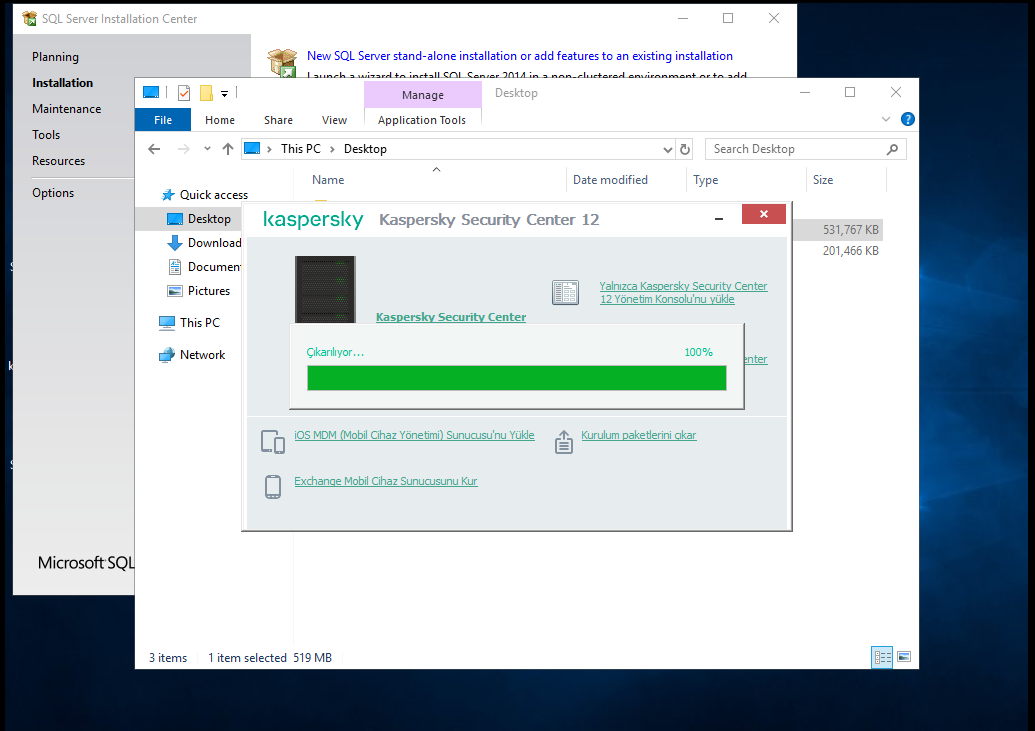
The Files are then extracted as shown in the figures below.
Then, we continue by clicking the “Next” button as in the figures below.
Since the .NET framework is installed before, we continue by clicking the “Next” button.

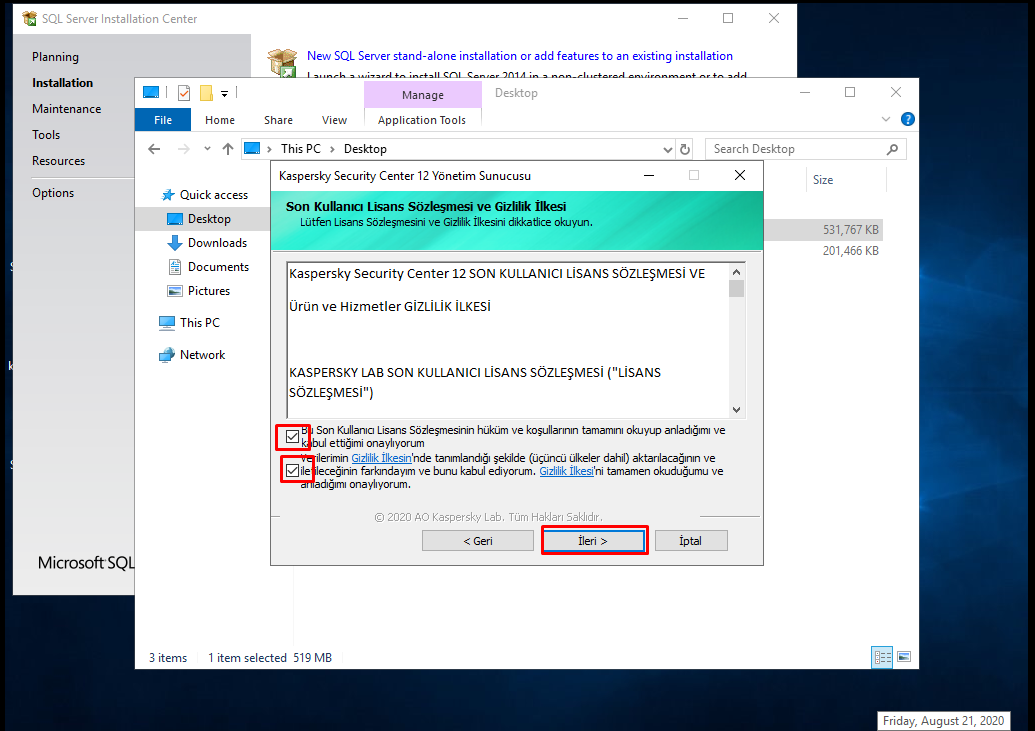
We accept the license agreement and continue by clicking the “Next” button.
We proceed with the “Custom” option for installation, you can choose the “Standard” installation, this will give us the advantage of making a more detailed installation. Let’s continue with the next option.

In the “Custom installation” window, the Management server is checked, and we continue with “Next”.

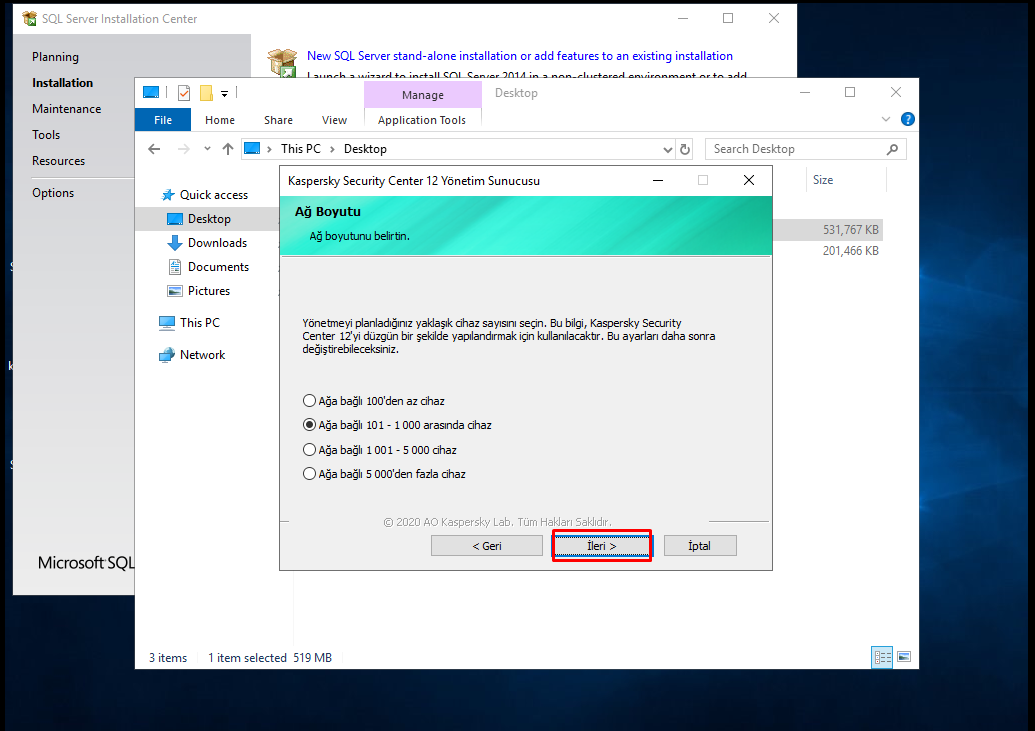
In the “Network Size” tab, we select how many computers will be protected by Kaspersky on your network. Later we can change this setting. Kaspersky will charge a license fee based on this selection.
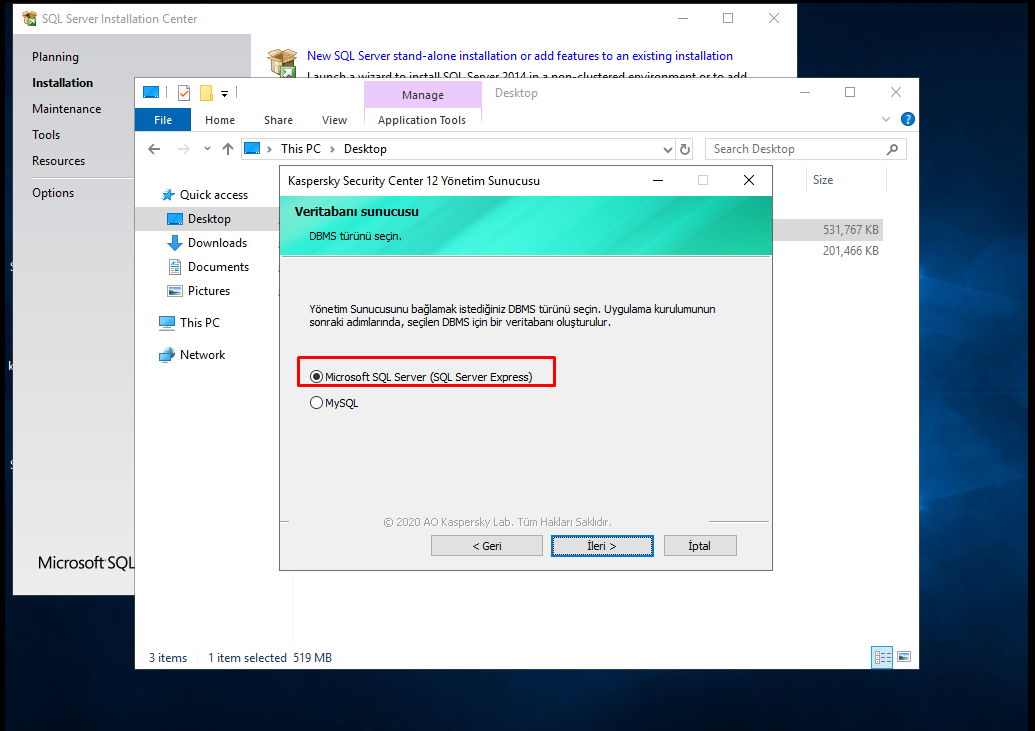
We select the database type in the “Database server” tab. If we are to choose SQL, separate admin user settings must be configured.
We determine the path to our SQL Server by clicking on the marked field in the “Connection settings” window.
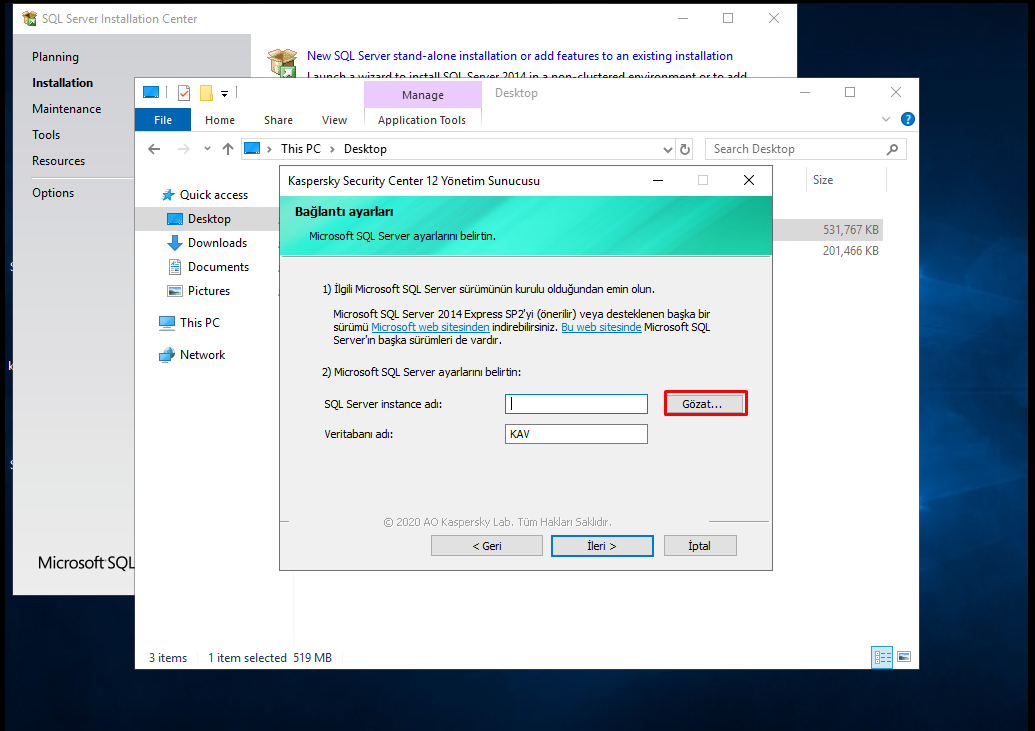
As shown in the figure below, we enter the path of our SQL server in the field marked with the IP of the Server where we installed SQL Server. Or we click on the “Browse …” button and choose our Microsoft SQL Server.
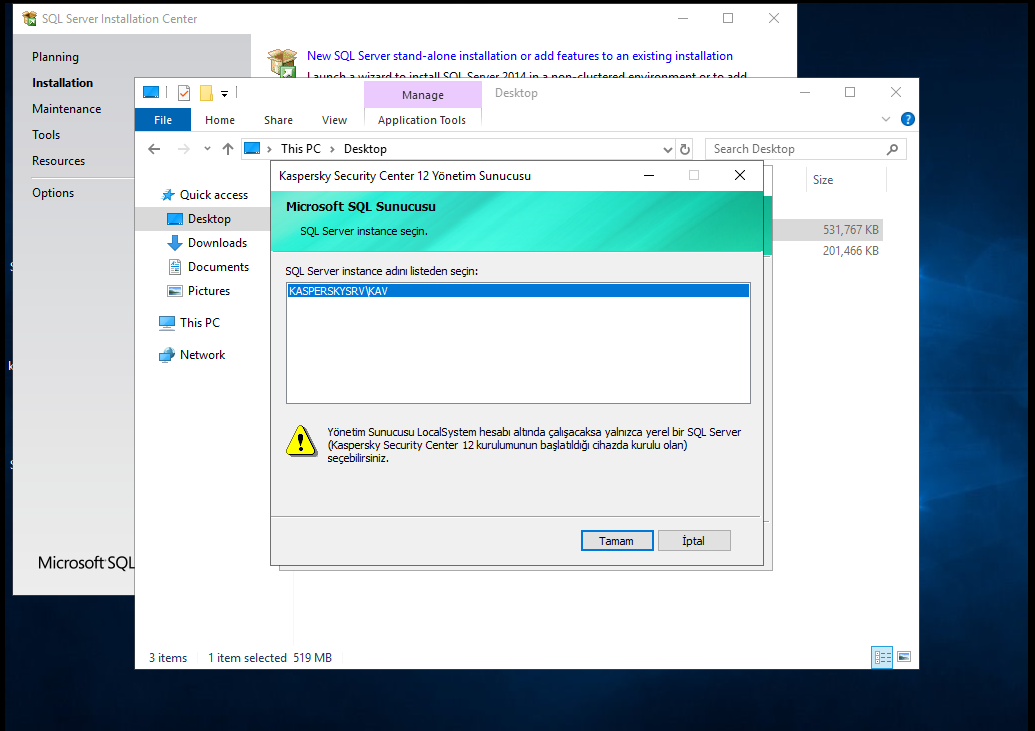
After selecting our Microsoft SQL Server, we proceed by clicking the “Next” button.

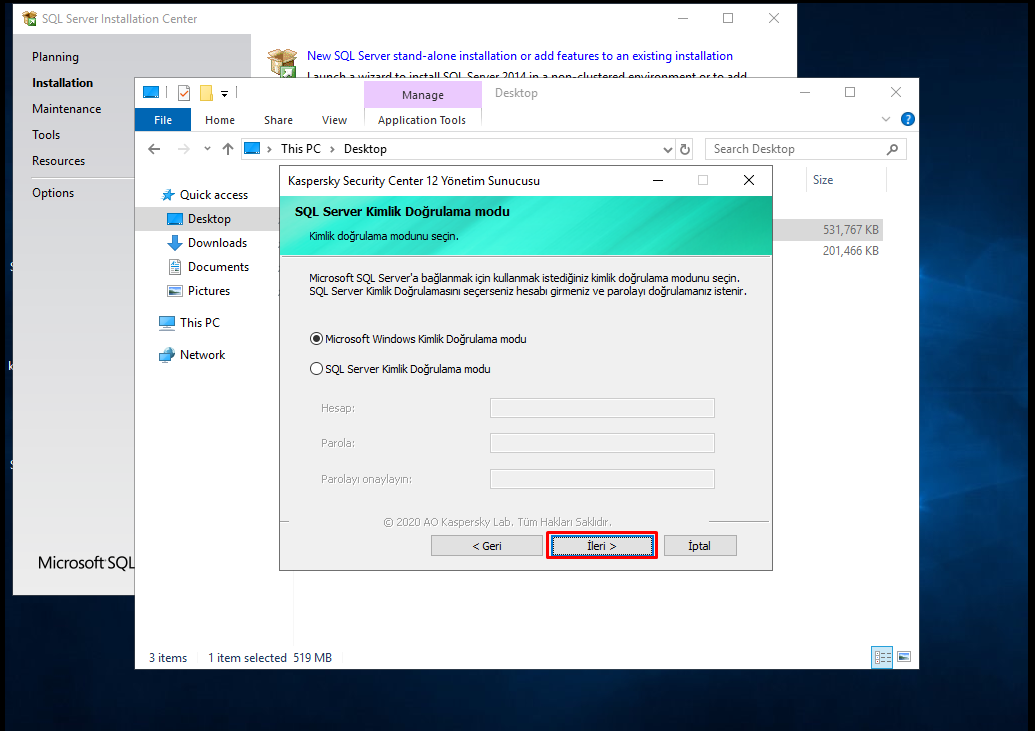
We continue with the “Microsoft Windows Authentication Mode” option in the “SQL Authentication Mode” window.
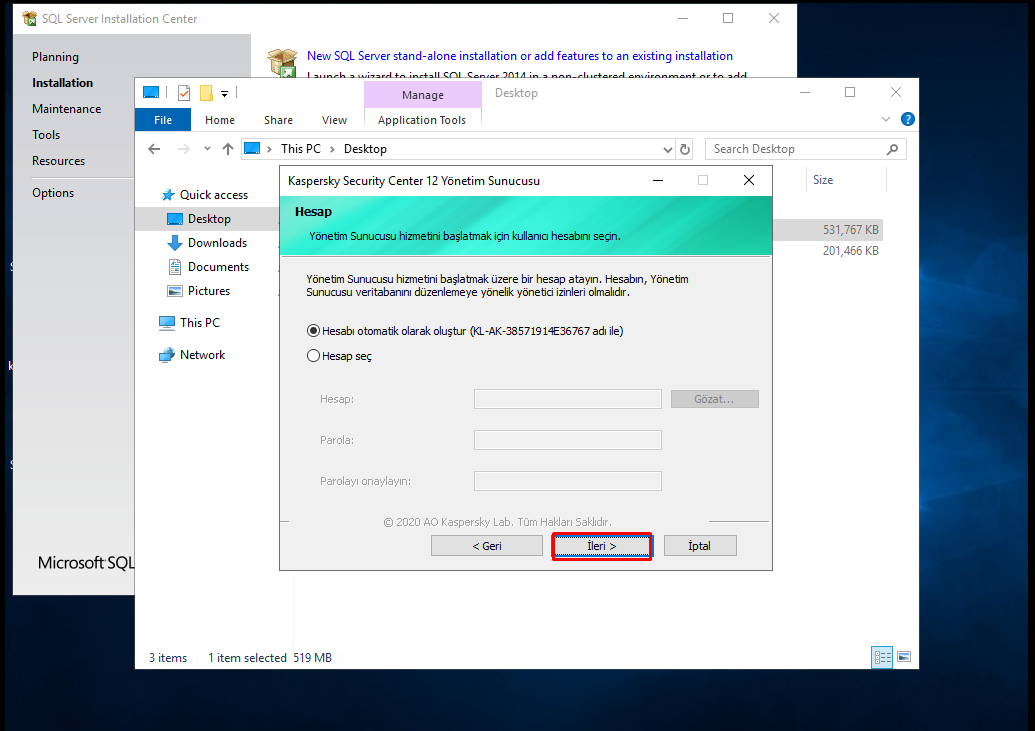
We tick the “Create account automatically” option in the “Account” window and continue by clicking the “Next” button.
In the “Shared folder” window, files will be transferred over the network share for uploads via Kaspersky. Of course, devices that will access this folder and setup files must have access to this folder without any problems and copyrights. Care should be taken when editing the folder rights within the domain structure.

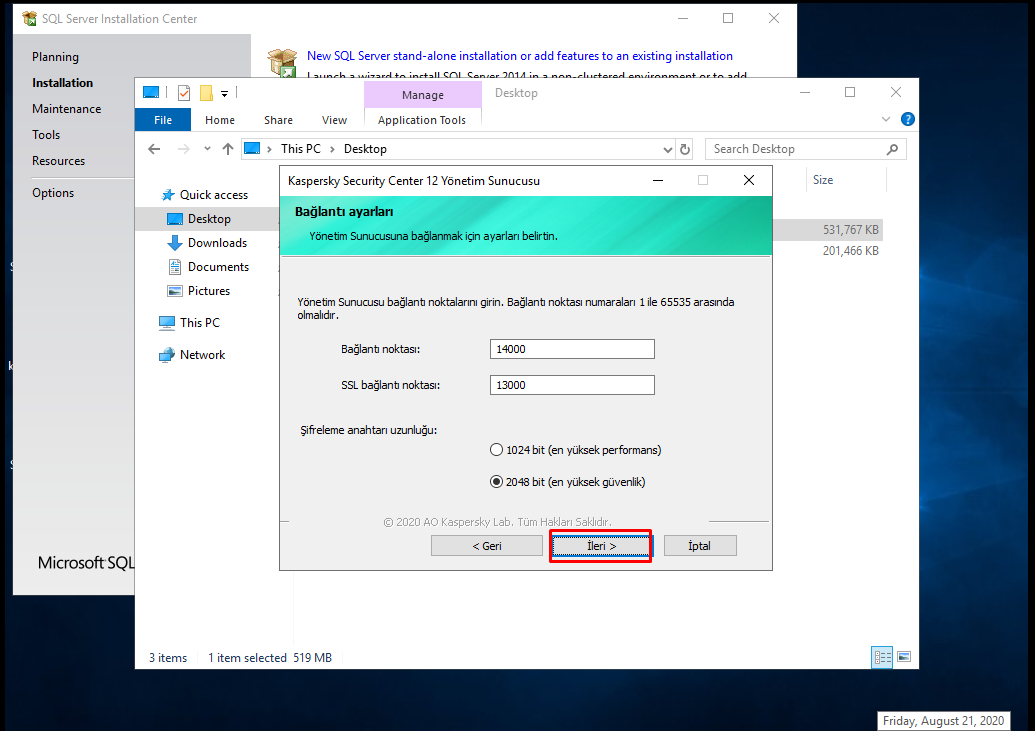
The ports that Kaspersky uses as standard in the “Connection setting” window. These ports must also be open. We continue by clicking the “Next” button.
In the “Administration Server address” window, we will show the devices that have Endpoint installed who the Security Center is. There are also three methods for this. If you are going to transmit via DNS, you can choose one of the first two options. I am proceeding on the IP address. Since the IPs of the server do not change easily, you can continue over the IP address.

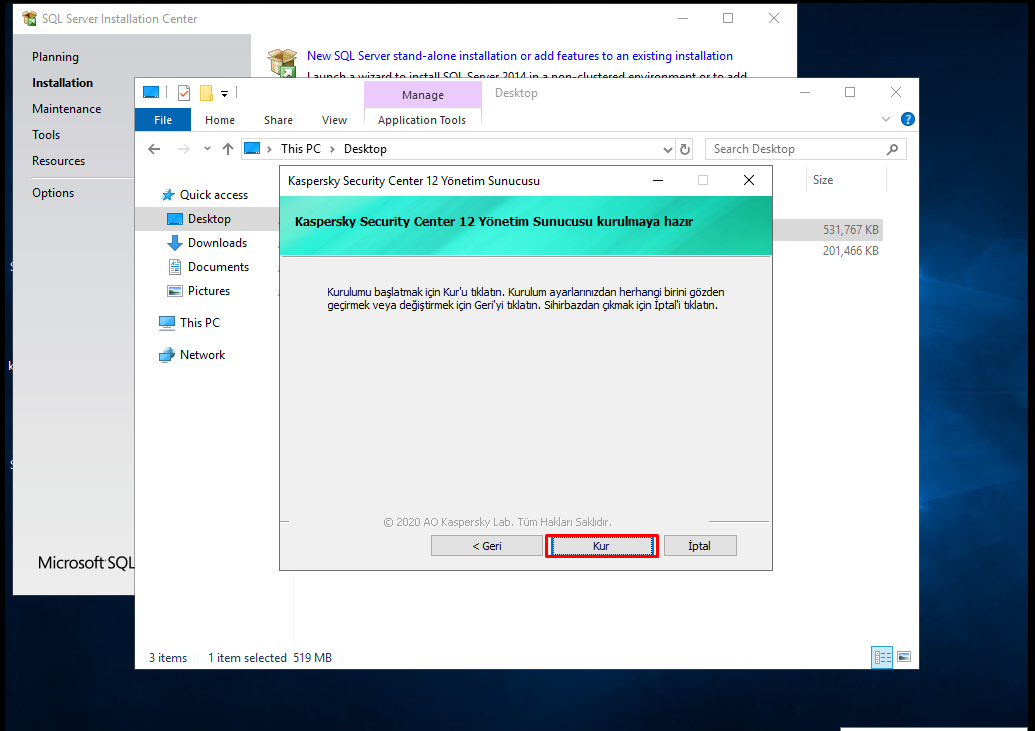
Since we continue with the Standard setup in the “Ready to install Kaspersky Security Center 12 Administration Server” window, Kaspersky Security Center 12 will automatically create its own connection ports on the Windows Firewall for us. We can start the installation. You can start the installation by clicking the “Install” button.
In the “Installing Kaspersky Security Center Administrator Server” window, the required installations are made in order.

If the installation is completed successfully, you can open the Console screen with the “Finish” option. After the management console is opened, you can start using the software with your license information.

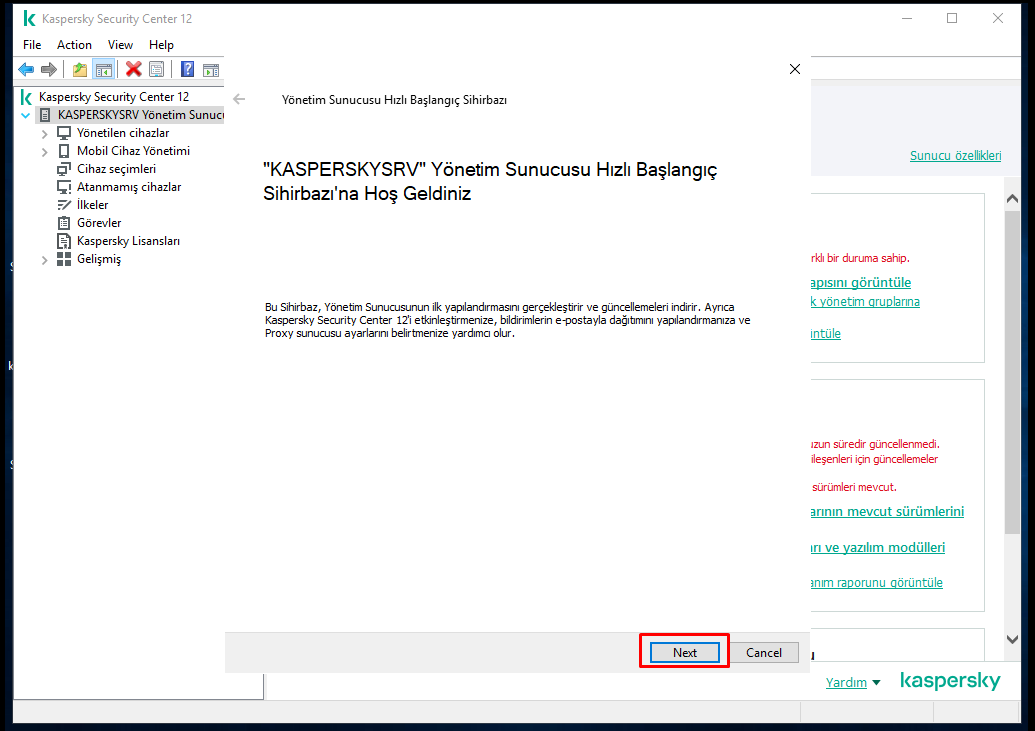
With the Kaspersky Security Center Startup wizard, you can start using the configuration steps and your license information.