

 by
by One of the most common operating systems that incorporate networks in windows systems. This article examines the installation of the Windows 10 operating system on the WMware Workstation. For Windows 10 installation, The corresponding ISO file is provided first. Windows Trial products can be used for this purpose.
In VMware Workstation, click “File> New Virtual Machine“.

The creation of the new virtual machine wizard starts and continue by clicking the “Next” button.

In the next screen, select “Installer disc image file (iso):” and click the “Browse” button.
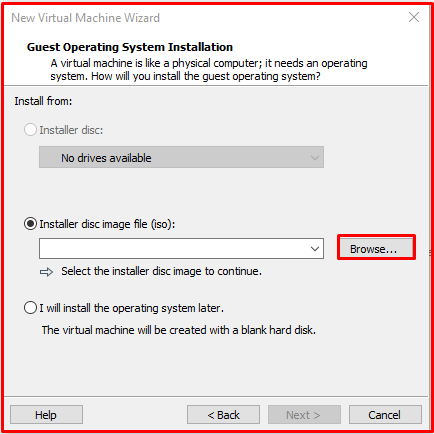
Select the operating system ISO file you want to install.

After selecting the downloaded ISO file continue by clicking the “Next” button.

On the screen that comes up, we choose “Microsoft Windows” as the operating system. We choose “Windows 10 x64” as the version.

Replace “Virtual machine name” with the name of the operating system you are going to install. We choose the location of the operating system you will install as “Location“.

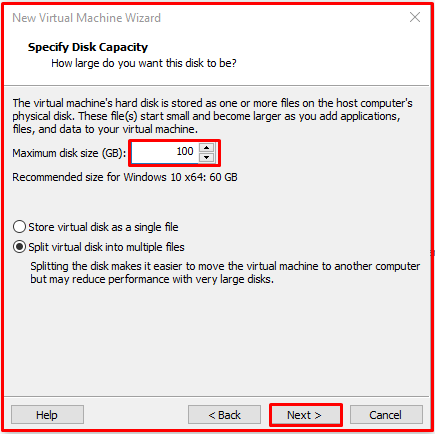
Set the disk capacity. Select one of the “Store virtual disks as a single file and Split virtual disk into multiple files” options. I checked the “Split virtual disk into multiple files” option.
You can change the setting or complete the configuration with the “Customize Hardware” option as required. After setting IP for your virtual computer, After setting the IP for your virtual computer, click the “Finish” button.

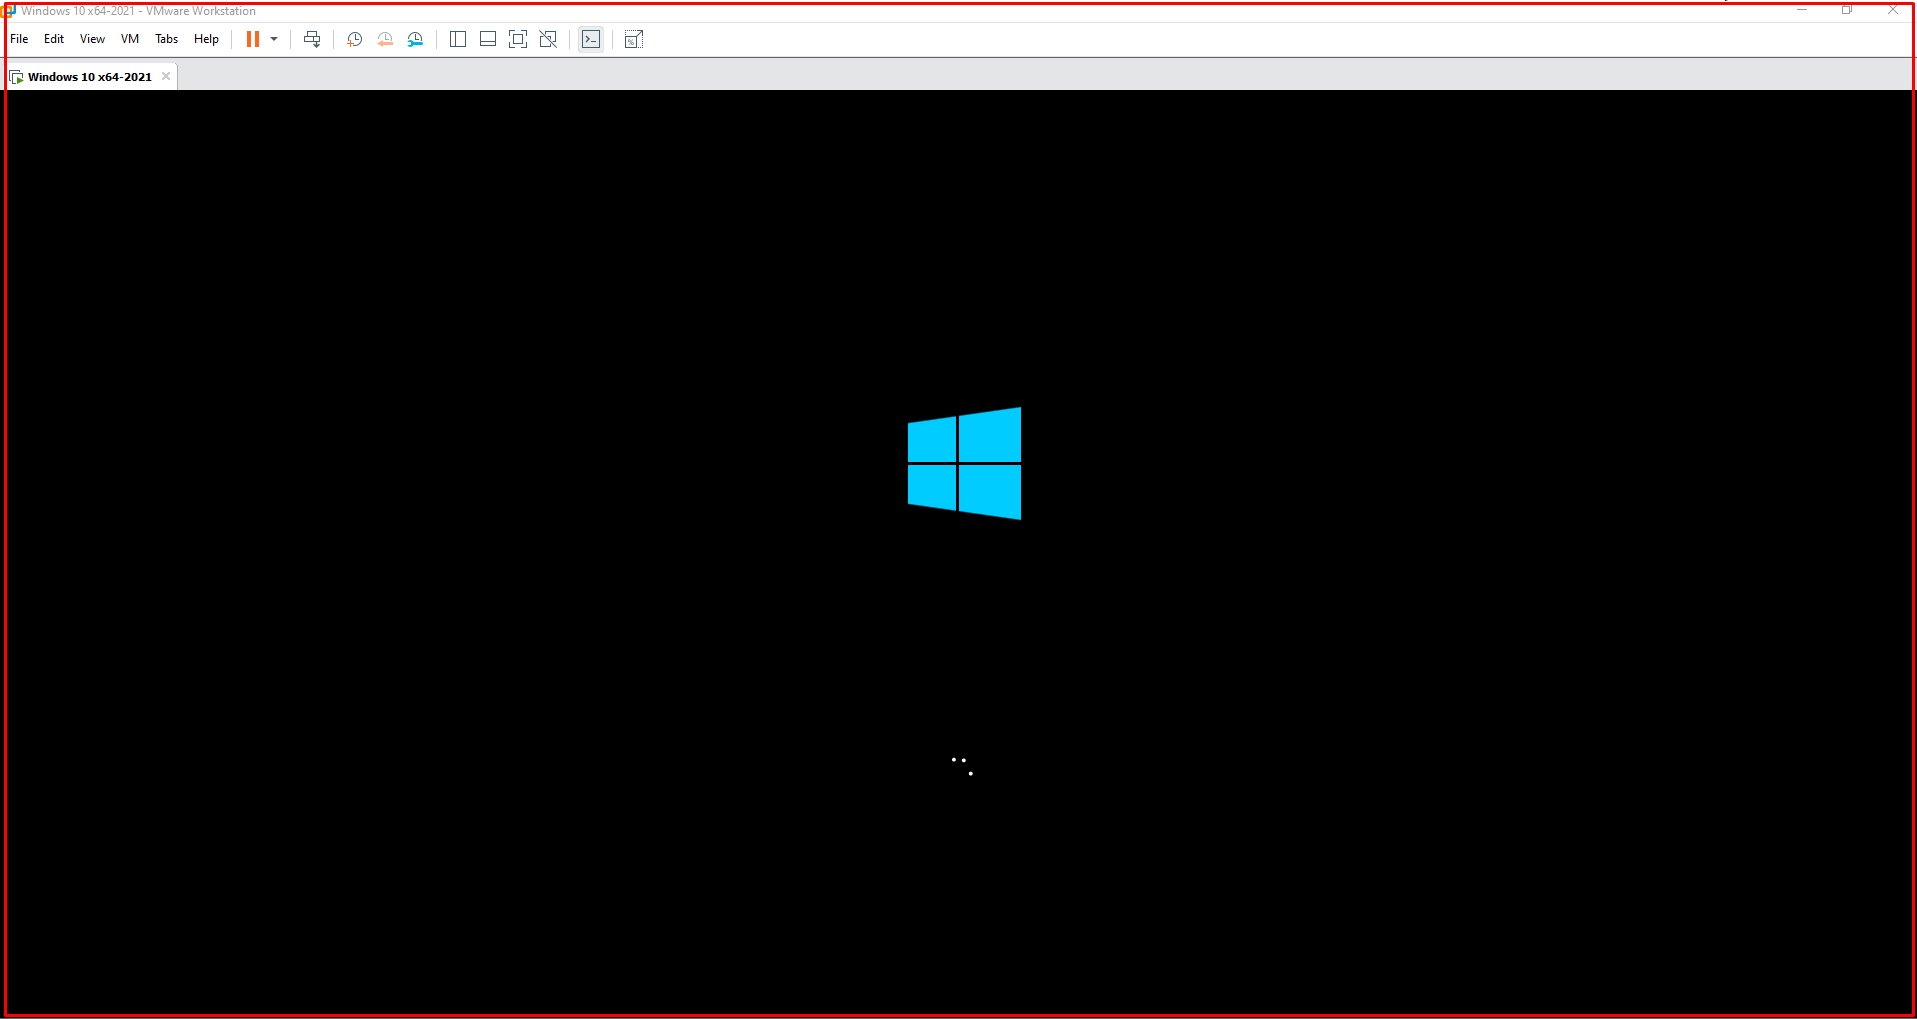
Here we start to set up the computer by clicking the “Power in this virtual machine” button.

When you see the “Press any key to boot from CD or DVD” screen, we start the installation by pressing any key.

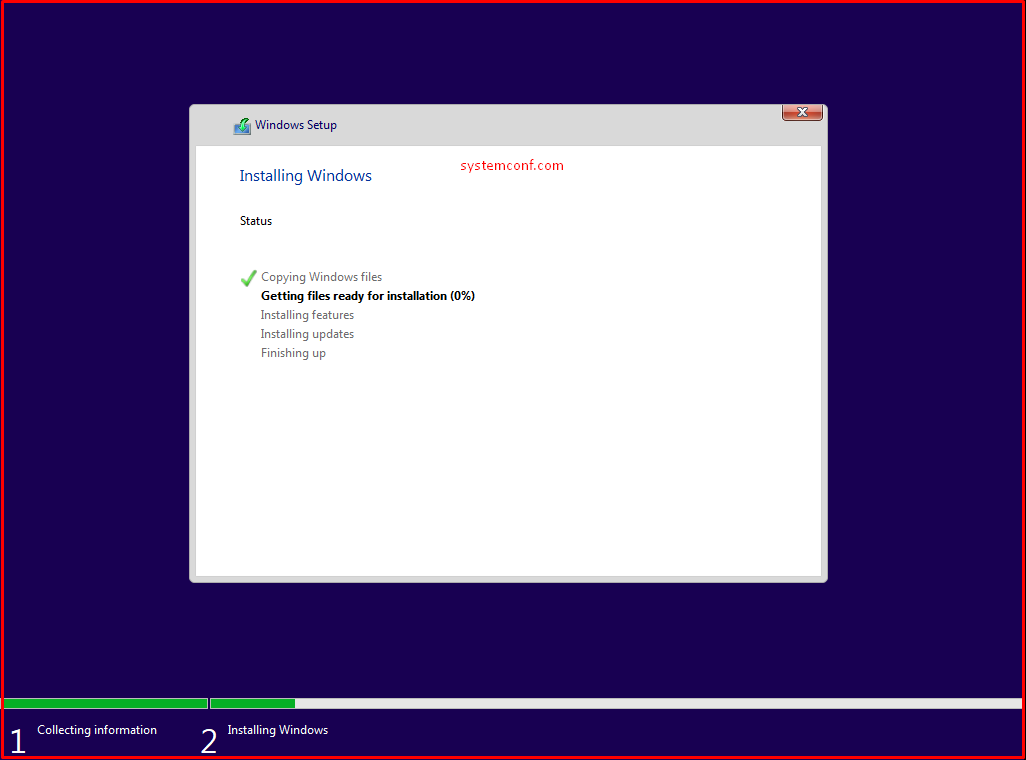
The installation of the Windows 10 operating system begins.
Select the language, time and keyboard settings on the screen that comes up. After selecting, click the “Next” button.

“Install Now” on the following screen
Click the button.

If you have a license key on the “Activate Windows” screen, log in. If you do not have a license key, click “I don’t have a product key“.

Select the Windows 10 version you want to install on the screen that comes up.

On the “Microsoft Software License Terms” page, select “I accept the license terms” and click the “Next” button.

On the following screen, we click on the “Custom: Install Windows only(advanced)” option.

If there is another partition on your computer, you can install the operating system on it. Otherwise, you can separate a single section from the “New” option. After selecting the section here, click the “Next” button.

The installation of the Windows 10 operating system begins. Windows files may take some time to load here.
Select your region on the screen below and click the “Yes” button.

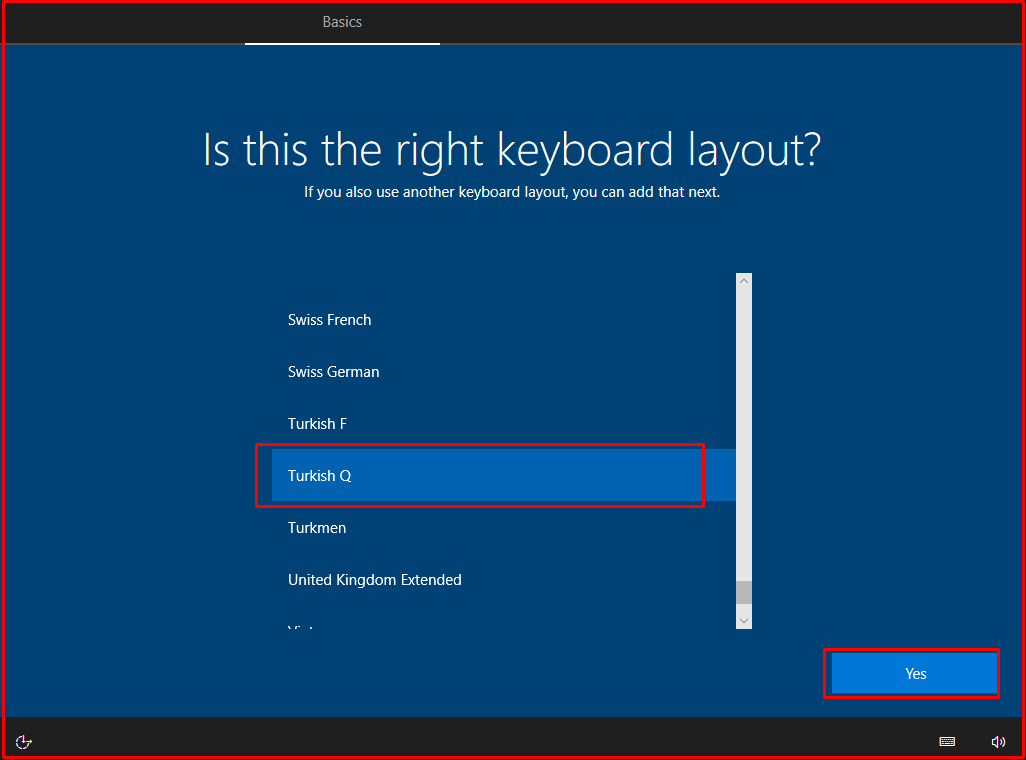
On the following screen, select the keyboard layout and click the “Yes” button.
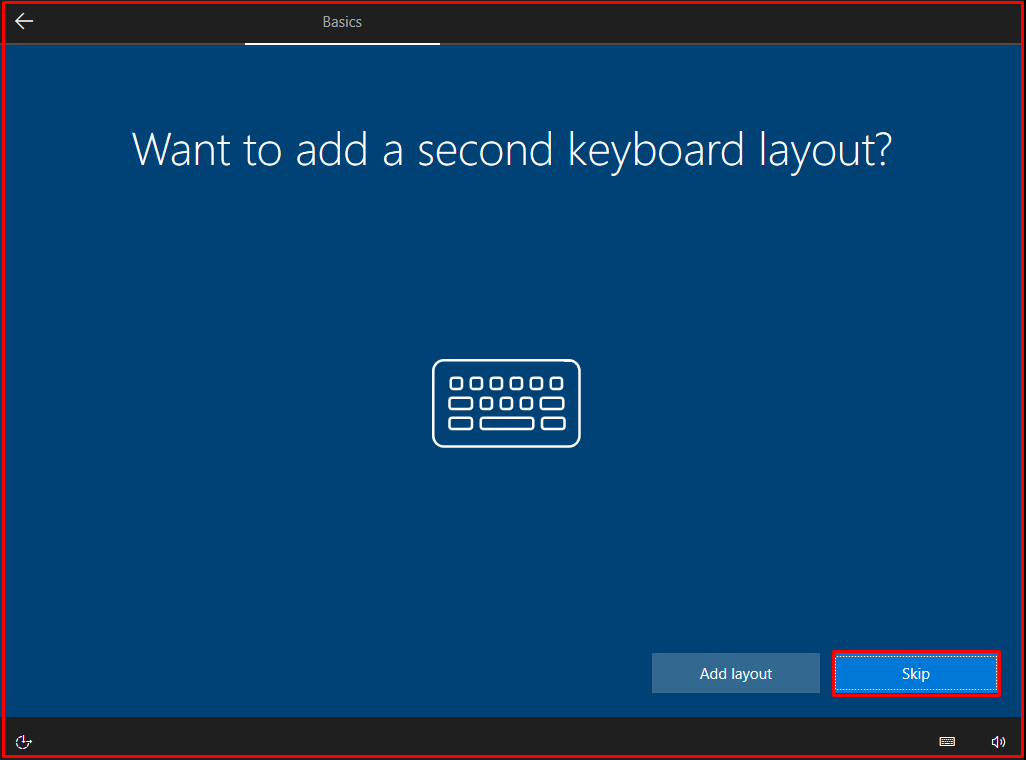
In the following screen, you can add an additional keyboard layout. Otherwise, click the “Skip” button.
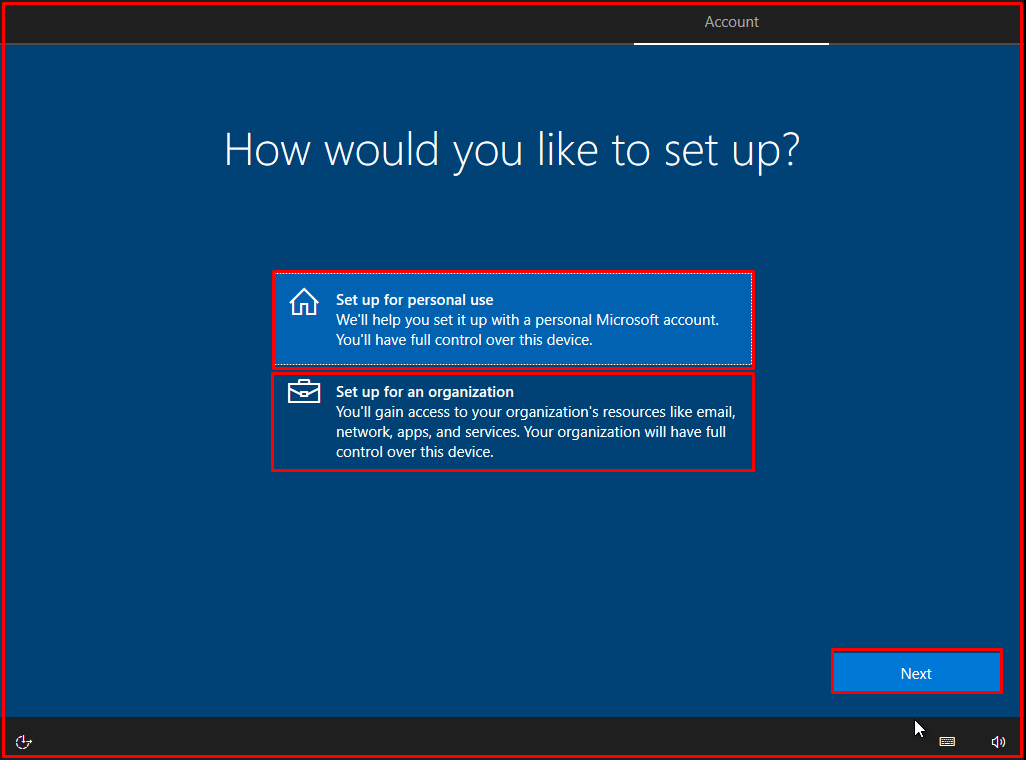
On the following screen, choose whether you will use it for personal or company. We chose the “Set up for personal use” option because we will use it personally. After selecting, click the “Next” button.
On the “Lit’s add your account” screen, you enter your Microsoft account, if available. Or you can open an account yourself. If you want to use Windows 10 without entering an account, click “Offline account“.

On the following screen, we click on the “Limited experience” option.

Enter a local user on the “Account” screen and click the “Next” button.

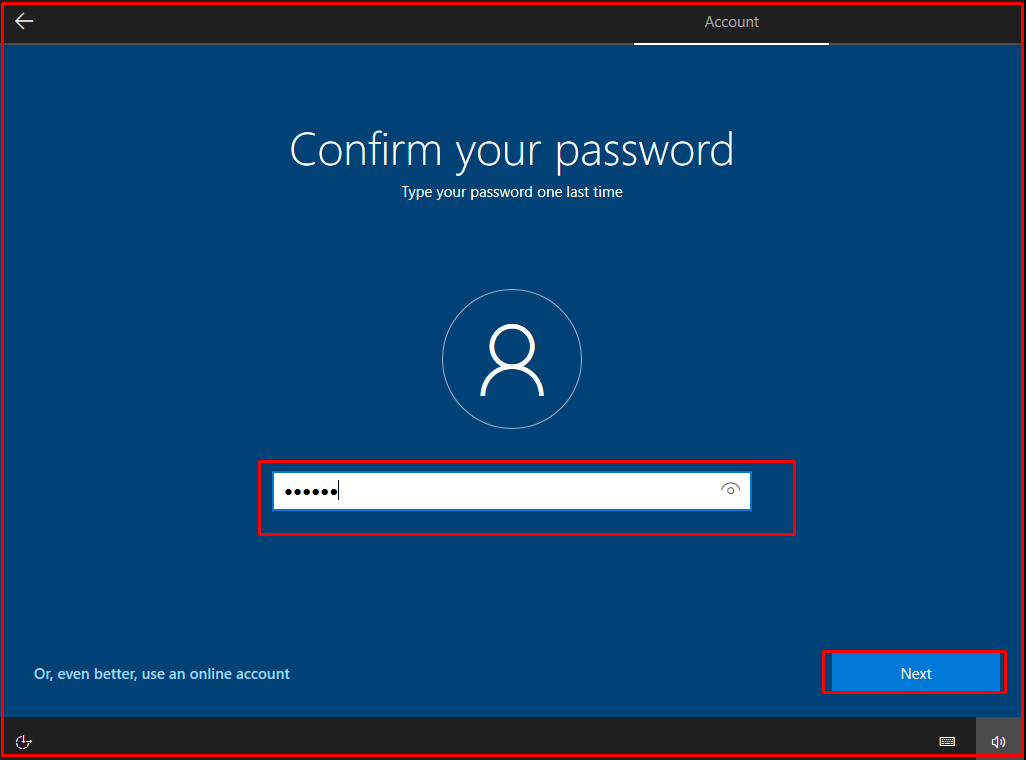
Determine and enter the user password you entered on the screen below. After entering the password, click the “Next” button.
On the following screen, security questions will appear for three accounts. You can enter the answers you find suitable for these. After entering, click the “Next” button.

On the “Services” screen, select the privacy settings for your device and click the “Accept” button.

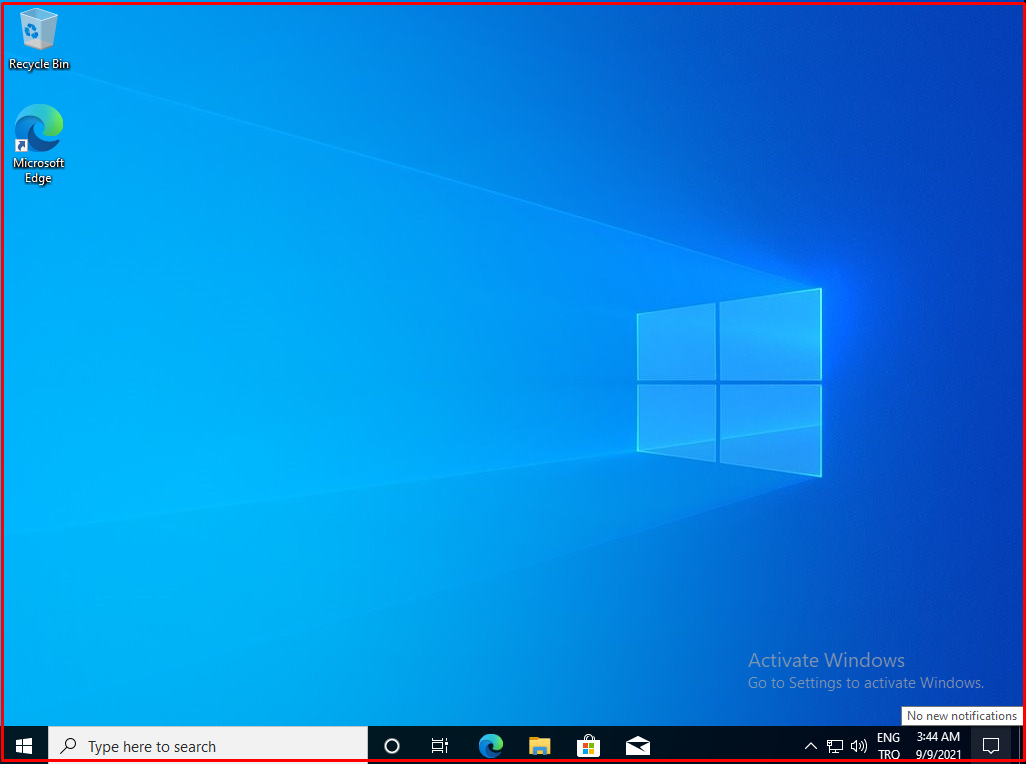
Some setups may also require firewall settings, Windows update settings, clock/geography/keyboard settings. The installation is complete and you can log in with the credentials specified during the installation.
Note: After the necessary settings (Network, RAM, CPU, etc.) are made after installation, it is recommended to take a snapshot by shutting down the virtual computer.


