by
by GNS3 is a Graphical Network Simulation program. You can easily operate devices such as Cisco Switch and Router on GNS3.
You can improve yourself and become a network expert by making network designs with GNS3. Since this network simulator is a constantly developed program, it is always useful to check for updates to have new features.
Although the operating logic of this program is very similar to the Cisco Packet Tracer program, the biggest difference between them is that Cisco IOS images can be used more comprehensively and in detail.
With this simulator software, you can use IOS images of real Cisco devices for network designs on your computer. In other software, IOS images have insufficient and limited features.
Before proceeding to the GNS3 installation, you can download the latest version of the GNS3 program to your computer from the button below.
Minimum System Requirements
Operating System: Must be at least Windows 7 64.
Processor: You must have at least Dual Core processors.
RAM (Memory): Minimum 4 GB is sufficient.
Disk Space: Minimum 1 GB is sufficient.
Recommended System Requirements
Operating System: It must be at least Windows 7 64 bit again.
Processor: 4 or more logical processors.
RAM (Memory): 8 GB is sufficient.
Disk Space: You must have a minimum of 35 GB of free space
Step-by-step GNS3 Installation and Configuration
After logging into GNS3, click the Free Download button.

Since you will install GNS3 on Windows 10, click the Download button under Windows option.

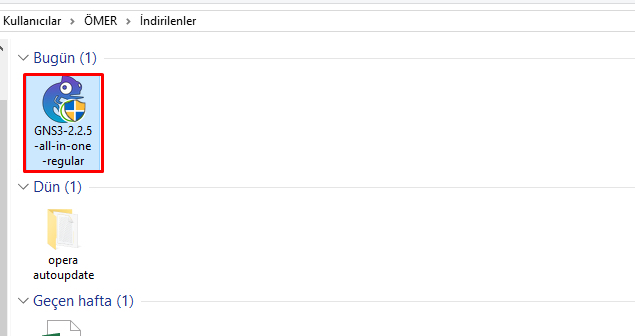
Wait while the GNS3 is downloading to your computer.
After the download is completed, start the installation by running the GNS3-all-in-one.exe file as an administrator.
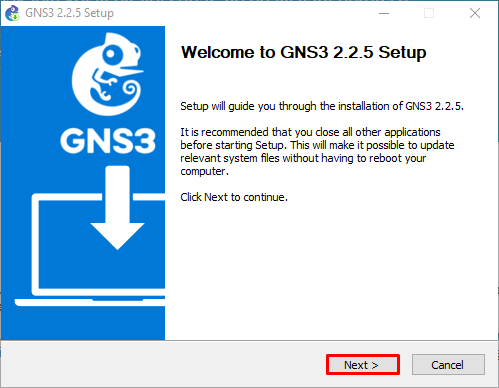
Click “Next” to start the installation in the Setup window.
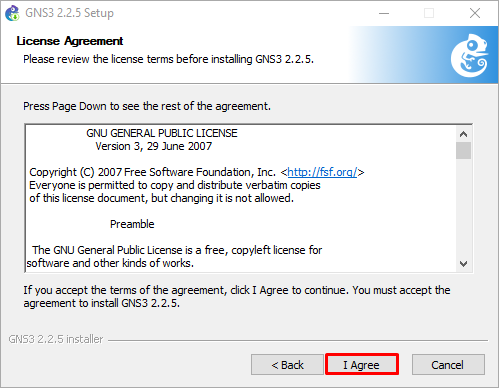
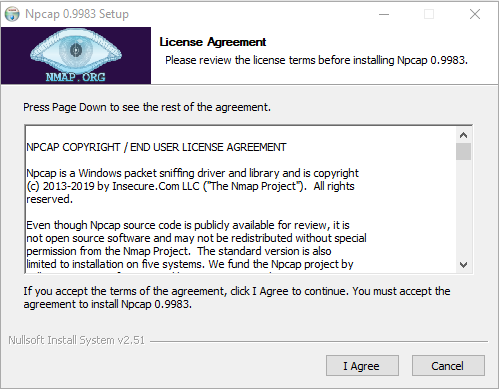
Click the “I Agree” button to accept the license agreement of the network simulator program.
Leave the default setting in the “Choose Start Menu Folder” window and continue by clicking the “Next” button.

In the “Choose Components” window, after selecting the required applications to be installed on your computer, continue with the “Next” button. In the next step, in the “Choose Install Location” window, select where you want to install the program and click the “Next” button.


One of the applications required for GNS3 during the installation phase is Npcap. Click Next to install the Npcap software.
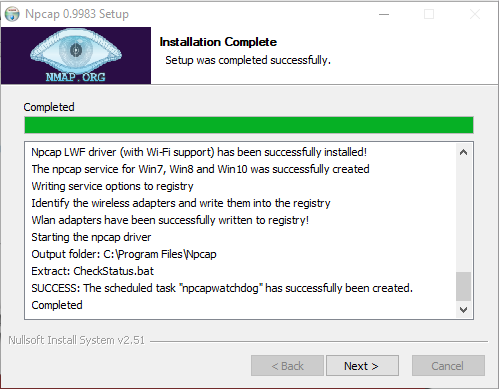
After completing the Npcap installation, click on the “Finish” button and continue installing GNS3.
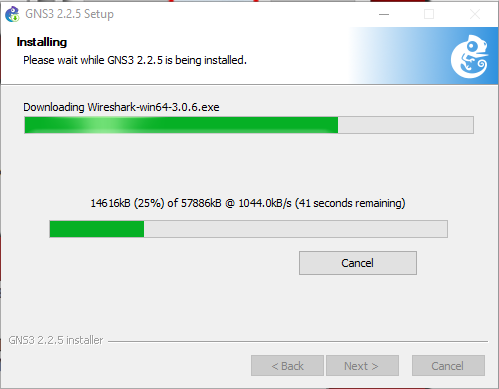
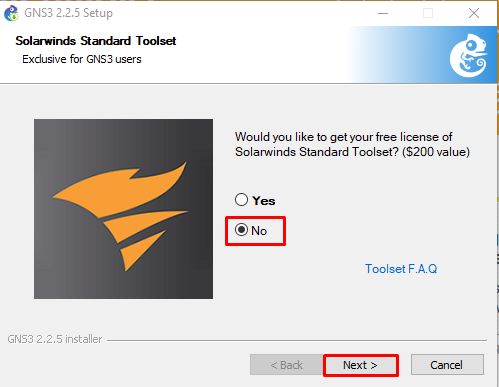
Now, wait while Wireshark is downloading for GNS3. If you do not have an Internet connection, you can install Wireshark on your computer later.
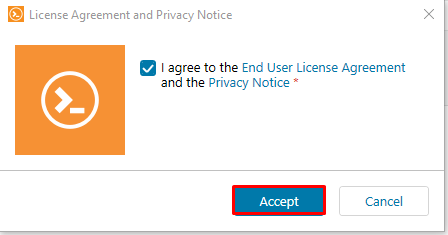
After completing the Wireshark installation process, click the “Accept” button to accept the Solar-PuTTY license agreement. For the use of “Solar-PuTTY”, click the “Continue” button after typing the email address.
After completing the GNS3 installation process, continue with the “Next” button.

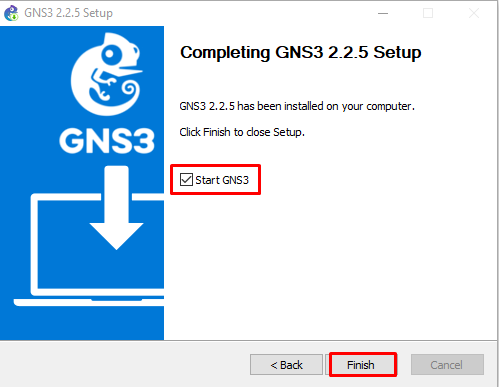
After successfully installing the GNS3 program, simply click the “Finish” button to run the program.